Test procedure 5-6, Test procedure, 5-6, Test procedure -6 – Anritsu 681XXC User Manual
Page 150: Operation cw frequency verification accuracy test
Test
Procedure
The following procedure tests both the coarse and
fine loops to verify the accuracy of the CW frequency
output.
Step 1
Set up the 681XXC as follows:
a. Reset the instrument by pressing
SYSTEM
, then
RESET
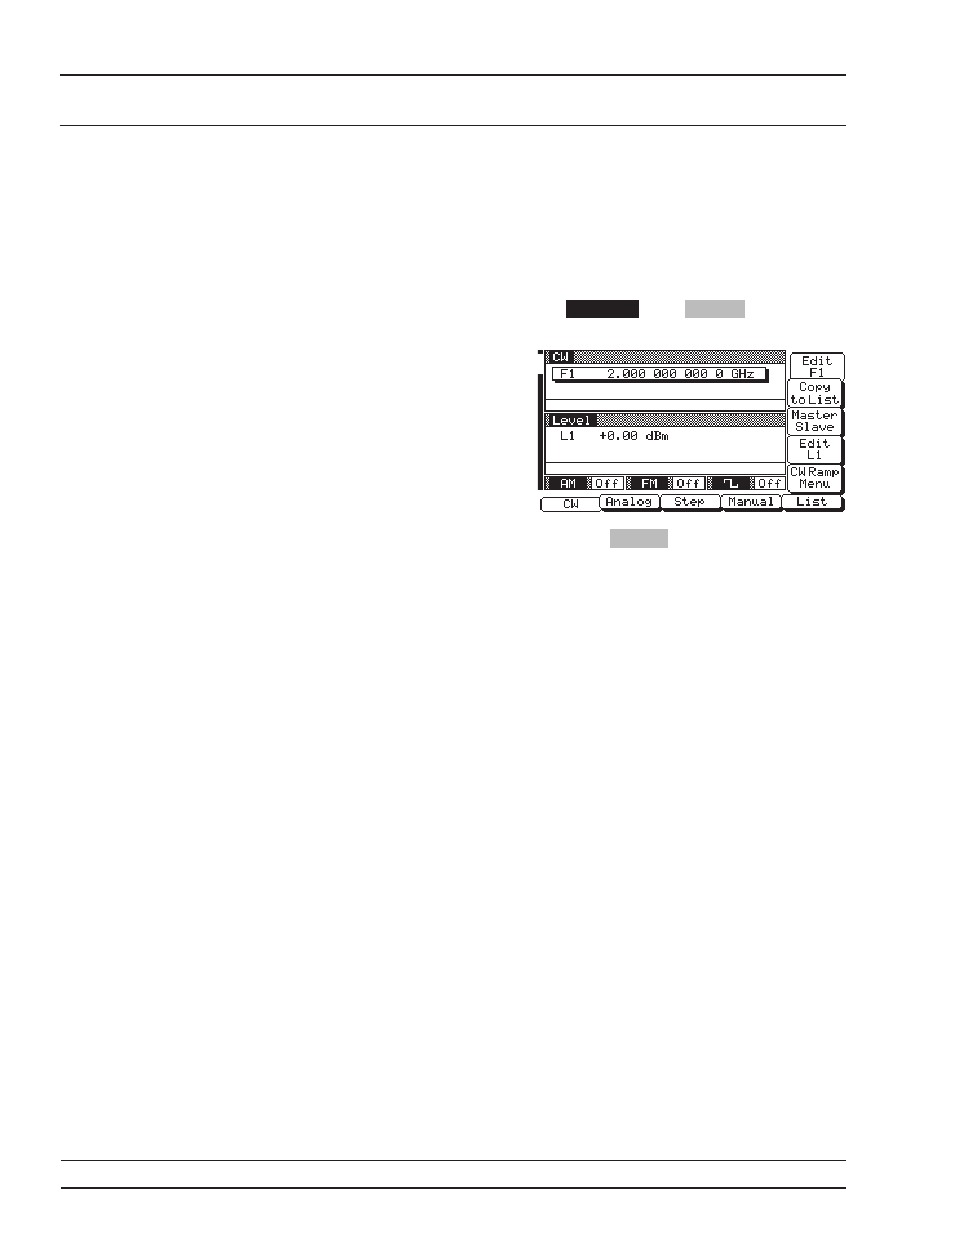
. Upon reset,
the CW Menu (below) is displayed.
b. Press
Edit F1
to open the current fre-
quency parameter for editing.
c. Set F1 to the first test frequency for
the model being tested (Table 5-2A is
the test record for standard models;
Table 5-2B for models with Option 11).
Step 2
Verify that the Frequency Counter read-
ing meets specifications (
±100 Hz of the
value shown on the test record for stan-
dard models;
±10 Hz for instruments with
Option 11).
Step 3
Record the Frequency Counter reading on
the test record (Table 5-2A or Table 5-2B).
NOTE
The Frequency Counter reading is
typically within
±1 Hz. Differences
of a few Hertz can be caused by
noise or counter limitations. Differ-
ences of
³±100 Hz (³±10 Hz for in-
struments with Option 11) indicate
a frequency synthesis problem.
Step 4
Set F1 to the next test frequency on the
test record and record the Frequency
Counter reading.
Step 5
Repeat step 4 until all frequencies listed
on the test record have been recorded.
5-6
681XXC OM
OPERATION
CW FREQUENCY
VERIFICATION
ACCURACY TEST