Date/time settings, Date/time setup – Teledyne LeCroy HDO 4000 Operators Manual User Manual
Page 92
HDO4000 High Definition Oscilloscope
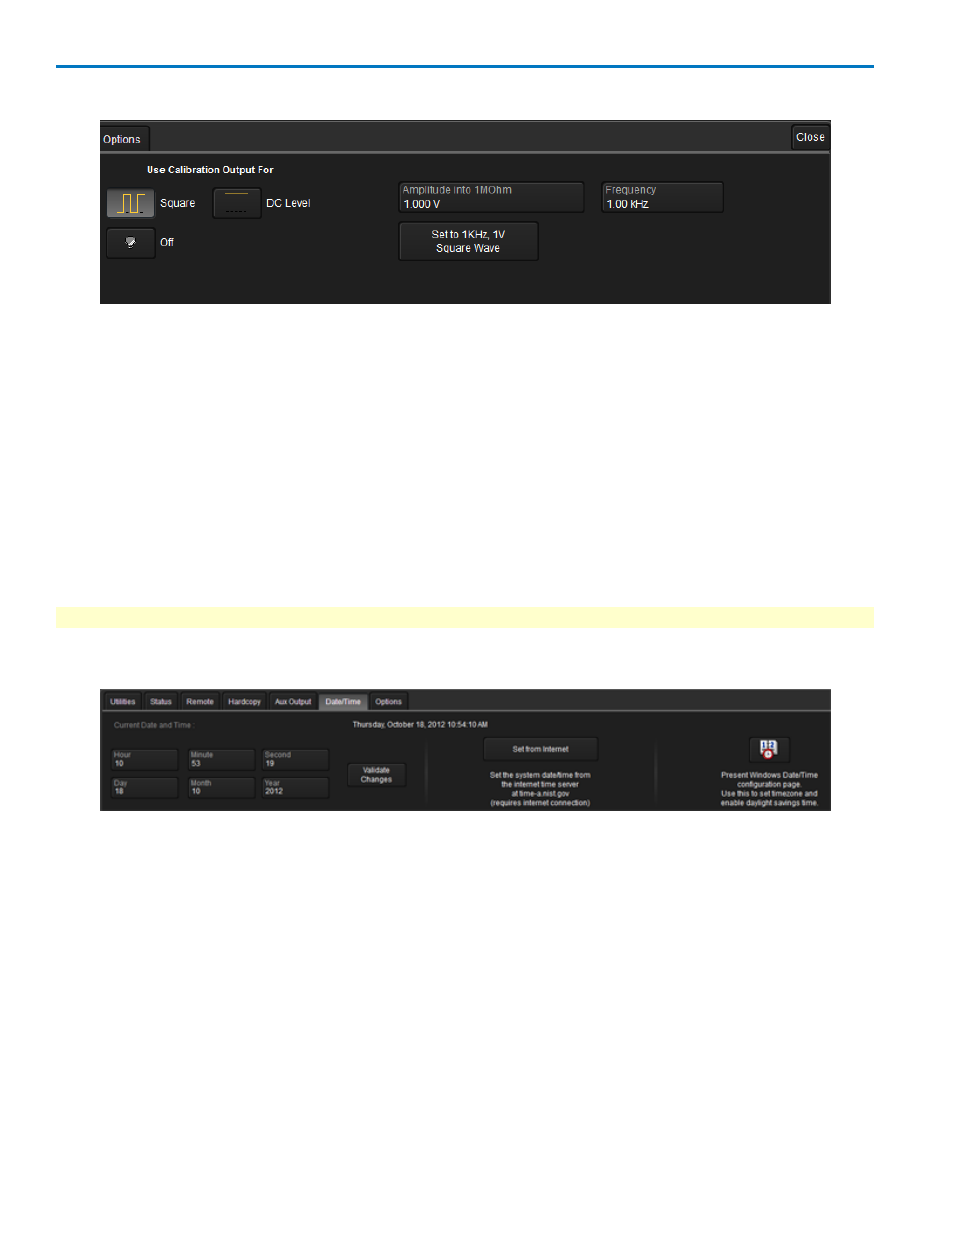
Configure Calibration Output
A calibration signal can be output from the Cal Out hook on the front of the oscilloscope. Choose one of
the following under Use Calibration Output For:
Square - sends a square wave signal. With this selection, also enter the wave Frequency and Amplitude
into 1 MΩ. The Set to 1 kHz, 1 V Square Wave button does exactly that.
DC Level - sends a reference level. Enter an Amplitude into 1 MΩ.
Off - disables calibration output.
Date/Time Settings
Date/Time settings control the oscilloscope's date and timestamp. These numbers appear in the
oscilloscope message bar and on tables/records internal to the oscilloscope application, such as History
Mode and WaveScan.
NOTE: This is not the same as the Timebase reference clock used to synchronize traces.
To access the Date/Time dialog, choose Utilities > Utilities Setup from the menu bar, then touch the
Date/Time tab or button.
Manual Method
Enter the Hour, Minute, Second, Day, Month, and Year, then touch the Validate Changes button.
Internet Method
This method uses the Simple Network Time Protocol (SNTP) to read the time from time-a.nist.gov. The
oscilloscope must be connected to an internet access device through the LAN (Ethernet) port on your
instrument's I/O panel. .
If your connection is active, touch the Set from Internet button.
Windows Method
To set date and time using the internal Windows system clock, touch the Windows Date/Time button.
This displays the standard Windows DateTime Properties pop-up dialog, where you can further configure
these settings. If you are satisfied with the setup, just touch OK.
84
922498 Rev B