Janam XT85 User Manual
Page 9
Getting Started
XT85
User Manual
Janam Technologies LLC
2
―3
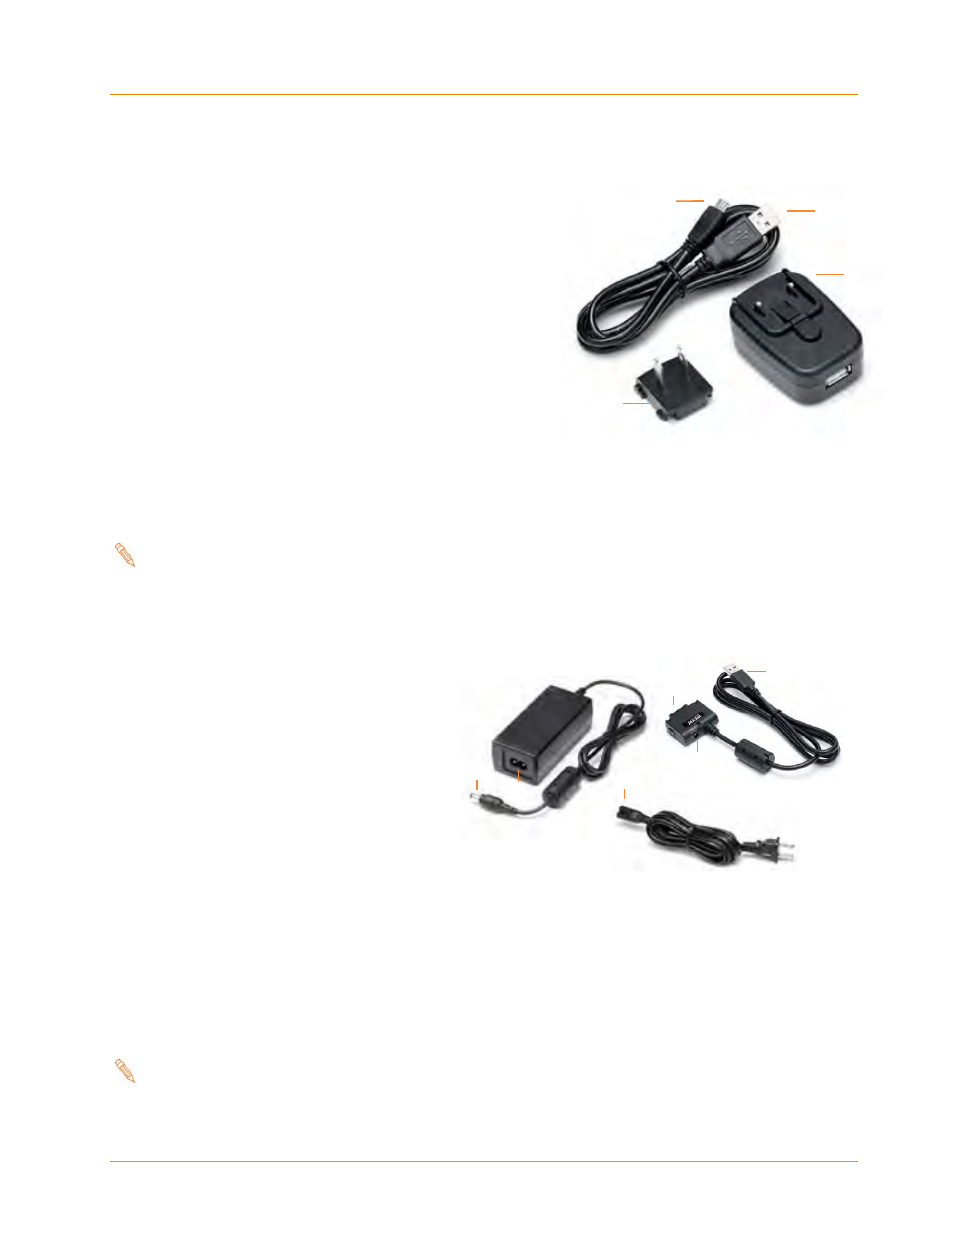
Charging the Battery
Charging the battery with the Janam USB AC Adapter Kit:
1. Slide the AC plug prong adapter
onto the AC
adapter housing
until it clicks.
2. Insert the USB plug
of the cable into the USB port
on the AC adapter housing.
3. Insert the micro-USB plug of the USB cable
into
the micro-USB port on the XT Series device.
4. Plug in the AC adapter. Use only easily accessible wall
outlets that are well within reach of the length of
supplied power cable. The Indicator LED on the device
will illuminate to confirm connection (orange indicates
charging, green indicates fully charged and red
indicates a fault condition). For charging times and
more, refer to Battery Charging and Power Alert
Information chart on Page 11 of this chapter.
— Alternatively, the USB plug
may be inserted into an available USB port on the host PC
computer (instead of the AC adapter), providing a connection for charging and data
synchronization.
Note:
micro-USB charging capacity is limited to 500mA when connected to a PC’s USB
port. It is recommended that the XT Series device operation be suspended when
charging in this manner in order to charge the battery faster.
To suspend operation, press the Power Button for approximately one second.
Charging the battery with the Janam
Mobile Cable:
1. Connect the snap-on end of the sync
connector
to the sync connector
port on the bottom of the XT Series
device, making sure the Janam logo
on the connector faces up (the front
face of the device.)
2. Insert the mini-barrel plug
of the
power supply into the mini-barrel port
on the sync connector plug
.
3. Plug the female end of the AC line cord
into 2-pin receptacle
on the (brick style) power
supply.
4. Plug in the AC power supply. Use only easily accessible wall outlets that are well within reach of
the length of supplied power cable. The Indicator LED on the device will illuminate to confirm
connection (orange indicates charging, green indicates fully charged and red indicates a fault
condition). For charging times and more, refer to Battery Charging and Power Alert
Information chart on Page 11 of this chapter.
Note:
While the above illustration depicts a USB plug
,
any available communication
mobile cable can be used to charge the device.