Ransburg – Ransburg REA Automatic Applicators 77359, 76110, 77140 User Manual
Page 32
NOTE
>
If the fluid nozzle is replaced, there is
a good chance that the needle/electrode
assembly will need to be replaced, too.
C A U T I O N
!
>
DO NOT use dielectric grease inside the
probe assembly. Air must be able to flow freely
through this assembly.
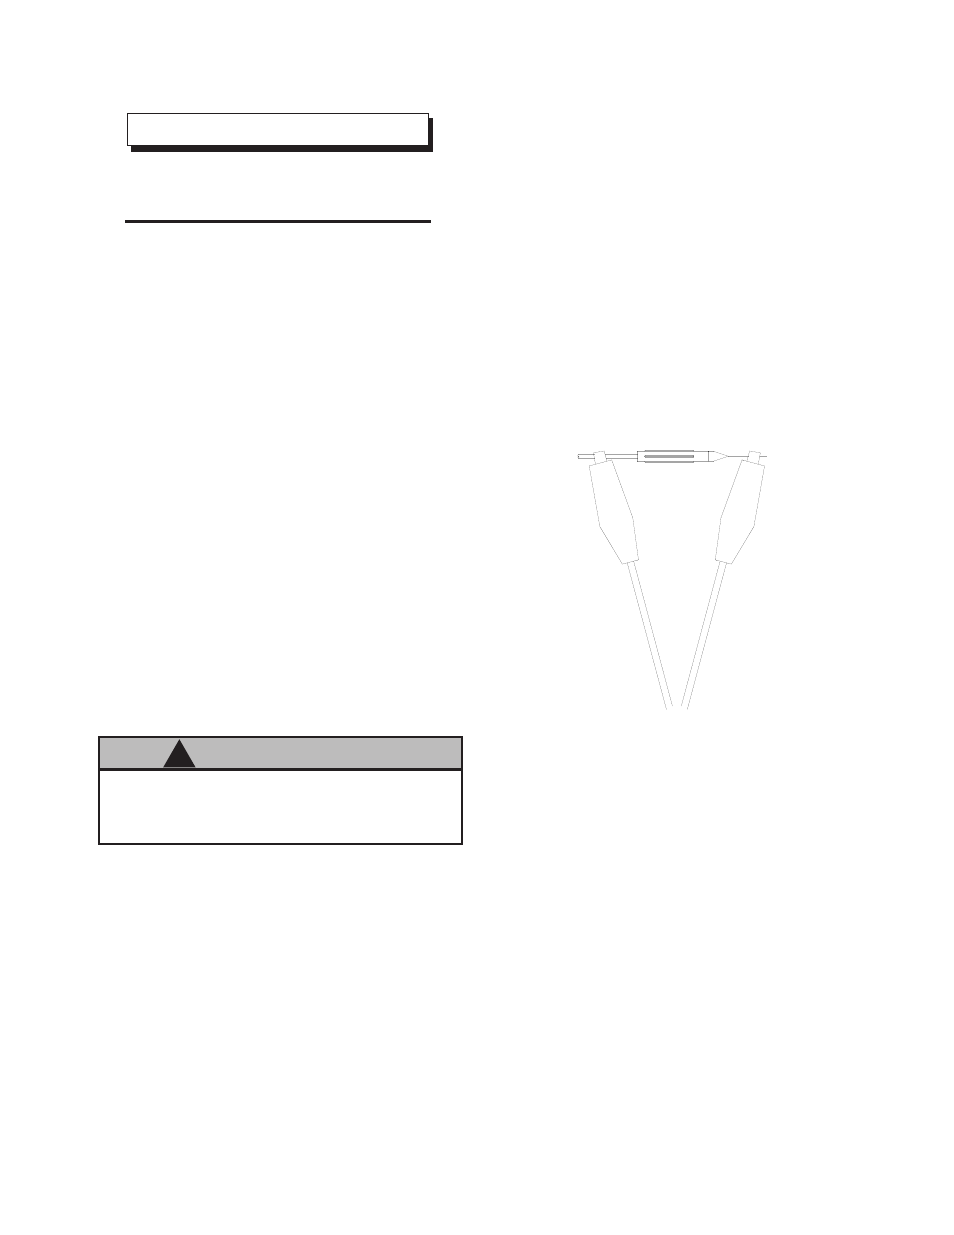
Figure 6: Testing Resistive Electrode
Needle / Electrode - REA 9000W
Only
1. Unscrew probe retaining nut and pull probe
straight out of the probe holder body.
2. Unscrew the rear plastic plunger nut of the
probe assembly and remove.
3. Gently tap the probe body against your hand
until the needle assembly falls loose. Pull the
needle assembly out of the probe body.
4. By hand, unscrew (counter-clockwise) or
where necessary gently use needle nose pliers
on the needle/electrode ridges to remove it from
the needle shaft assembly. Clean as necessary
using appropriate cleaning procedure.
5. Inspect needle assembly components for signs
of high voltage arcing. Replace if necessary.
6. If LREA4001 Resistive Electrode is being
replaced, it must be trimmed to the proper length.
Reassemble the probe with the new electrode.
Trim the electrode wire 1/16-inch from the end of
the probe body.
To Test - (REA 9000W)
1. Install electrode on front end of an available
18865-04 needle shaft. Be sure that electrode
is completely seated for proper contact between
metal shaft and conductive threaded insert in rear
of resistor.
2. Using a VOM meter that will read 15 meg-
ohms accurately, connect one meter lead to the
metal needle shaft and the other lead to the wire
at front of electrode. Electrode should be 14.5
to 19 megohms (nominal 15 megohms at 9 volts
or 11 to 17 megohms at 1000 volts). Electrodes
outside this range must be replaced (see Figure 6).
Ransburg
REA Automatic Applicators - Maintenance
28
AA-99-02.5