Replacing the blade drive belts, Primary transmission v-belt, Replacing the primary transmission v-belt – Diamond Products CC6566 User Manual
Page 38
Replacing the Blade Drive Belts
Single Speed
1. Locate the engine guide on the right side of the
saw. Loosen the hex head cap screws. (Figure
52)
2. Locate the belt tensioner lead screw on the
front of the saw frame. (Figure 53)
3. Turning the lead screw counter clockwise will
loosen the tension on the belts.
4. Remove the belts from the PTO sheave and
from the blade shaft sheave.
5. Loop and align the new belts (one at a time)
around the grooves on the blade shaft sheave,
and then pull them upward and loop and align
them around the grooves near the end of the
PTO sheave.
6. Adjust the lead screw by turning the bolt
clockwise to tighten the belts. Test the belt
tension and readjust the lead screw as
necessary. DO NOT exceed the manufacturer’s
belt tension setting.
7. Once the blade drive belts are tightened
properly, retighten the cap screws located on
the right side of the saw on the engine guide.
Three Speed
1.
Locate the belt guard on the left side of the
saw. Loosen and remove the seven hex head
cap screw and bolts located on the side and
rear of saw. Remove guard. (Figure 54 and 55)
2.
Locate detent pin in rear of the saw. Retract pin by
pulling outward and turning to lock open. (Figure 56)
3.
Locate the belt tensioner lead screw on the
front of the saw frame. To loosen the belts turn
the lead screw clockwise. This will allow the
gear box to tilt back releasing belt tension for
ease in removing and replacing belts. To
tighten the belts turn the lead screw counter
clockwise. Test the belt tension and readjust
the tension bolt as necessary. DO NOT exceed
the manufacturer’s belt tension setting. (Figure
57)
4.
Once the blade drive belts are tightened
properly, lock the detent pin. Turn detent pin
until it snaps back into place.
5.
Replace belt guard and retighten the seven hex
head cap screw and bolts.
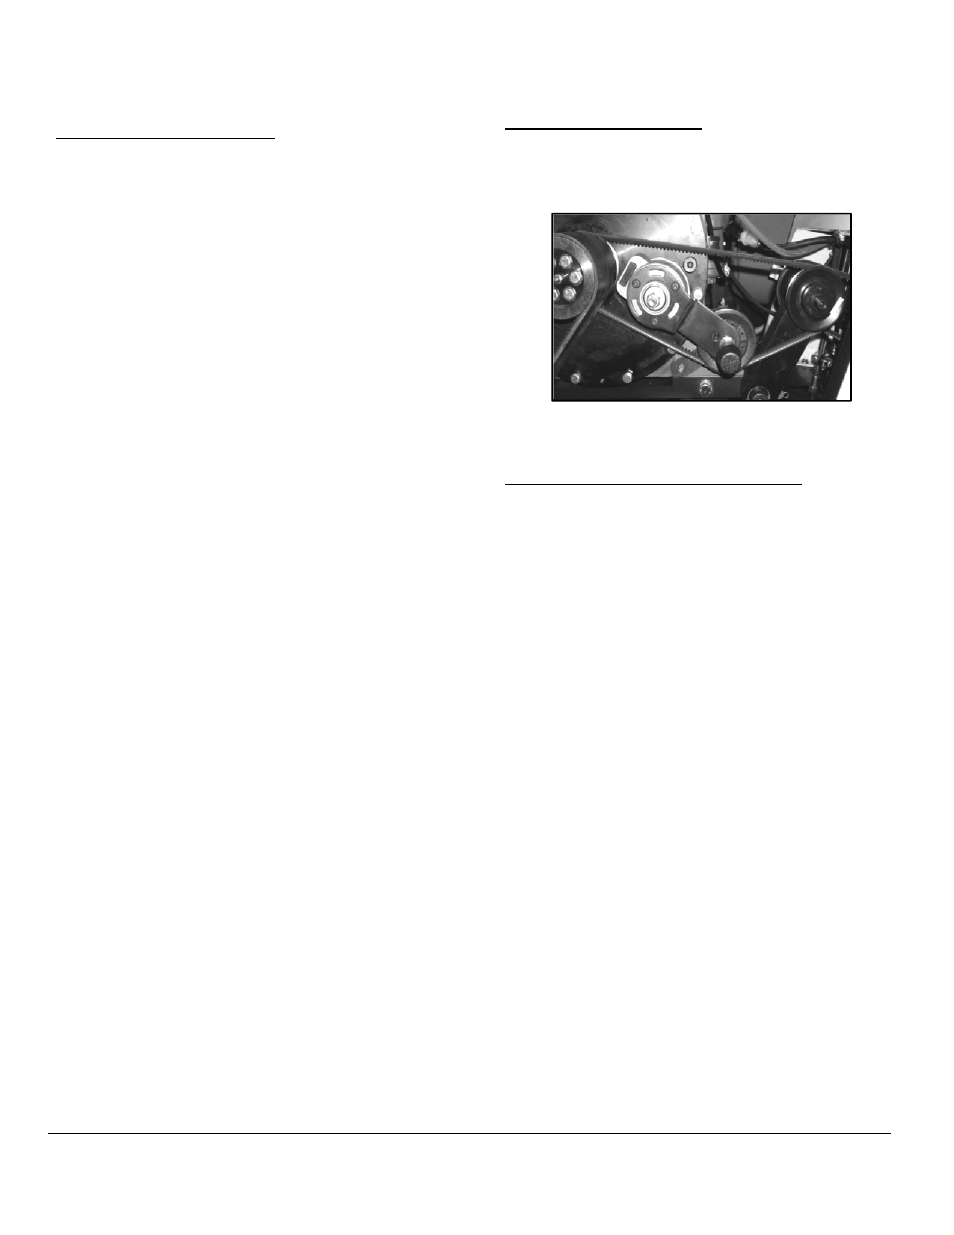
Primary Transmission V-Belt
Inspect the V-belt regularly for fraying, stress
cracks, and/or breakage and replace immediately if
there are damages.
Figure 63: Primary Transmission V-Belt
Replacing the Primary Transmission V-Belt
1. Remove the blade drive belts from the PTO
sheave.
2. Pull the rotary tensioner knob up and hold it in
place to create slack in the V-belt.
3. Remove the V-belt from the rotary tensioner
idler pulley, the front transmission jackshaft
pulley, and the PTO sheave.
4. Release the rotary tensioner knob.
5. Pull the rotary tensioner knob up and loop the
new V-belt around the individual groove at the
back of the PTO sheave.
6. Loop the upper V-belt section around the front
transmission jackshaft pulley, and loop the
lower V-belt section under the rotary tensioner
idler pulley.
7. Release the rotary tensioner knob to tension
the V-belt.
8. Retighten the blade drive belts.
38