Operating the cc6566 and cc6566-3, Handlebars, Adjusting the handlebars – Diamond Products CC6566 User Manual
Page 14: Front pointer, Adjusting the front pointer, Rear pointers
Operating the CC6566 and CC6566-3
Handlebars
The handlebars help the operator guide and
maneuver the saw.
Adjusting the Handlebars
1. Loosen both handle lock knobs.
2. Hold the handlebar grip and place the first
handlebar into the handlebar opening below the
handle lock knob. The handlebar fits through
two different pathways inside the handlebar
opening. Place the handlebar at the desired
length.
3. Tighten the handle lock knob to secure the
handlebar.
Figure 4: Handle Lock Knob and Handlebar
4. Repeat steps 2–4 to secure the second
handlebar.
5. Adjust the handlebar length as necessary.
Front Pointer
The front pointer assembly helps the operator follow the
cutting line.
Adjusting the Front Pointer
1. Remove the tensioned pointer lanyard from the
cable cleat on the frame upright.
2. Lower the front pointer frame to the floor.
3. Loosen both front pointer frame screws.
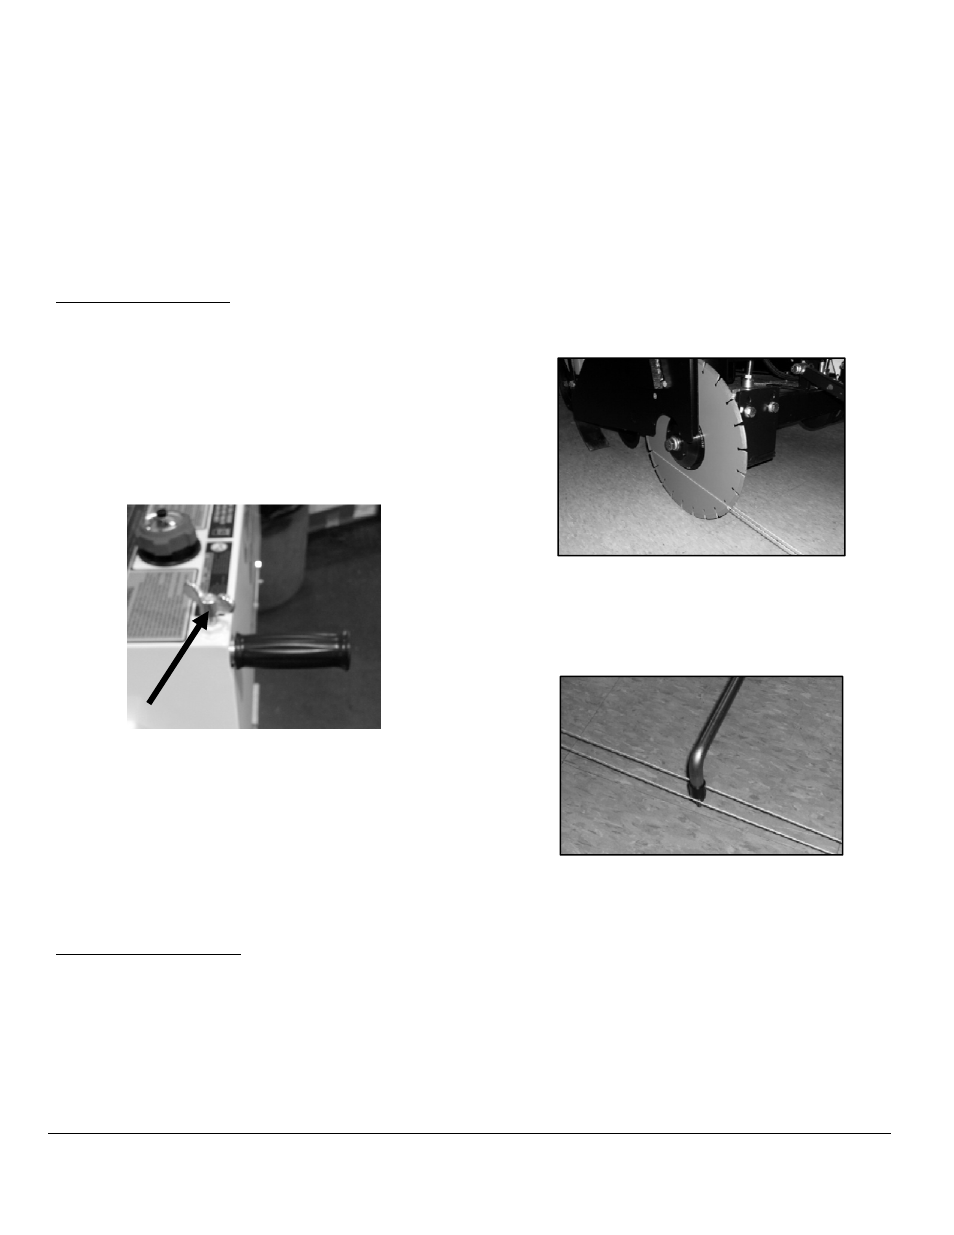
4. Divide an 8–10 ft piece of string in half.
5. Place the looped end of string into a gullet on
the backside of the blade.
6. Place one string line up against the backside of
the blade and one string line up against the
front side of the blade. Holding the string ends
in one hand, tension the lines out toward the
front pointer rod.
Figure 5: String Line against Blade
7. Slide the pointer rod over and place the pointer
cap in between the tensioned string lines.
Figure 6: Pointer Cap between String Lines
8. Retighten both front pointer frame screws to
secure the pointer rod.
9. Lift the front pointer frame off of the floor when
the cutting task is complete.
10. Re-tension the pointer lanyard, and then place
the lanyard into the cable cleat to secure the
front pointer.
Rear Pointers
The rear pointer rods act as guides when cutting.
14