Removing the blade – Diamond Products CC6566 User Manual
Page 17
CC6566 - CC6566-3 Concrete Saw Manual
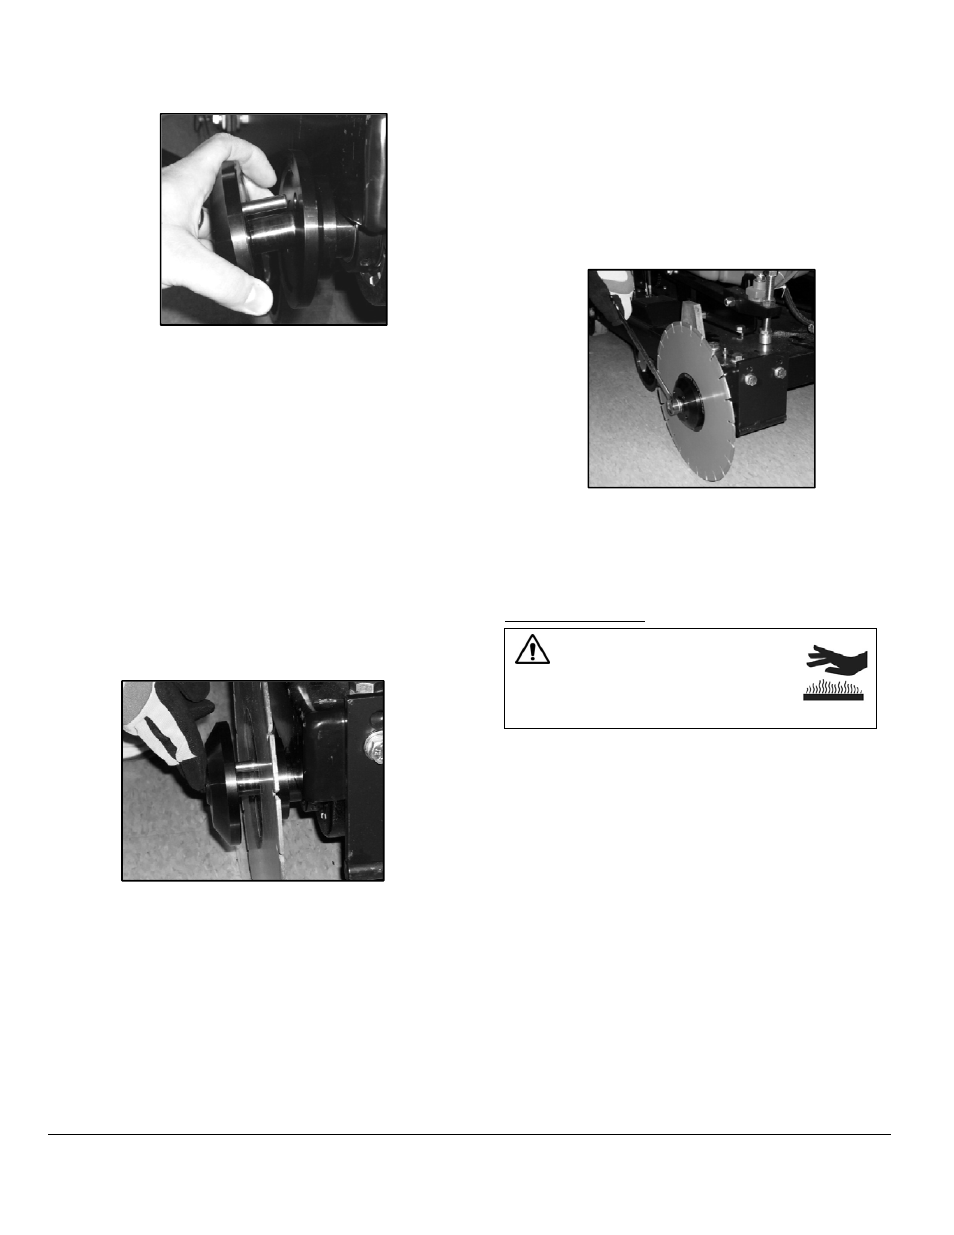
Figure 11: Blade Flanges Separated
4. Inspect the bolt, outer flange, inner flange, and
inner flange alignment pin hole for visible
damages and clean, repair, or replace or as
necessary.
5. Select the correct blade type for the cutting task
and inspect the blade for visible damages.
6. Raise the saw slightly to provide room to install
the blade.
7. Place the blade next to the inner flange. Always
point the arrow printed on the blade in the
direction of the blade shaft’s rotation when
installing the blade.
8. Align and fit the outer flange alignment pin and
shaft through the blade holes, and into the
blade shaft and inner flange alignment pin hole.
Figure 12: Inserting the Outer Flange
9. Slightly rotate the outer flange and blade
backward to eliminate backlash (looseness)
between parts.
10. Place the wedge lock washer onto the blade
shaft bolt and insert the bolt into the blade
shaft.
11. Tighten the bolt by hand as much as possible,
and slowly lower the blade until it just touches
the ground’s surface.
12. Tighten the bolt, using the wrench, to 125 ft-lb
(169.5 Nm) to properly secure the outer flange
and blade. This measurement can be verified
with a torque wrench.
Figure 13: Tightening the Bolt
13. Reattach the blade guard or pivot the front of
the guard down and over the blade to secure.
Removing the Blade
CAUTION
Always let the blade cool prior
to removing or replacing blades
when dry cutting.
1. Remove the blade guard or pivot the front of the
guard 180° (fully upward, secure with pin) to
gain access to the blade flanges.
2. Slowly lower the blade until it just touches the
ground’s surface.
3. Remove the blade shaft bolt and wedge lock
washer from the blade shaft.
4. Carefully pull the outer flange out of the inner
flange alignment pin hole and blade shaft, and
then remove the blade. Place the blade in the
appropriate storage location.
5. Inspect the bolt, outer flange, inner flange, and
inner flange alignment pin hole for visible
damages and clean, repair, or replace as
necessary.
6. Align and fit the outer flange alignment pin and
shaft into the blade shaft and inner flange
alignment pin hole.
17