Belt system, Blade drive belts, Belt tension setting – Diamond Products CC6566 User Manual
Page 36: Testing the belt tension, Adjusting the blade drive belts
6. Retighten the transmission lock nuts to secure
the transmission to the transmission platform.
7. Replace the chain guard and secure.
Belt System
WARNING
Turn the engine off prior to
performing belt maintenance.
CAUTION
Always let the belts cool down prior to
performing belt maintenance.
Blade Drive Belts
Figure 56: Blade Drive Belts
Belt Tension Setting
Refer to the manufacturer’s belt tensioning. DO
NOT exceed the manufacturer’s tension setting.
Note: Over-tensioning the belts may damage the
power take-off (PTO). Under-tensioning the belts
may cause shorter belt life and/or poor saw
performance. Squealing belts indicate looseness.
Testing the Belt Tension
Test the blade drive belt tension on a daily basis
using the method listed below.
Touch the sonic tension meter sensor (can be
ordered through Diamond Products) to the
midpoint of the longest belt section and strum
the belt.
Adjust the belt tension as necessary.
Adjusting the Blade Drive Belts
Single Speed
1. Inspect the belts for fraying, stress cracks,
and/or breakage and replace immediately if
there are damages.
2. Test the belt tension. Proceed to step 3 if the
belts need tensioning. Operate the saw as
needed if no tension adjustments are required.
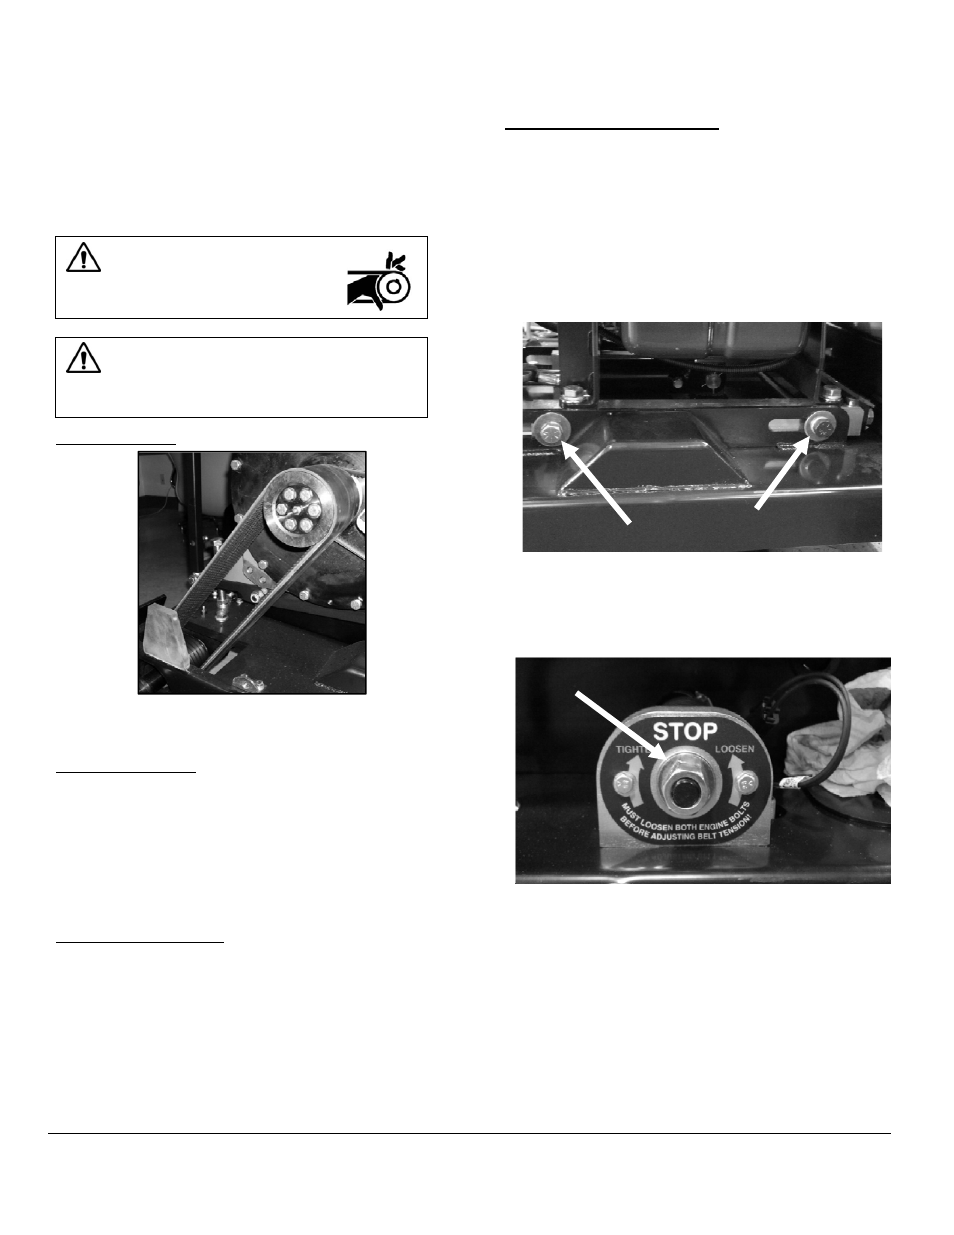
3. Locate the engine guide on the right side of the
saw. Loosen both hex head cap screws.
Figure 57: Engine Guide Cap Screws
4. Locate the belt tensioner lead screw on the
front of the saw frame.
Figure 58: Belt Tensioner Lead Screw
5. Adjust the tension lead screw. Turn the bolt
clockwise to tighten the belts, counter clockwise
to loosen. Test the belt tension and readjust the
tension bolt as necessary. DO NOT exceed the
manufacturer’s belt tension setting.
6. Once the blade drive belts are tightened
properly, retighten the cap screws located on
the right side of the saw on the engine guide.
36