Replacing the inner safety filter, Speed control lever, Adjusting the speed control lever – Diamond Products CC6566 User Manual
Page 31
CC6566 - CC6566-3 Concrete Saw Manual
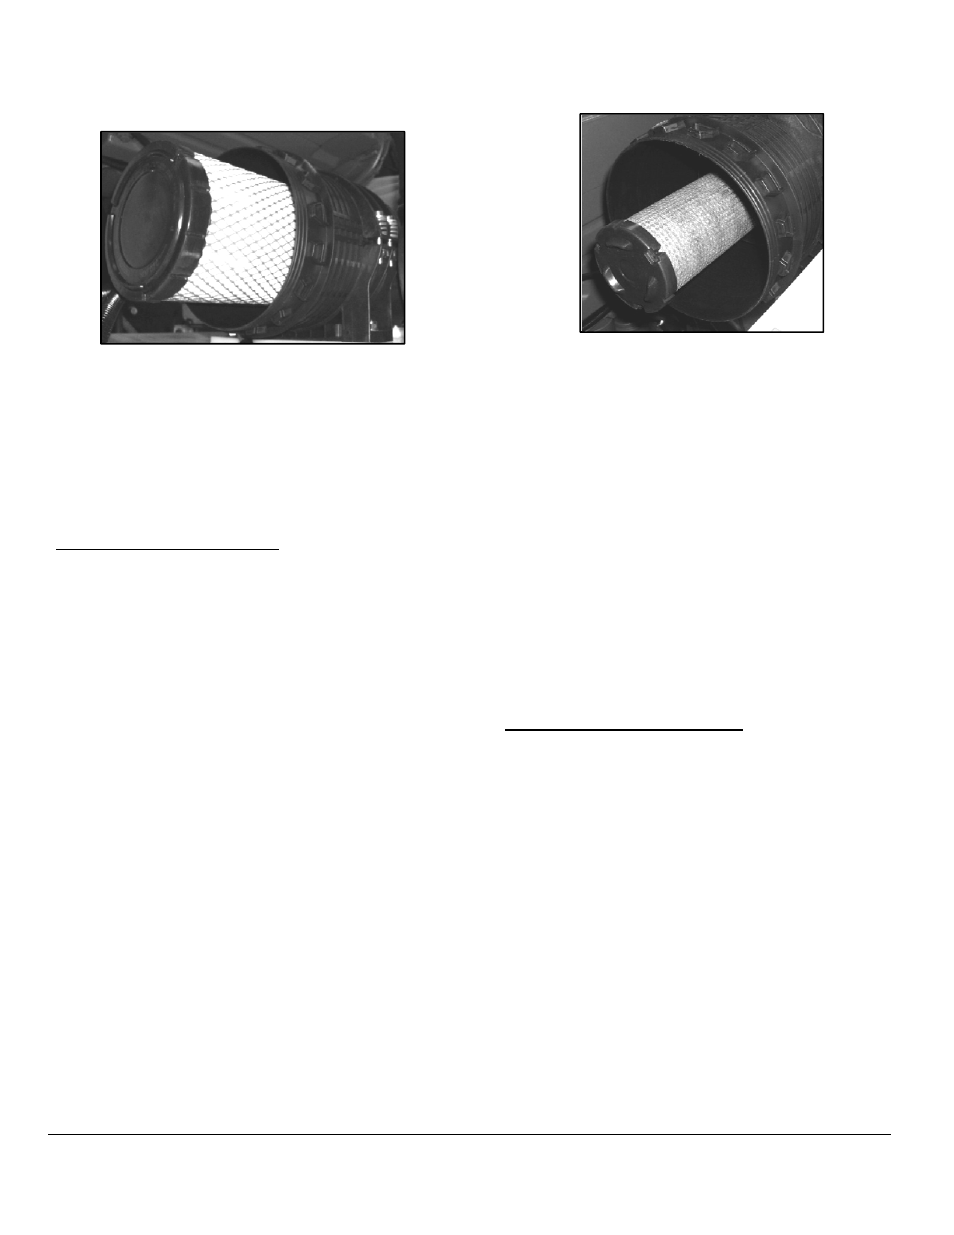
Figure 43: Outer Primary Filter
7. Place the end cover tightly up against the ridge
at the end of the air cleaner.
8. Turn the end cover counterclockwise to lock the
cover onto the air cleaner.
9. Push the tab in on the air cleaner’s end cover to
secure.
Replacing the Inner Safety Filter
DO NOT clean the inner safety filter. Replace it
after five service cleanings, or approximately one
year, or if there are damages. DO NOT operate the
saw without the filter installed.
1. Pull the tab out on the air cleaner’s end cover.
2. Turn the end cover clockwise to unlock the
cover and pull the end cover away from the air
cleaner.
3. Pull the outer primary filter and the inner safety
filter out of the air cleaner. Inspect the outer
primary filter for damages and replace as
necessary.
4. Inspect the inside of the air cleaner and the end
cover for debris, and wipe them down with a
damp cloth as necessary. DO NOT use
compressed air to blow out the inside of the air
cleaner. DO NOT allow dust to enter the air
intake tube when cleaning or replacing parts.
5. Insert a new inner safety filter into the air
cleaner and gently push the filter into the unit
until it feels secure.
Figure 44: Inner Safety Filter
6. Place the outer primary filter into the air cleaner
(over the inner safety filter) and gently push the
filter into the unit until it feels secure.
7. Place the end cover tightly up against the ridge
at the end of the air cleaner.
8. Turn the end cover counterclockwise to lock the
cover onto the air cleaner.
9. Push the tab in on the air cleaner’s end cover to
secure.
Speed Control Lever
When the speed control lever is out of sync with the
saw’s movement; for example, if the saw moves
forward when the lever is at Neutral adjustments
are needed.
Adjusting the Speed Control Lever
1. Identify the linkage assembly connected to the
speed control lever.
2. Adjust the threaded nuts on the threaded
linkage assembly shaft.
31