P1 – time out value battery models only, Quick reference: p1, timeout, Step by step: p1, timeout – Meriam M2110P SMART PRESSURE GAUGE User Manual
Page 12
12
The Zero function (Up
↑ and Down↓) will reset the entire
register to 00 and allow editing to continue.
5
Press the PRGM/Enter
→ key to accept the digit.
The next digit begins flashing for edit.
6
Repeat steps 4 and 5 for the second digit.
The complete 2-digit value will be accepted, and
the register is closed (display shows P0 for
selection).
7
Press the Backspace
← key to activate the lockout
and return to Measure Mode.
Normal Pressure Display.
Notes
1. After step 2, the Backspace
← key will abort the process and return to Measure Mode.
2. After steps 3 or 4, the Backspace
← key will abort the current digit and close the register (since it is
the first digit).
3. After step 5, the Backspace
← key will abort the current digit and backup to the first digit. Another
Backspace
← will abort the process and close the register.
4. After step 6, the PRGM/Enter
→ key will again open the register for edit.
5. During any programming operation, if there is no keypad activity for approximately 1 minute, the
operation is aborted and the gauge returns to Measure Mode unchanged.
8. P1 – Time Out Value Battery Models Only
This register sets the length of time (in minutes) for automatic shutoff. The Battery model will automatically
shutoff if there is no keypad activity for this length of time. This feature can be disabled by selecting 0 in the
register, which allows the gauge to remain on indefinitely, or until the ON/OFF key is pressed (battery life may
be reduced). During programming, the choices found in the register correspond to the actual timeout values, in
minutes.
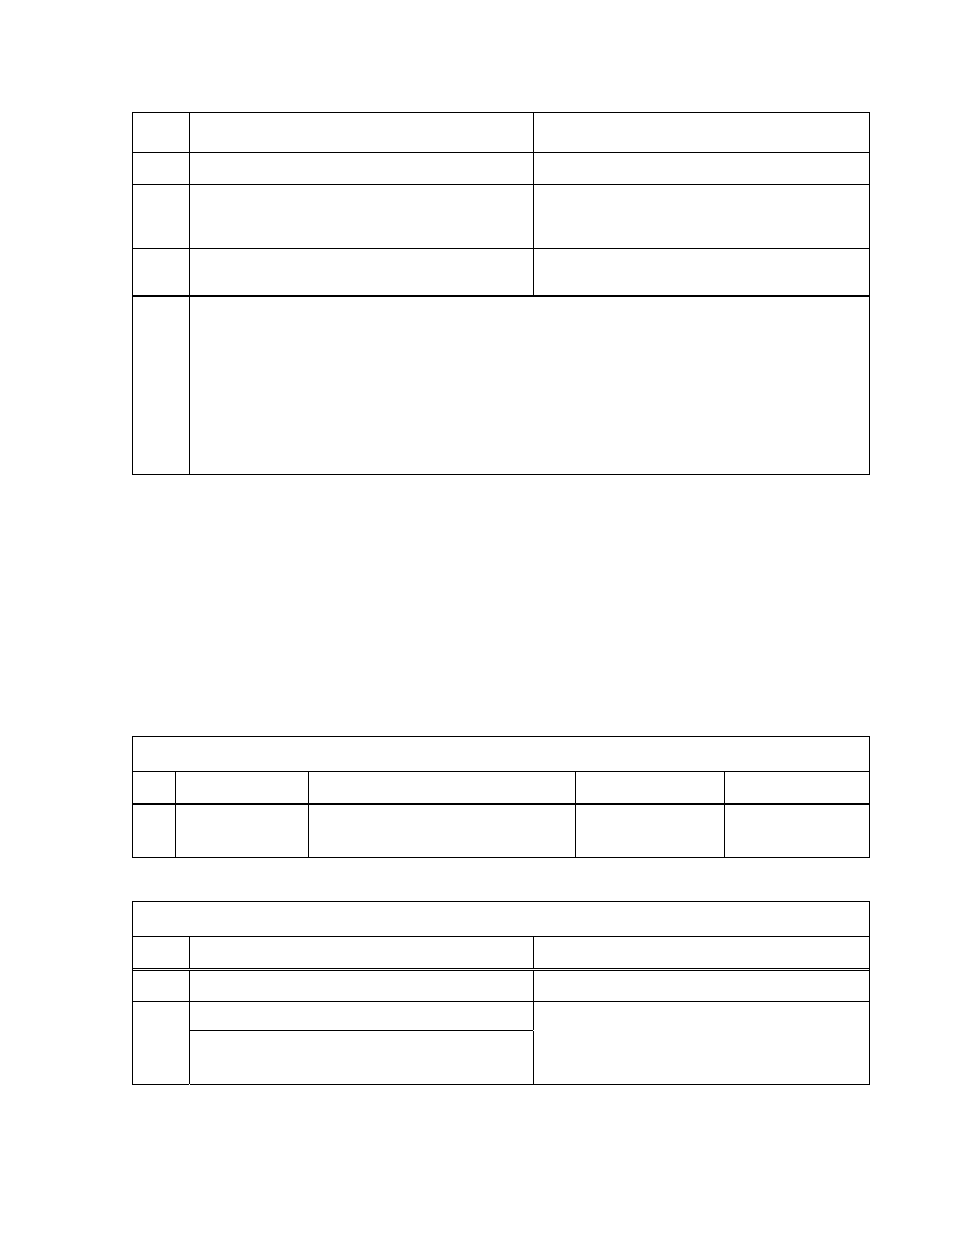
QUICK REFERENCE: P1, TIMEOUT
Px
Name
Description
Value Range
Notes
P1
Timeout
Automatic shutoff in minutes of
keypad inactivity.
0 (disabled),
1, 2, 5, 10, 15, 25
Battery model
only.
STEP BY STEP: P1, TIMEOUT
Step Action
Display
1
Gauge should be in the normal Measure Mode. Normal
Pressure
Display.
Press the PRGM/Enter
→ key.
2
If the lockout is active, the gauge will now prompt for entry of
the lockout code. Refer to “STEP BY STEP: ENTERING A
LOCKOUT CODE (When Prompted)” on page 22.
The PRGM annunciator shows at the top of the
display, and the display shows the register name
“P0”.