Send the data log to a printer or computer, View or delete the buffer (data log), Identify the analog input values – Hach-Lange WPC-22 User Manual
Page 15: Refer to
Option
Description
Contrast/Beep
CON—Adjust the contrast
BEP—Enable (ON) or disable (OFF) the audible beep
Date/MODE
Date—Enter the date and time (24 hour format)
MODE—Set the mode. Options: S (stand alone mode)
or N (network mode)
Send the data log to a printer or computer
The data in the buffer (data log) can be sent to an attached printer or
computer. Refer to
Connect a serial device (optional)
1. Set the printer and/or computer serial port to 9600 baud, 8 data, No
parity, 1 stop bit and no flow control.
Note: The computer or printer will not receive complete transmissions if the
device cannot continuously receive at 9600 baud.
2. Push the F1 until "Buff Count/Print Buff/Download" shows, then push
ENTER.
3. Select an option. To exit, push ENTER.
Option Description
PRT
Send the data in the buffer (data log) to the attached printer or
terminal display. The oldest data is sent first. Refer to
the sensor status codes.
DNLD
Send the data in the buffer (data log) to the attached computer.
Refer to
for the sensor status codes.
Table 11 Status codes (binary)
Code
Description
1
Sensor error
2
CH1 count alarm
3
Sensor error and CH1 count alarm
4
CH2 count alarm
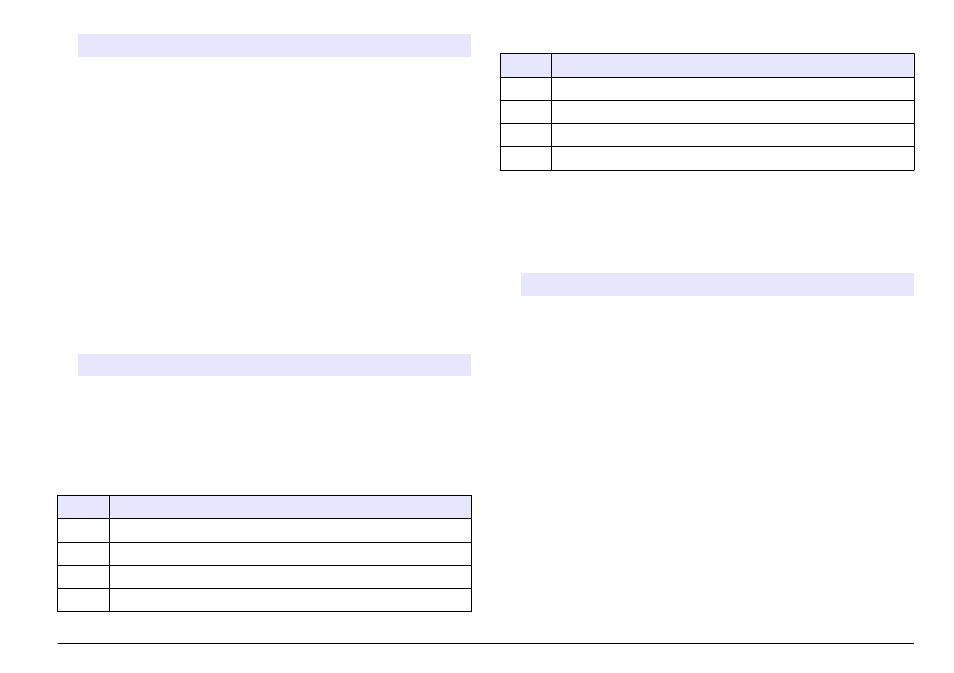
Table 11 Status codes (binary) (continued)
Code
Description
5
Sensor error and CH2 count alarm
6
CH1 and CH2 count alarms
7
Sensor error, CH1 count alarm and CH2 count alarm
8
Flow alarm or digital input alarm
View or delete the buffer (data log)
1. Push the F1 until "Buff Count/View Buffer/Delete Buffer" shows, then
push ENTER.
2. Select an option. To exit, push ENTER.
Option Description
VIEW
Show the data in the buffer (data log). The most recent data shows
first. The status codes shown are:
A—One of the channels was over the count alarm setting for the
channel.
S—It may be necessary to clean the sensor flow cell.
To go backwards, push BAK. To go forward, push NXT. To exit,
push ENTER.
DEL
Erase all the data in the buffer (data log). Push YES to confirm or
NO to exit.
Identify the analog input values
Push the F1 until "Input 1/Input 2" shows, then push ENTER. The
voltage supplied by the auxiliary instrument connected to each analog
input shows. This information is not buffered in stand alone mode but it
can be retrieved in network mode.
English 15