Quick-start operating instructions, Startup connections, Figure 2 – Dynasonics 901 Series Enhanced Ultrasonic Flow Meter User Manual
Page 3
Rev. 04/02
-2-
D901/M
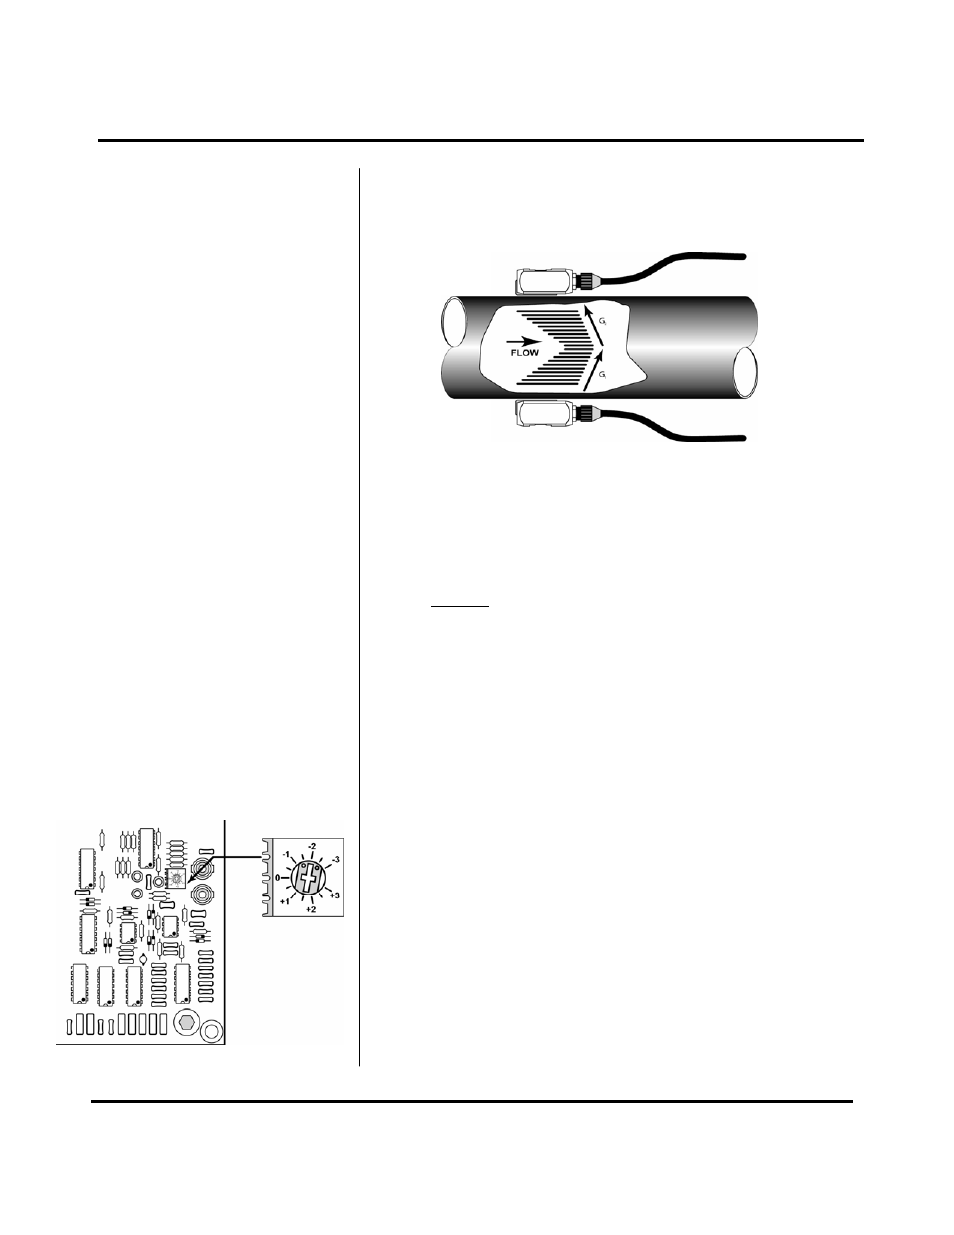
D. Place each transducer under the mounting strap,
180° apart on the pipe. Ensure that the transducer
cables are facing the same direction. See Figure 2.
E. Route the transducer cable back to the transmitter,
avoiding locations near high voltage supply wires.
3. TRANSDUCER CONNECTION
A. Do not attempt to add additional cable to the
transducers.
B. Connect the spade terminals to the appropriate
terminal block within the transmitter.
4. INITIAL SETTINGS AND POWER UP
A. Set the SENSITIVITY control to - 2.
B. Apply AC power. The POWER indicator will
illuminate.
C. If the pipe is full of a flowing liquid, the SIGNAL
STRENGTH meter will indicate and the READ
indicator will illuminate.
D. Adjust the SENSITIVITY control so that the right-most
green LED just comes ON.
E. The default display indicates fluid velocity as either
FPS or MPS. Refer to the appropriate place in this
manual for specific features and options.
Startup
Connections
QUICK-START OPERATING INSTRUCTIONS
Figure 2
Transducer
Receiving
Transducer
Transmitting
Transducer