Part 2 - transducer installation – Dynasonics 901 Series Enhanced Ultrasonic Flow Meter User Manual
Page 14
Rev.
04/02
-13-
D901/M
PART 2 - TRANSDUCER INSTALLATION
Before the transducer heads are bonded to the pipe
surface, an area slightly larger than the flat surface of the
transducer must be cleaned to bare metal on the pipe.
(Plastic pipes do not require preparation beyond removal
of paint.) Remove all scale, rust and paint. Thoroughly
dry and degrease the mounting surfaces.
NOTE: Small pits in the piping surface typically do not
significantly impact ultrasonic transmission or signal
reception.
After selecting the applicable mounting location and
preparing the piping surface as detailed in A and B, the
transducer can be mounted to the pipe.
To assure an acoustically conductive path between the
transducer face and the prepared piping surface, a
coupling compound is employed. Enclosed with the D901/
M system is tube of Dow Corning RTV-732. This couplant
is satisfactory for permanently mounting the transducers
to the pipe. If the installation is temporary (less than a few
days), Dynasonics recommends utilizing a silicone-based
grease such as Dow Corning 111. The grease chosen
must be rated to not flow at the temperature of the pipe.
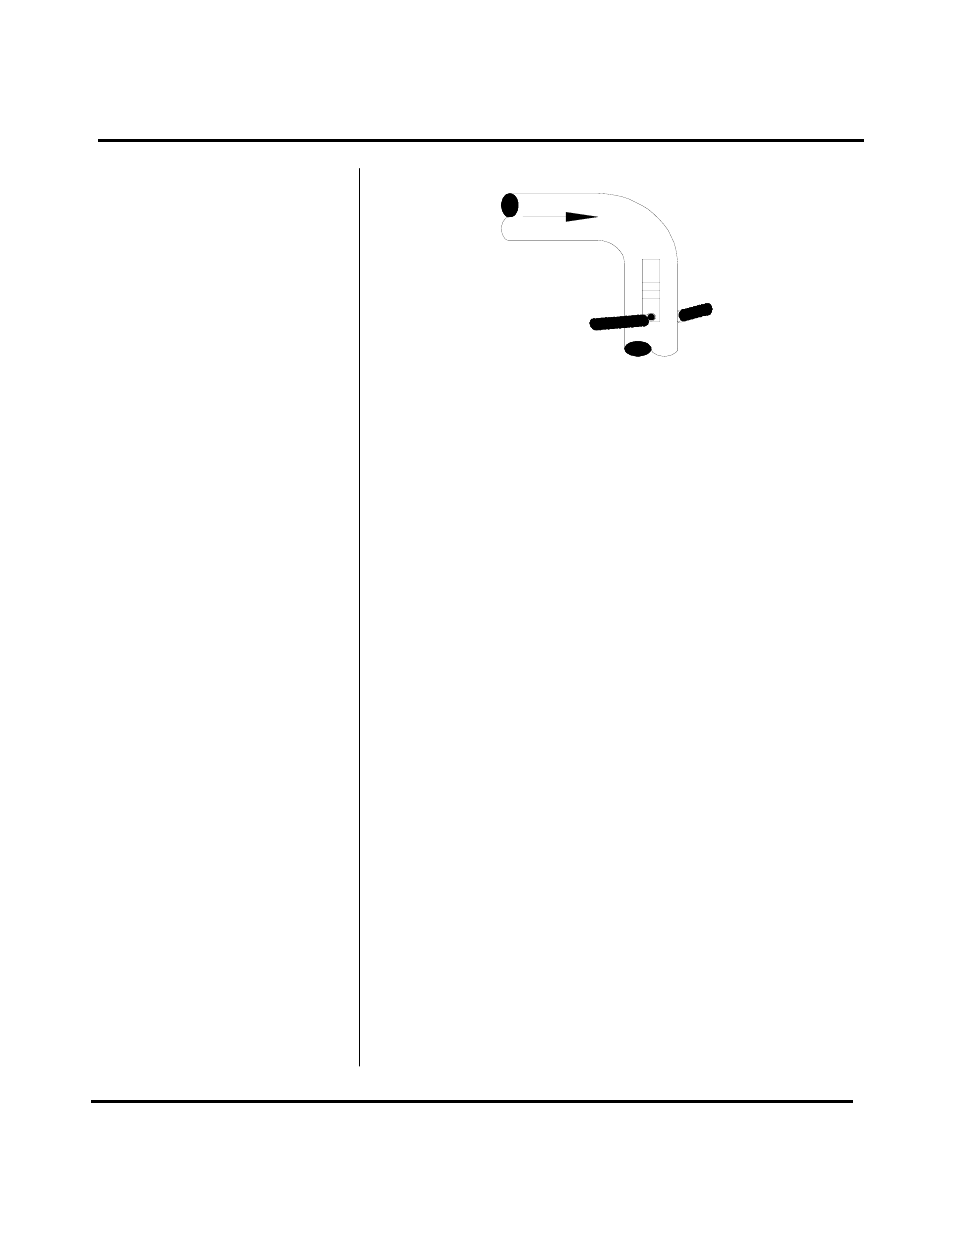
Figure 6
STEP B -
PIPE SURFACE
PREPARATION
STEP C -
TRANSDUCER
MOUNTING