Buyers 1501200 User Manual
Installation instructions
Quality since 1946
1
9049 Tyler Blvd. • Mentor, Ohio 44060
Phone (440) 974-8888 • Fax (440) 974-0165
Toll-Free Fax 800-841-8003 • buyersproducts.com
Installation Instructions
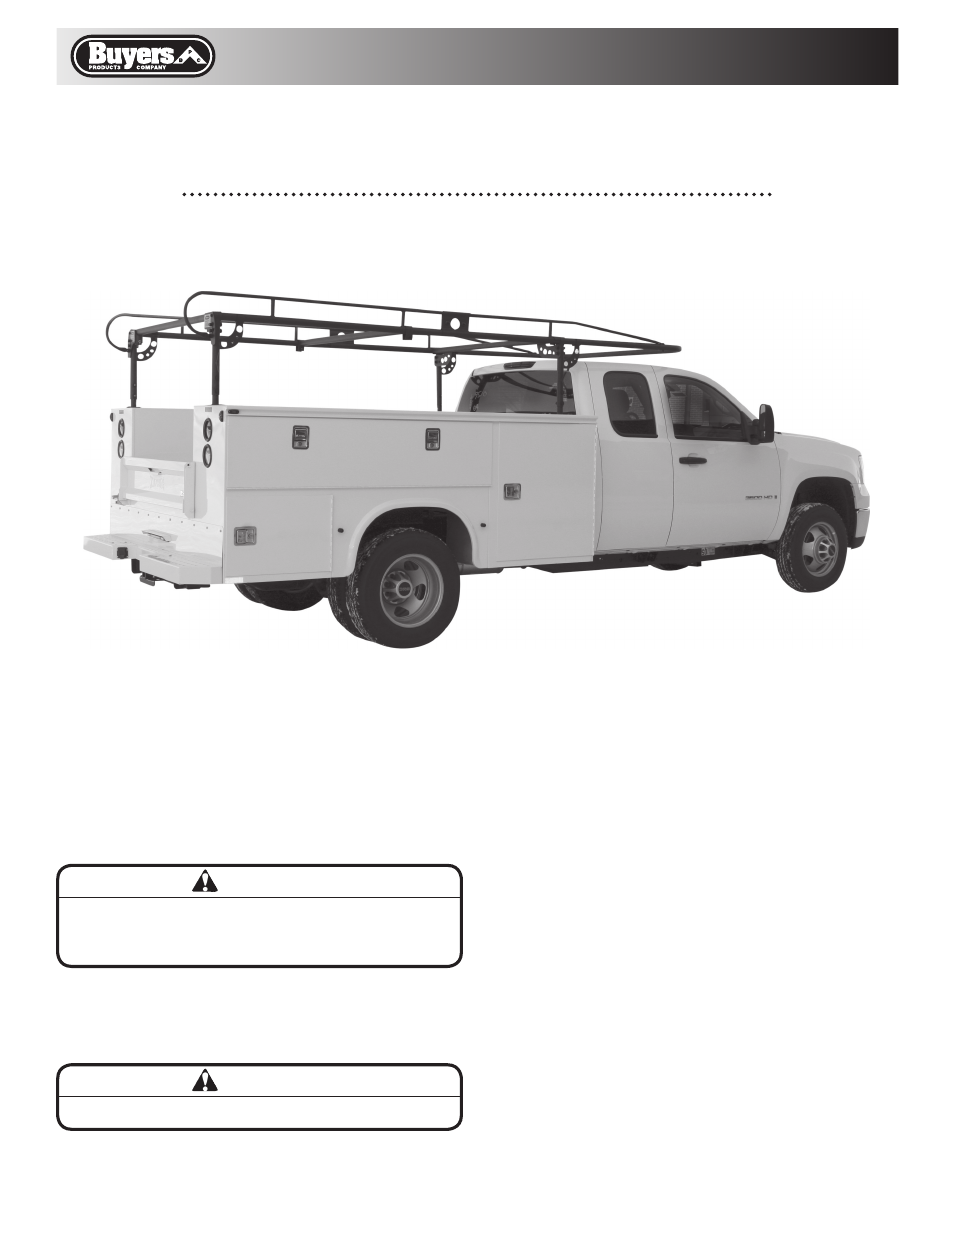
1501200 (13.5 ft.) & 1501210 (14.5 ft.)
Utility Body Ladder Racks
—continued inside
CAUTION
DO NOT FULLY TIGHTEN HARDWARE AT THIS TIME
CAUTION
CHECK TO ENSURE THAT THE MOUNTING LOCATIONS
CHOSEN ARE CLEAR OF ALL TAIL LIGHTS, WIRING, AND
BOX HANDLE HARDWARE
STEP 1 - Verify Rack Will Fit Your Truck Body
• DETERMINE WHERE THE RACK WILL BE
MOUNTED. Depending on your truck, the rack
may be mounted on top of the boxes, on front and
rear panels, or another location
• Position the mounting angles on the truck in the
positions they will be mounted
AT LEAST TWO PEOPLE ARE
NECESSARY TO INSTALL THIS RACK
• Measure the distance between the Mounting
Feet and record it as distance X. – (Fig. 2)
STEP 2 – Preassemble Rack (Figs. 3-8)
• Slide the Front Crossbar onto the Front Rails (Fig. 3)
• Assemble the four Legs to the Side Rails using
M12 x 50 HHCS with washers & locknuts (Fig. 3)
• Install the Driver Side and Passenger Side Rear
Crossbar Mounting Brackets using (2)M10 x 30
HHCS with washers to attach to the Rear
Rails and (2)M10 x 30 HHCS with washers and
locknuts to attach the grab handle (Fig. 4)
• Assemble the Rear Crossbar to the Rear Rails
using the Latch Pins (Fig. 4)
• Join the Front and Rear halves by sliding the
Rear Rails into the Front Rails (For additional
safety, the Connector Plates and (4)M16 x 35
Carriage Bolts with washers and locknuts are
recommended to be used at this time to secure
the two halves together) (Fig. 4)
• Lift and rotate the legs inward so the Rack can
stand by itself. Attach the Legs to the Front
Crossbar and Rear Mounting Brackets using
the M16 x 70 HHCS with (2) flat washers, a lock
washer and a lock nuts (Fig. 5)
• Insert the Feet into the Legs and attach using
(8)M12 x 90 HHCS with washers and locknuts
(FINGERTIGHTEN ONLY AT THIS TIME) (Fig. 6)