Rough Country 907S User Manual
Page 11
POST INSTALLATION INSTRUCTIONS
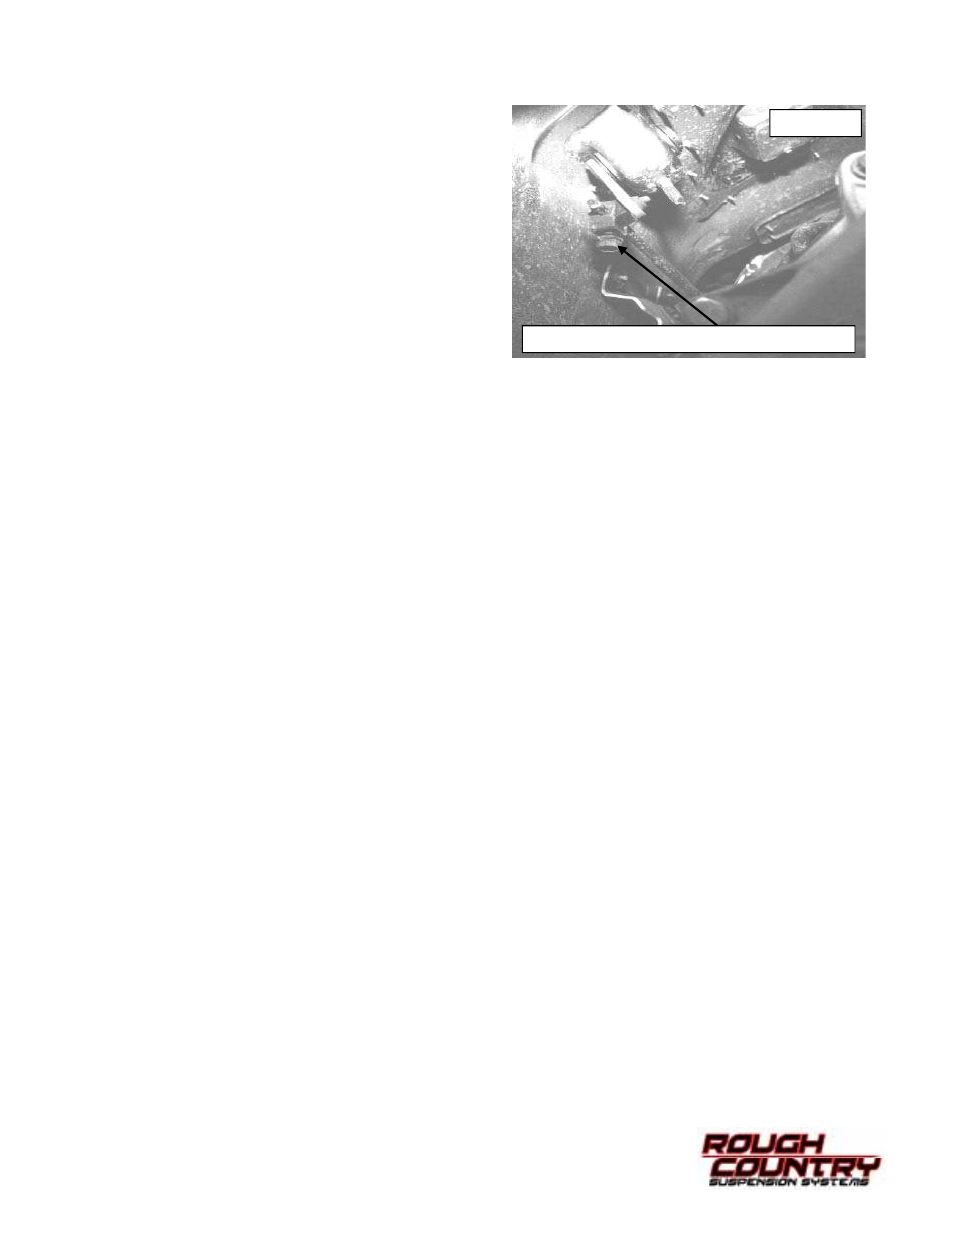
1. Check the transfer case shifter to see if it will move to 4L.
If not, the linkage will need adjusting as follows. Place the
shifter in 4L, loosen adjustment bolt and push the linkage
forward until it stops. Now re-tighten adjustment bolt.
Check to be sure 4WD works properly. See PHOTO 1
.
2. Check all fasteners for proper torque. Check to ensure for
adequate clearance between all rotating, mobile, fixed,
and heated members. Verify clearance between exhaust
and brake lines, fuel lines, fuel tank, floor boards and wir-
ing harness. Check steering gear for clearance. Test and
inspect brake system.
3. Perform steering sweep to ensure front brake hoses have
adequate slack and do not contact any rotating, mobile or
heated members. Inspect rear brake hoses at full exten-
sion for adequate slack. Failure to perform hose check/
replacement may result in component failure. Longer replacement hoses, if needed can be purchased from a lo-
cal parts supplier.
4. Rotate driveshaft and check for interference at differential yoke and CV joint. If necessary, lightly dress casting(s)
and/or U-joint tabs in order to eliminate binding
5. Adjust headlights to proper settings.
6. Have a qualified alignment center realign front end to factory specs. As a general rule you set caster to the mini-
mum of the factory spec and set toe-in to the maximum.
7. Install Warning to Driver decal on sun visor.
8. Grease all control arms and periodically grease as required.
9. Re-torque all nuts and bolts after the first 100 miles, again after another 100 miles and then check periodically
thereafter.
10. All components must be retightened after 500 miles, and every three thousand miles after installation
PHOTO 1
ADJUST LINKAGE AS NECESSARY