Removal / disassembly, Drive axle overhaul – Spicer Drive Axles Service Manual Single Axles 2-Speed & Double Reduction User Manual
Page 23
Test
(cont'd)
CAUTION: Use the correctly sized
spacer. Do not use shim stock or grind
spacers. These practices can lead to loss of
bearing preload and gear or bearing failure.
5. Once correct bearing preload has been
established, note the spacer size used.
Select a spacer 0.001" larger for use in the
final pinion bearing cage assembly. The
larger spacer compensates for slight
"growth" in the bearings which occurs when
they are pressed on the pinion shank.
NOTE: With the first stage of bearing preload
adjustment ("Trial Build-Up") completed,
continue reassembly of bearing cage and
pinion.
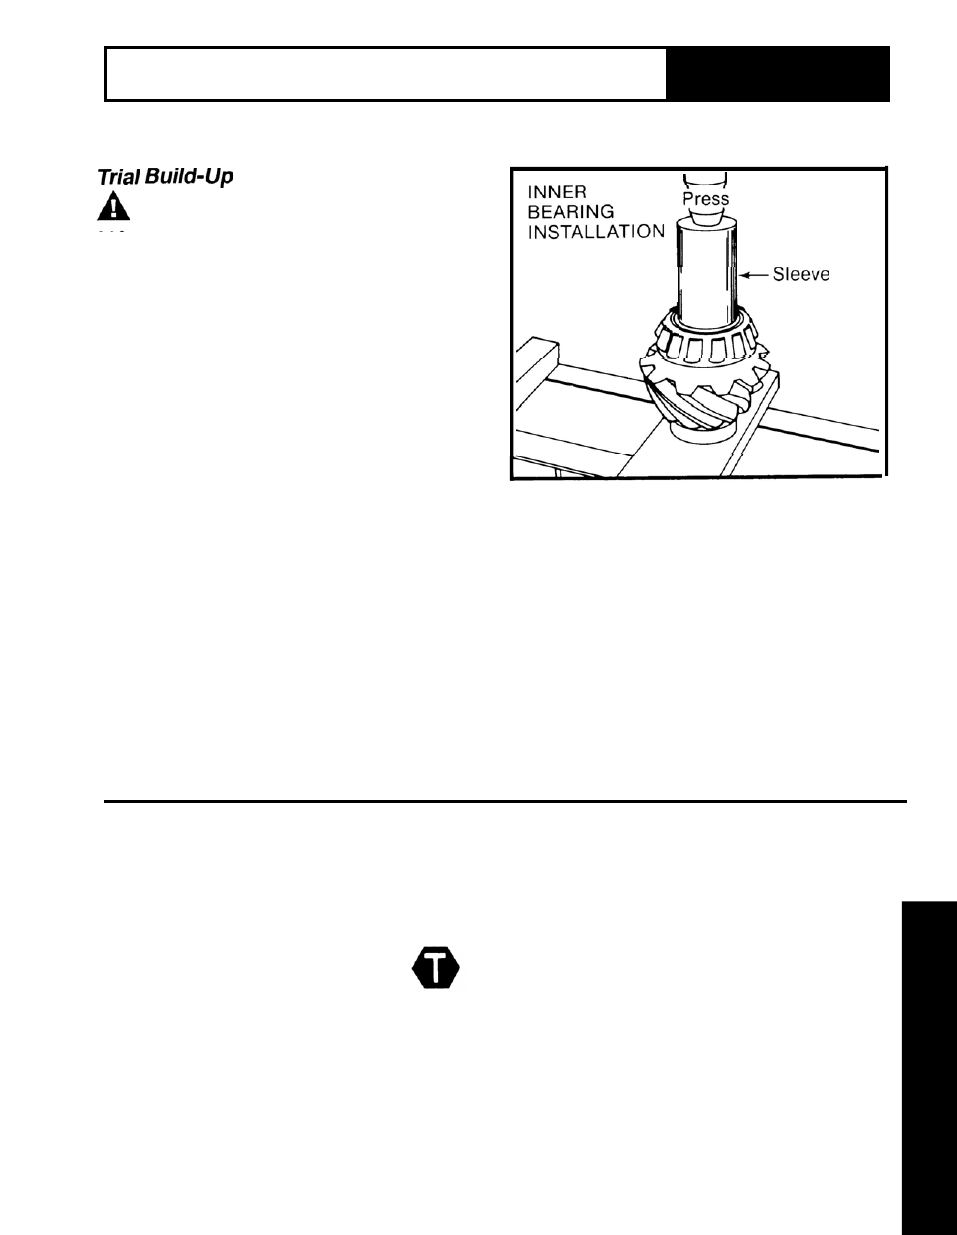
6. Press inner bearing cone on pinion using
a properly sized sleeve.
7. Install bearing spacer washer where
used. See illustration on preceding page
for applications.
8. Install bearing cage and cup assembly on
pinion. Insert outer bearing cone in cage,
then press bearing cone and cage assembly
on pinion.
I
9. At this stage of pinion reassembly,
recheck bearing preload adjustment by
performing "Final Bearing Preload Test" (see
following procedures).
Final Pinion Bearing Preload Test
1. With pinion and bearing cage assembled
PRESS METHOD: Press should be equipped
as previously described, measure bearing
with a calibrated load cell to insure proper
preload using either of the two following
clamp load. Position a sleeve so that load is
methods:
applied directly to backface of the outer
bearing cone. Apply clamp load (see chart
VISE METHOD: Install yoke and nut,
next page). Check bearing cage rolling
tightening nut to correct torque (see chart).
torque (see Step 2).
Mount the pinion assembly in a vise,
clamping yoke firmly. Apply clamp load
(see chart next page). Check bearing cage
rolling torque (see Step 2).
23
Section
3
REMOVAL / DISASSEMBLY
Drive Axle
Overhaul