Creating a watermark – Xerox PE220 User Manual
Page 87
5
Printing
Xerox PE220
5-21
2.
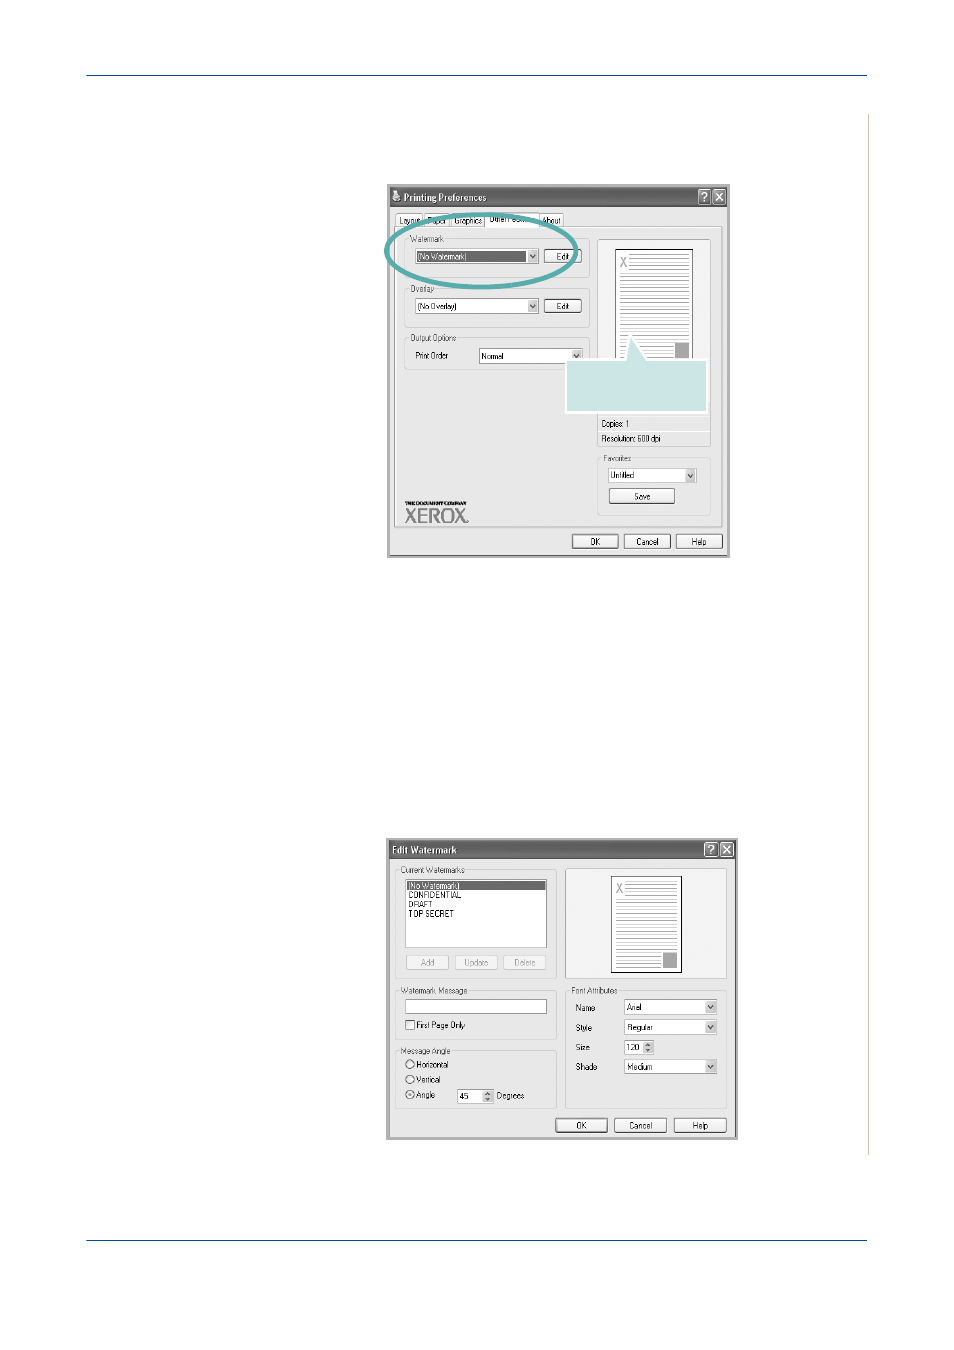
Click the Other Features tab, and select the desired watermark from the
Watermark drop-down list. You will see the selected watermark in the
preview image.
3.
Click OK and start printing.
NOTE:
The preview image shows how the page will look when it is printed.
Creating a Watermark
1.
To change the print settings from your software application, access
printer properties. See Printing a Document on page 5-8.
2.
Click the Other Features tab, and click the Edit button in the Watermark
section. The Edit Watermark window appears.
Preview Image
This manual is related to the following products: