Job accounting feature, Front panel access – Tally Genicom Intelliprint 8026DN User Manual
Page 231
Mar 06
TallyGenicom Intelliprint 8026DN Color Laser Printer User Guide
8-31
Using the Power-On Files Feature
Job Accounting Feature
The printer supports a job accounting feature which will store certain information about each
print job received by the printer. There are two ways to work with this feature. One is through
the front panel menu.
“Accessing the Printer Web Page” on page 8-38
for more
information on the Job Accounting Feature.
Front Panel Access
The Job Accounting Menu provides access to functions and settings related to this feature. Use
the following procedure to enter the Job Accounting Menu to change the settings or access the
functions:
1. Press the MENU button on the control panel.
2. Press the NEXT button until the text “Job Accounting Menu” is shown on the second line
of the display.
3. Press the SELECT button to enter the Job Accounting Menu.
4. Press the NEXT button to move through the submenus: Enable, Print Info, Reset Info.
5. Press the SELECT button to enter a submenu.
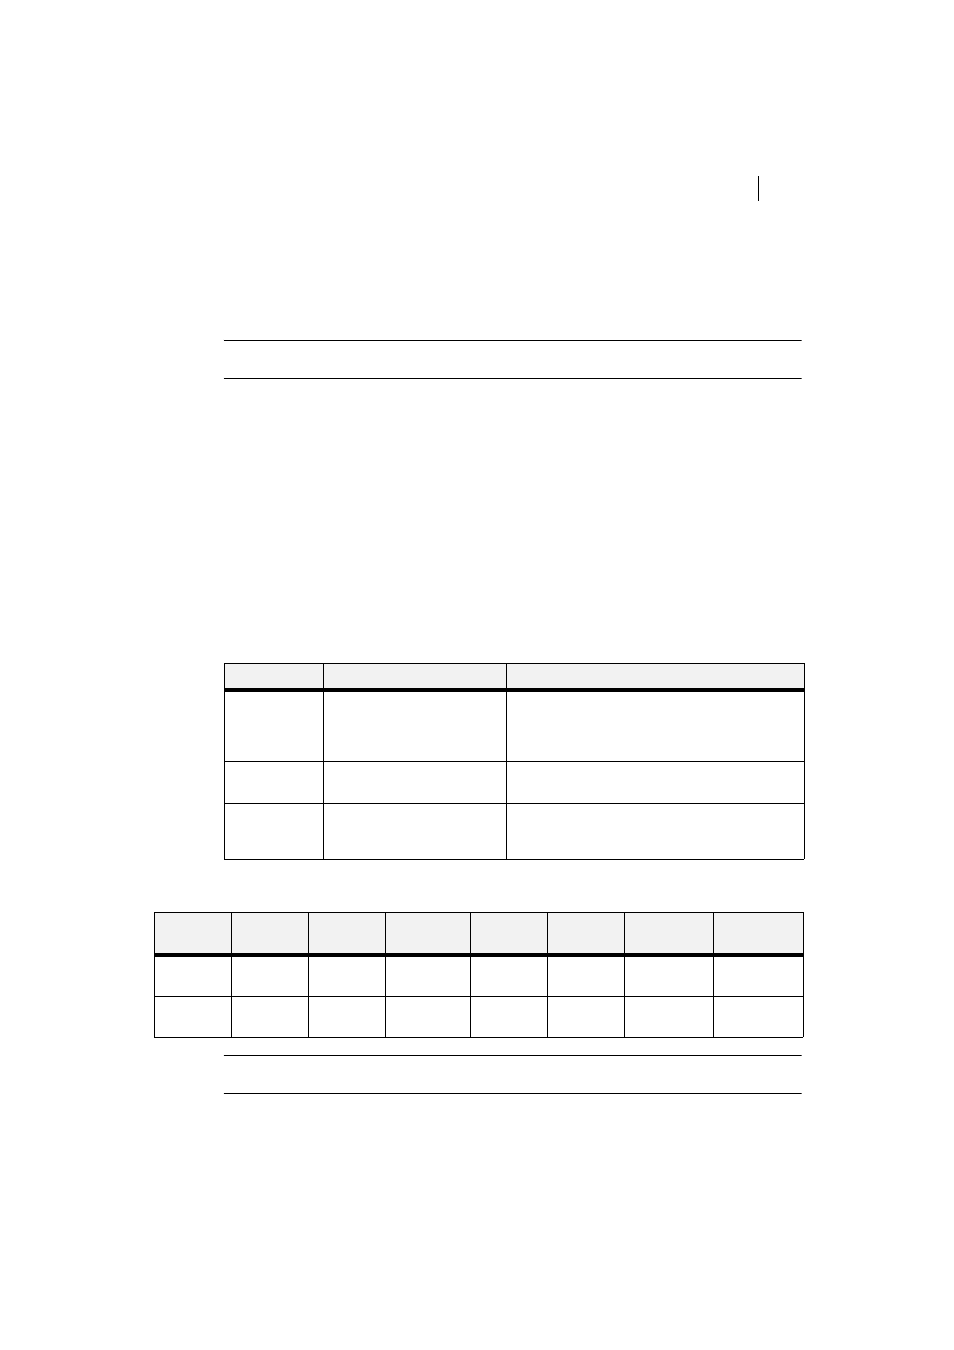
Use the procedures in the following table to access and change the system settings.
When you print a Job Accounting Summary the following information will print on your report:
NOTE: Only products that have real time clock support will provide the Date/Time
information.
SUBMENU
SETTINGS
PROCEDURE FOR CHANGING SETTING
ENABLED
Yes or No
1. Press NEXT or PREVIOUS to scroll through Yes
or No options.
2. Press SELECT to choose Yes to turn on this
function.
PRINT INFO
1. Press SELECT to begin printing the Job
Accounting Summary Report.
RESET INFO
1. Press SELECT to reset the Job Accounting
Information. This will delete all stored information
related to jobs received by the printer.
JOB
NAME
USER
NAME
PORT
PROTOCOL PAGES
(SIDES)
PAGES
(SHEETS)
DATE/TIME
DURATION
job2
jerry
parallel
4
4
May 30 2006
01:11:10 PM
00:00:08
job1
jerry
network1
LPD
4
4
May 30 2006
01:12:10 PM
00:00:04