Listening the result of the bounce-recording, If you’re bounce-recording in mono – Roland BOSS DIGITAL RECORDER MICRO BR User Manual
Page 51
51
Section 1. Recording and playing back
Section 1
fig.Disp-RHY-LEVEL100.eps
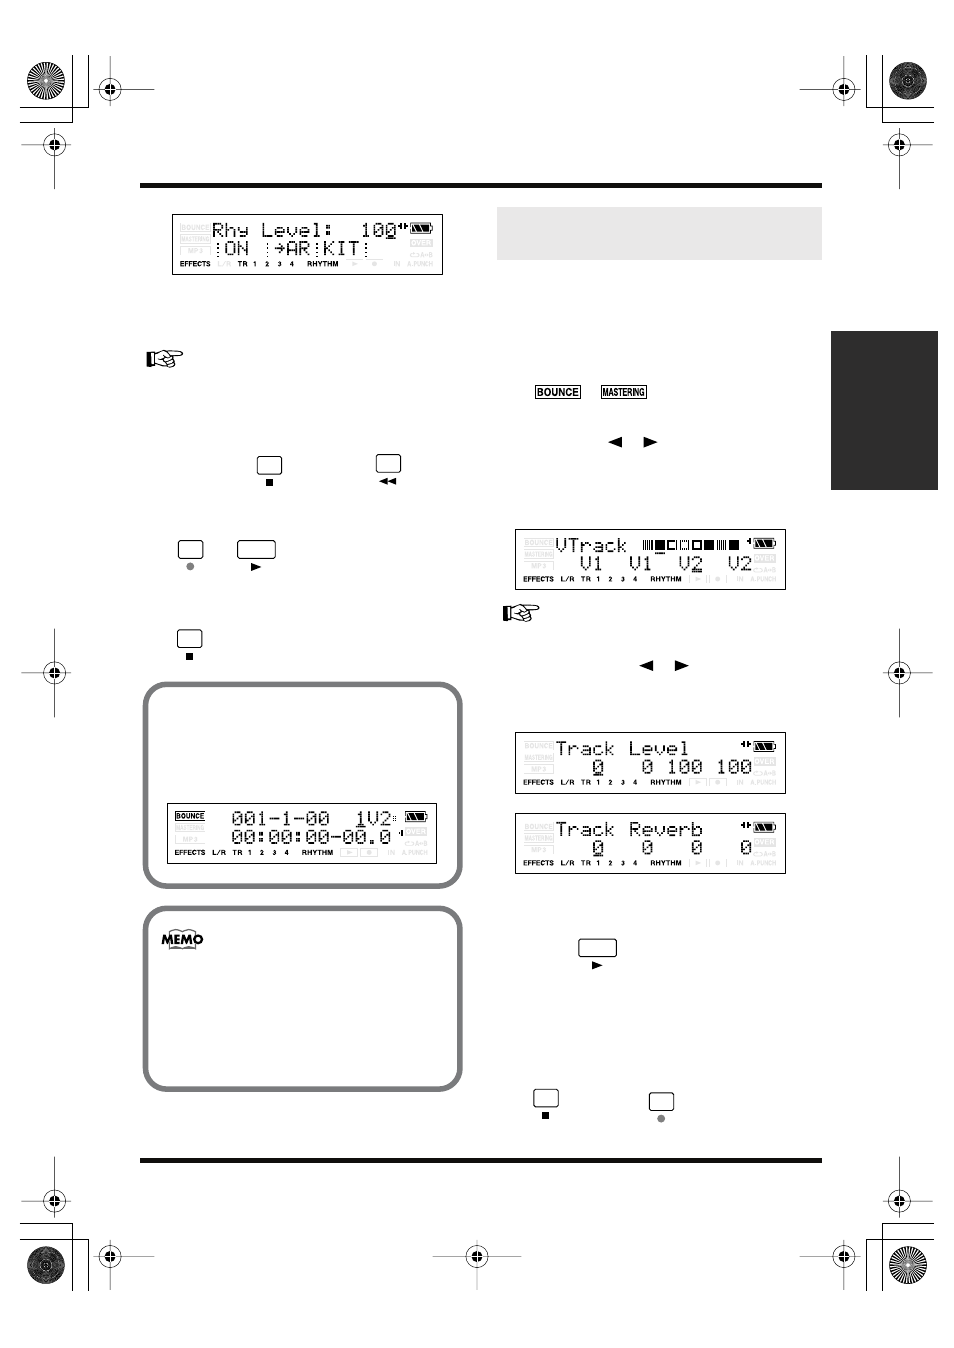
If you don't want to record the rhythm
sound, press [TR1] to turn off the RHYTHM
indication.
7.
Press [EXIT].
You will return to the Bounce screen.
8.
Hold down
, and press
to
return the time location to 00:00:00-00.0,
and then press the buttons in the order of
➔
to begin bounce-
recording.
9.
When you’ve finished recording, press
.
* Confirm the rhythm function is turned off.
1.
Simultaneously press [EXIT] and
[UTILITY] several times to put the MICRO
BR in Normal recording mode.
Make sure that the display does not indicate
,
2.
Press one of the [TR1]–[TR4], and press
CURSOR [
][
] several times to
access the V-track select screen.
In this example, we’ll select V-track 2 of
track 3 and V-track 2 of track 4).
fig.Disp-TR1-V1.eps
3.
Use CURSOR [
][
], VALUE [-][+] to
set the Tr1 and Tr2 Level to 0 (p. 33), and
Tr1 and Tr2 Reverb Level to 0.
fig.Disp-TR1-V1.eps
fig.Disp-TR1-V1.eps
4.
Press [EXIT].
You will return to the Play screen.
5.
Press
to hear the audio that was
bounce-recorded to tracks 3 and 4.
* The pan of the bounce-destination tracks (3 and 4) is set
to far left and far right respectively.
6.
If you want to store the settings in the
currently selected song, hold down
and press
.
If you’re bounce-recording
in mono
Set the Track to 1–4 (excluding 12 or 34),
you can bounce-recording in monaural.
fig.Disp-bounce-mode3.eps
You can apply reverb (p. 72) or the insert
effects
(p. 61) during bounce-recording.
If you want to use the insert effects on a
specific track, refer to “Changing how the
insert effects are used (p. 64)”.
Listening the Result of the
Bounce-recording
MICRO-BR_e1.book 51 ページ 2006年8月1日 火曜日 午後12時6分