Figure 54 custom view screen – Raritan Computer CC-SG User Manual
Page 69
C
HAPTER
5:
A
DDING
D
EVICES AND
D
EVICE
G
ROUPS
55
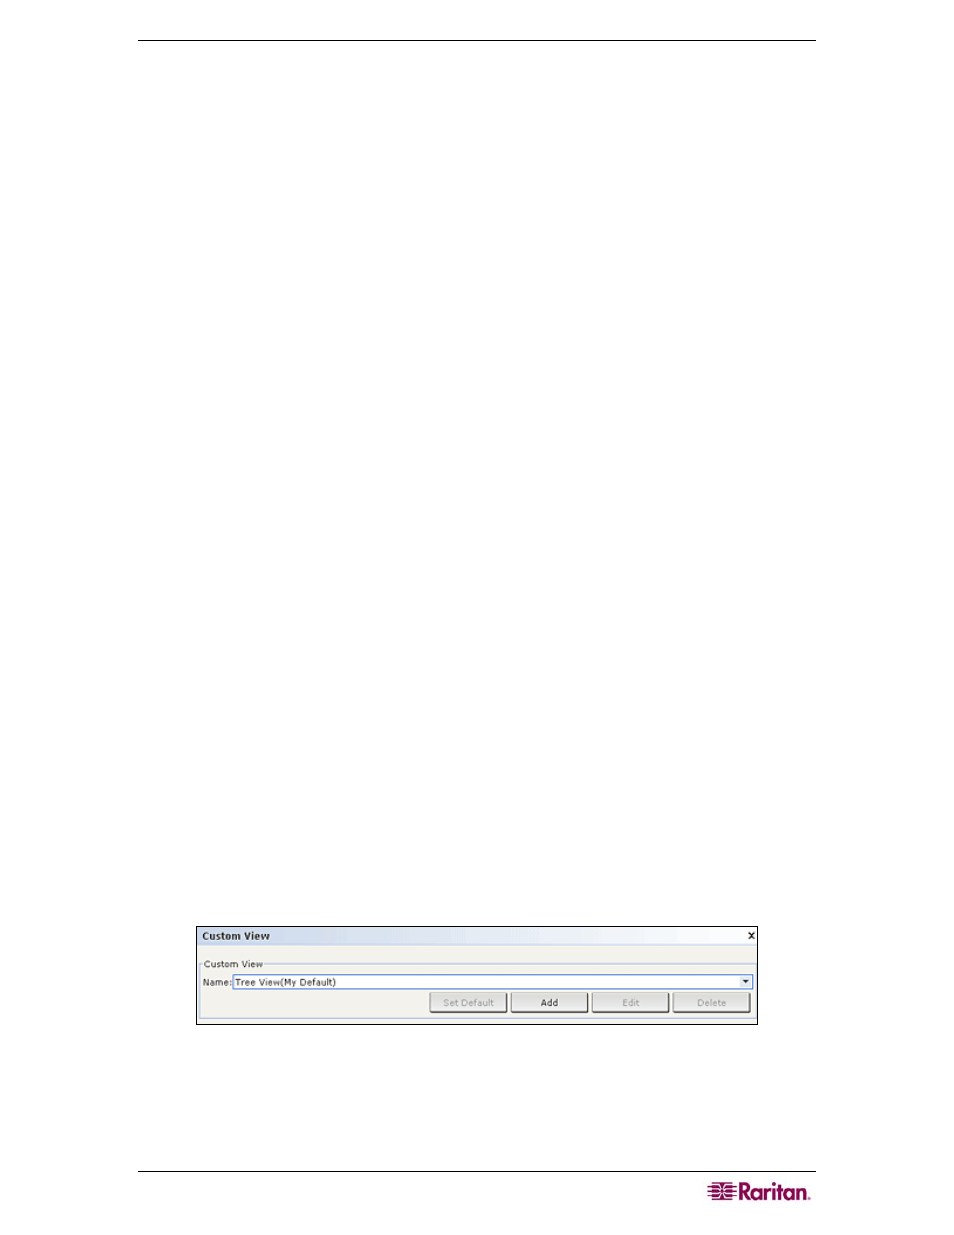
2. On the Devices menu, click Change View, and then click Create Custom View. The
Custom View screen appears.
3. In the Custom View panel, click Add. An Add Custom View window appears.
4. Type a new custom view name, and then click OK or click Cancel to close the window. The
new view name appears in the Name field.
5. In the Custom View Details panel, click the drop-down arrow at the bottom of the panel.
This list contains categories that you can use to filter custom views. Select a detail from the
drop-down list, and then click Add to add the detail to the Custom View Details panel.
Select as many details as needed.
6. To re-order the details in the Custom User Details panel, select a detail and use the Up and
Down buttons to arrange details in the order you want devices sorted. To remove a detail
from the list, select the detail, and then click the Delete button in the Custom User Details
panel.
7. Click Update to update the custom view. A Custom View Updated Successfully message
confirms that the custom view has been updated.
8. Click Set Current to arrange the Devices tree to reflect the selected custom view.
Edit a Custom View
1. Click the Devices tab.
2. On the Devices menu click Change View, and then click Custom View. The Custom View
screen appears.
3. Click the Name drop-down arrow in the Custom View panel and select the custom view to
be edited. Click Edit. An Edit Custom View window appears.
4. Type a new custom view name, and then click OK to confirm or Cancel to close window.
5. In the Custom View Details panel, click the drop-down arrow at the bottom of the panel.
This list contains categories that you can use to filter custom views. Select a detail from the
drop-down list, and then click Add to add the detail to the Custom View Details panel.
Select as many details as needed.
6. To re-order the details in the Custom User Details panel, select a detail and use the Up and
Down buttons to arrange details in the order you want devices sorted. To remove a detail
from the list, select the detail, and then click the Delete button in the Custom User Details
panel.
7. Click Update to update custom view. A Custom View Updated Successfully message
confirms that the custom view has been updated.
8. Click Set Current to arrange the Devices tree to reflect the selected custom view.
Delete Custom View
1. Click the Devices Tab.
2. On the Devices menu, click Change View, and then click Create Custom View. The
Custom View screen appears.
Figure 54 Custom View Screen
3. Click the Name drop-down arrow in the Custom View panel and select the custom view to
be deleted.
4. Click the Delete button in the Custom View panel. A Delete Custom View window appears.
5. Click Yes to delete the custom view.