Ruggedcom modules, Installing a module, 1 installing a module – RuggedCom RX1512 User Manual
Page 11
RUGGEDCOM RX1512
Installation Guide
Chapter 2
RUGGEDCOM Modules
Installing a Module
5
RUGGEDCOM Modules
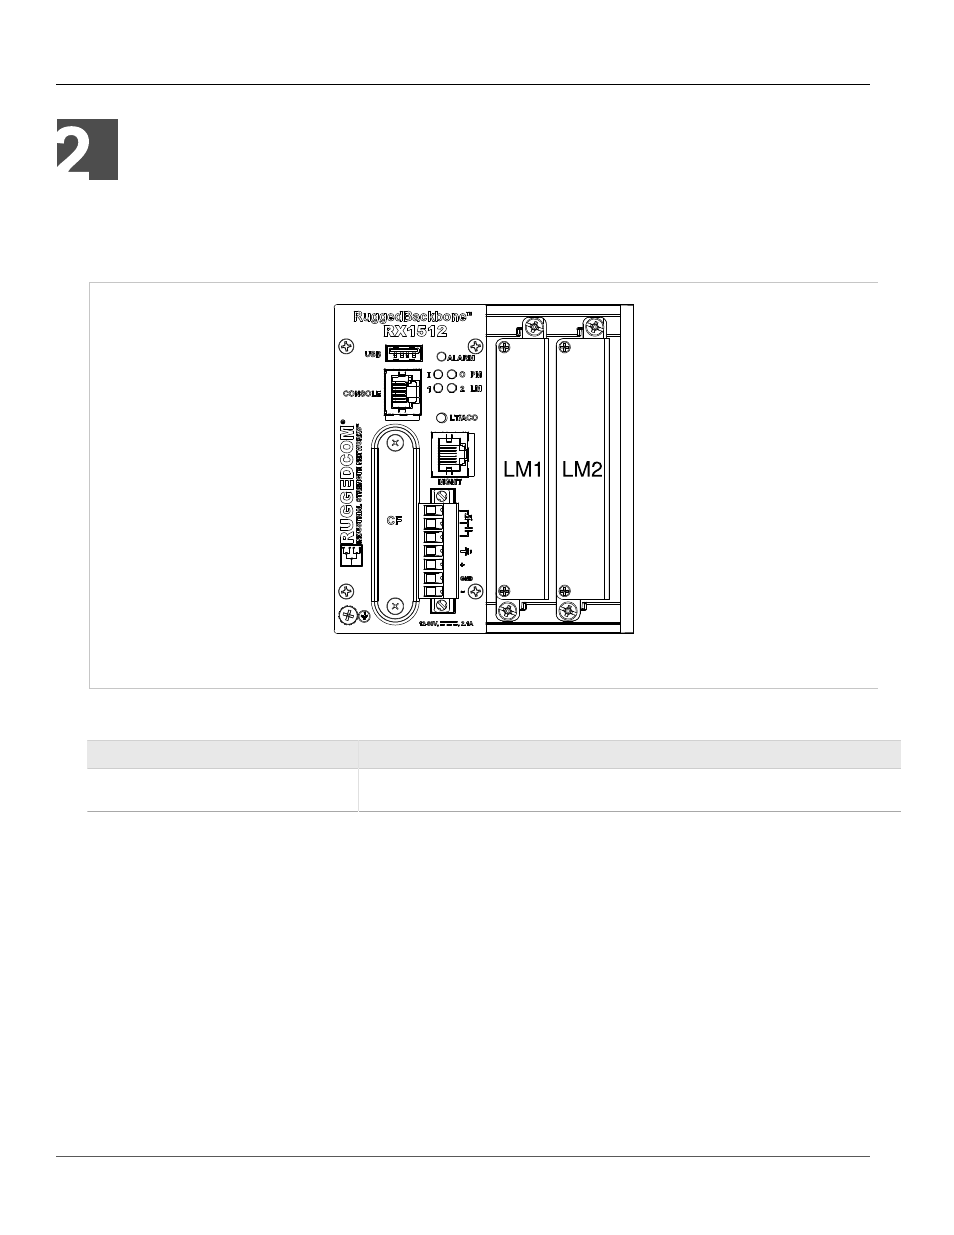
The RX1512 chassis provides two module slots. Each slot accommodates a particular type of RuggedCom
Figure 1, “Chassis Slot Assignment”
shows the module slots on the RX1512.
Figure 1: Chassis Slot Assignment
The RX1512 chassis supports the following modules:
Parameter
Description
LM1 and LM2
The RX1512 chassis supports up to two line module (LM) cards. For more information on line
Section 2.3, “Line Modules (LM)”
The RX1512 features a single 12-60VDC power supply integrated with the Control Module. For instructions on
completing the power supply connections, see
.
All modules are built to the RuggedRated™ specifications of the RUGGEDCOM RX1512. Each module type is
described in the following sections.
Section 2.1
Installing a Module
To install a module into the RUGGEDCOM chassis, align the module guide ribs with the channels on the chassis.
Push the module in as far as it will go, being sure to push through the resistance provided by the grounding
springs. When properly seated, the module flange will rest on the main chassis frame. Tighten the thumbscrews
using finger strength only.