6 document tray, 7 output tray, Document tray – Panasonic KX-FLB851 User Manual
Page 16: Output tray, 6 document tray, 7 output tray, 1 attaching the tray label
1. Introduction and Installation
14
For assistance, please visit http://www.panasonic.com/consumersupport
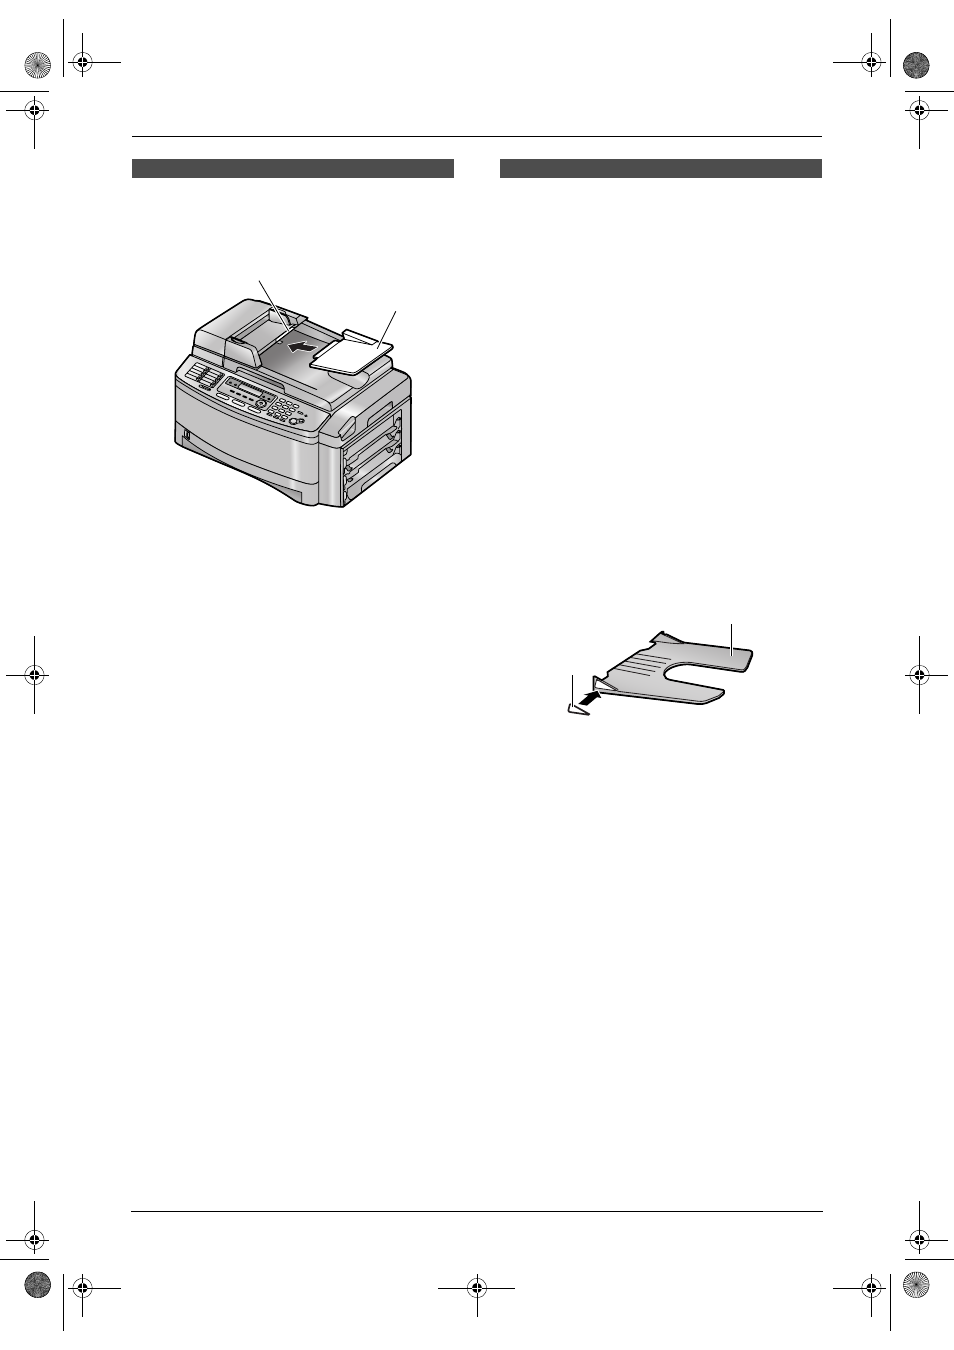
1.6 Document tray
Insert the document tray (
1) into the slot (2) on
the unit.
1.7 Output tray
This unit has 3 pieces of output tray. As a default
setting, printed paper is stacked on the output
tray as follows.
–
Upper output tray (“
#1”): Printed document
by using the computer and copied document.
–
Lower output tray (“
#3”): Received fax
document.
L
You can change the output tray setting for
faxing (feature #441 on page 65) and for
copying (feature #466 on page 67). You can
also select the middle output tray (“
#2”).
To change the output tray from the computer,
set the printer properties. See page 50, 55 for
details.
1.7.1 Attaching the tray label
Attach the tray label (
1) to the output tray (2).
L
Label 1 to the upper output tray (“
#1”)
L
Label 2 to the middle output tray (“
#2”)
L
Label 3 to the lower output tray (“
#3”)
Note:
L
Instead of the label 1, 2, 3, you can also
attach other labels for print, copy or fax
according to the usage. For a blank label, this
is convenient if the optional LAN board is
installed. You can write the user name on the
blank label and attached it to the selected
output tray.
2
1
1
2
FLB851-PFQX2175YA-en.book Page 14 Thursday, September 8, 2005 2:24 PM