Changing the default scan settings, Scanning over a network, Setting a network printer to scan – Lexmark 4800 User Manual
Page 53
Changing the default scan settings
1
From the control panel, press
or
repeatedly until Scan is highlighted.
2
Press .
3
If your printer is connected to more than one computer:
a
Press
or
repeatedly until the computer to which you want to scan is highlighted.
b
Press .
If you set a PIN during network setup and are being asked for it:
1
Enter the PIN using the
and
to select a digit location and the
and
to select a value for that
digit.
2
Press .
4
Wait until the printer has finished downloading the scan applications list.
5
Press
repeatedly until Change Default Settings is highlighted.
6
Press .
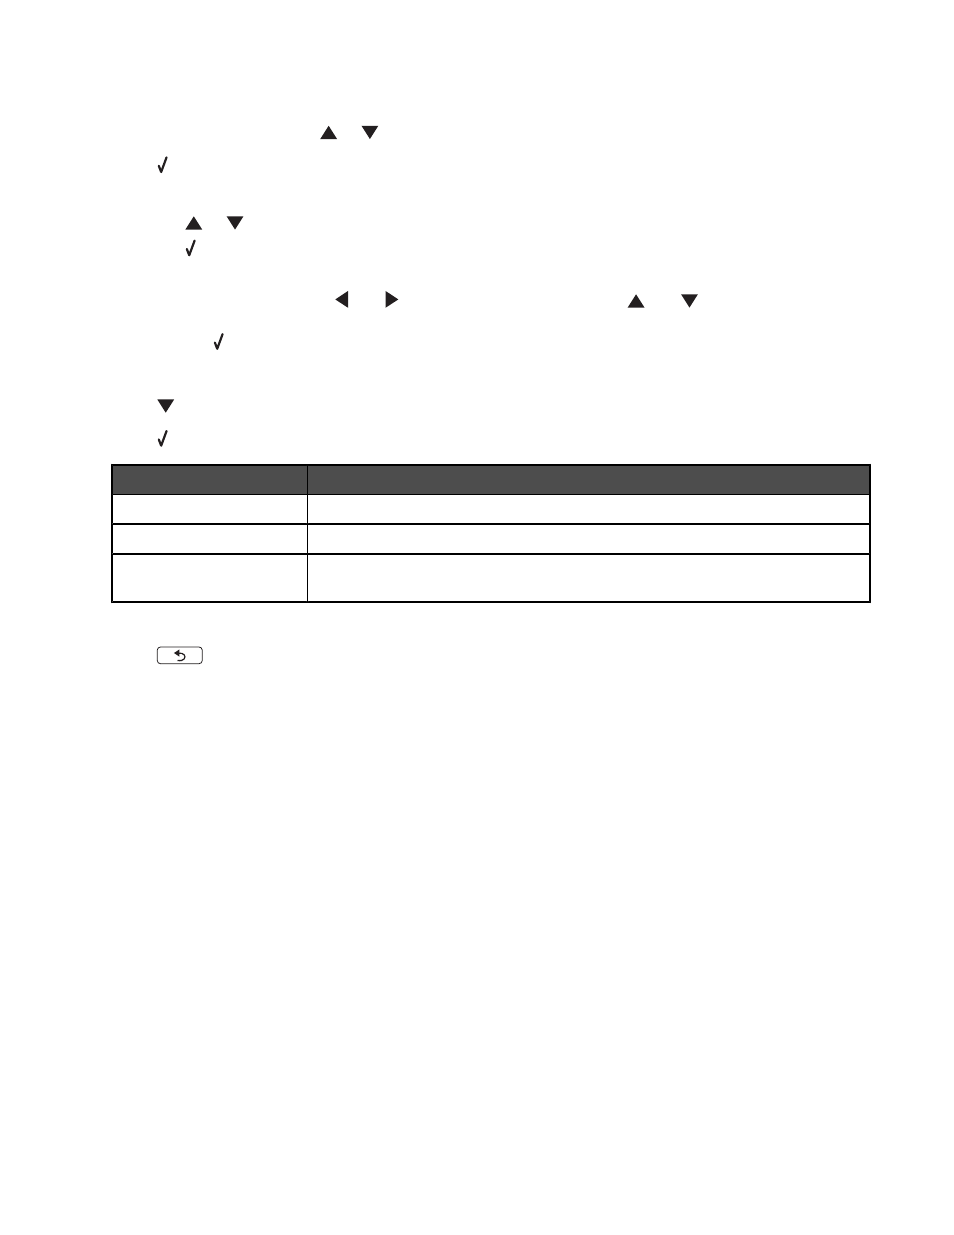
From here
You can
Color
Choose to scan your document in color or black and white.
Quality
Choose a scan quality: Automatic, 150 dots per inch (dpi), 300 dpi, or 600 dpi.
Original Size
Set the size of the original document: Auto Detect, L, 2L, A6, A5, B5, A4, Wallet,
3 in x 5 in, 4 in x 6 in, 4 in x 8 in, 5 in x 7 in, 8 in x 10 in, or letter.
7
Use the control panel buttons to navigate the menu items and make your choices.
8
Press
to save your settings.
Related topics:
•
“Using the control panel” on page 78
•
“Understanding the Scan Mode menu” on page 83
Scanning over a network
Setting a network printer to scan
Assigning a name to your computer
You can assign a name to your computer when you install the printer software for the first time. Choose this name
when you scan an item on the network printer and want to send the scanned image to your computer. The name of
the computer can be changed, as needed.
1
From the Finder desktop, double-click the Lexmark 4800 Series folder.
2
Double-click the Lexmark 4800 Series Center icon.
3
From the menu, choose Advanced
Network Scan Settings.
4
In the Computer Name field, type in the name of your computer.
5
Click Save.
Scanning
53