Appendix b: how to install and access usb storage, Overview, Windows 7 – Linksys E2100L User Manual
Page 46: Overview windows 7, Install the usb storage device, Access the usb storage device
Linksys E2100L
Appendix B: How to Install and Access USB Storage
43
Advanced Wireless-N Router
Appendix B: How to Install and Access
USB Storage
Overview
The Router’s USB port lets you connect USB storage
that can be accessed over your network . This appendix
covers the main functions of the shared storage feature,
including the following:
•
Connect and access a USB storage device
•
Map a shortcut to a USB storage device
•
Create a shared folder on a USB storage device
(advanced users)
•
Manage access to shared folders using group and user
accounts (advanced users)
Follow the instructions for your operating system:
Windows 7, Windows Vista, Windows XP, or Mac OS X .
Windows 7
Install the USB Storage Device
1 . Make sure your computer has a wired or wireless
connection to the Router .
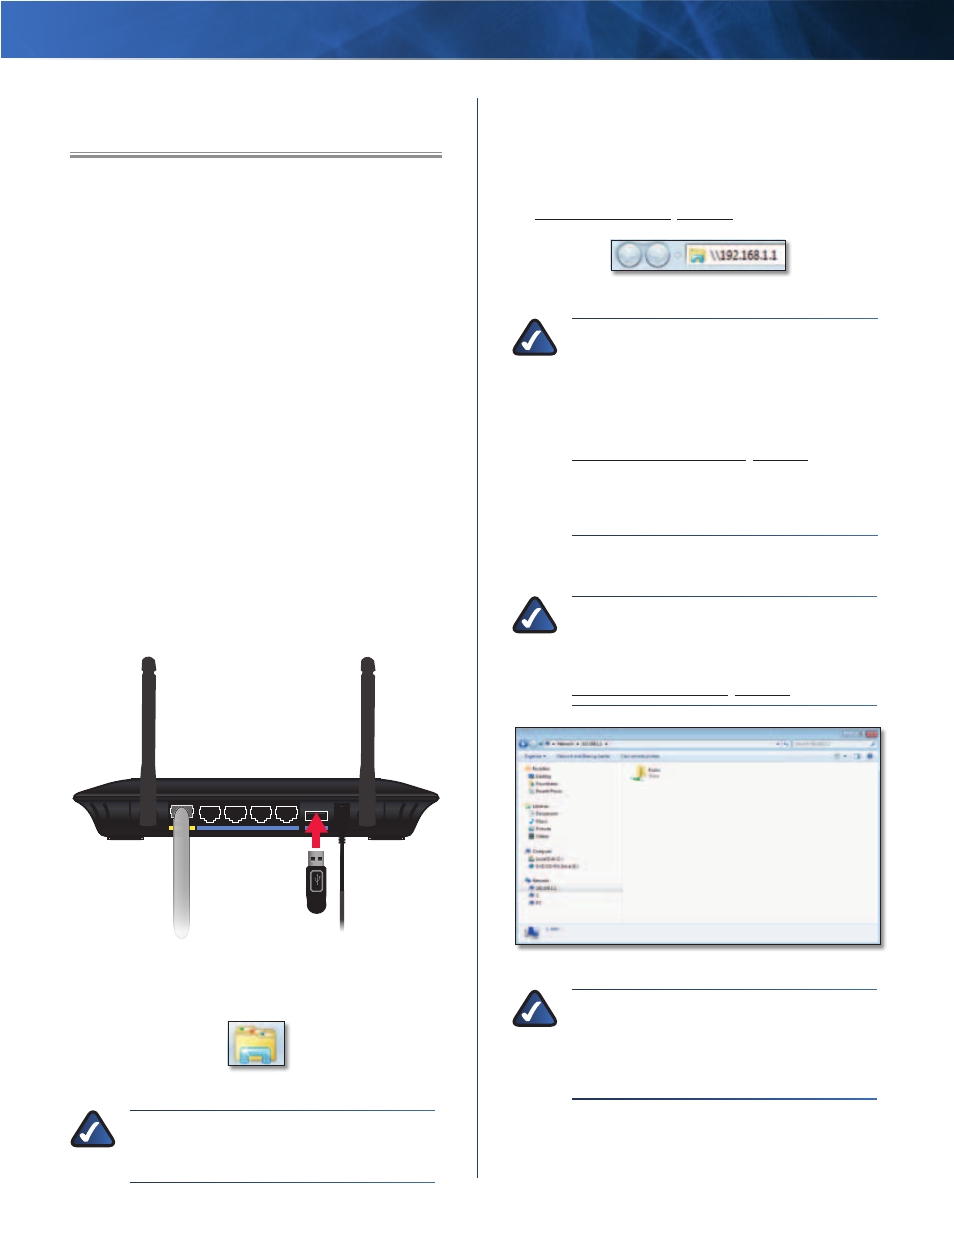
2 . Connect an external USB hard disk drive or USB flash
drive to the USB port of the Router .
Internet
Ethernet
4
3
2
1
Power
12VDC
USB
Access the USB Storage Device
1 . On your desktop, click the Windows Explorer icon .
Windows Explorer Icon
NOTE:
If the Windows Explorer icon is not
displayed, then go to Start > All Programs >
Accessories > Windows Explorer .
2 . In the Address field, enter the local IP address of the
Router:
\\xxx.xxx.xxx.xxx
The default is 192.168.1.1 . You can change this IP
address on the Setup > Basic Setup screen; refer to
Setup > Basic Setup, page 11 .
Enter Local IP Address of Router
NOTE:
Another option is to use the server
name of the Router . In the Address field, enter:
\\Ciscoxxxxx
(xxxxx are the last five digits of the Router’s
serial number .) You can change the server name
on the Storage > Administration screen; refer to
Storage > Administration, page 29 .
If you used the setup software for installation,
then enter the name of your wireless network
(up to 15 characters) in the Address field .
3 . Double-click the Public folder . (By default the Router
creates a shared folder called Public .)
NOTE:
If the USB storage device has
pre-existing folders, then you will have to
create shared folders so there is network
access to these pre-existing folders . Proceed to
Create a Shared Folder, page 53 .
Double-Click Public Folder
NOTE:
If the Public folder is not displayed,
right-click Network . Click Properties . Click
Change advanced sharing settings . Select
Turn on network discovery . Select Turn on
file and printer sharing . Click Save changes .