Work with the solo function, Work with the monitor cue function – KORG D1600 User Manual
Page 25
KORG D1600 Guided Tour
25
Work with the Solo function:
The Solo function lets you isolate and monitor individual tracks, master effect sends and returns, and aux
sends. The faders on the D1600 control both recording and monitoring levels, and a Cue Level function is
provided for separate adjustment of level and pan while you record.
1. Press
the
SONG key to return to the main song menu. Make sure the copied demo song you’ve been
working with is still selected.
2. Press
the
PLAY key to start playback of the song.
3. Press
the
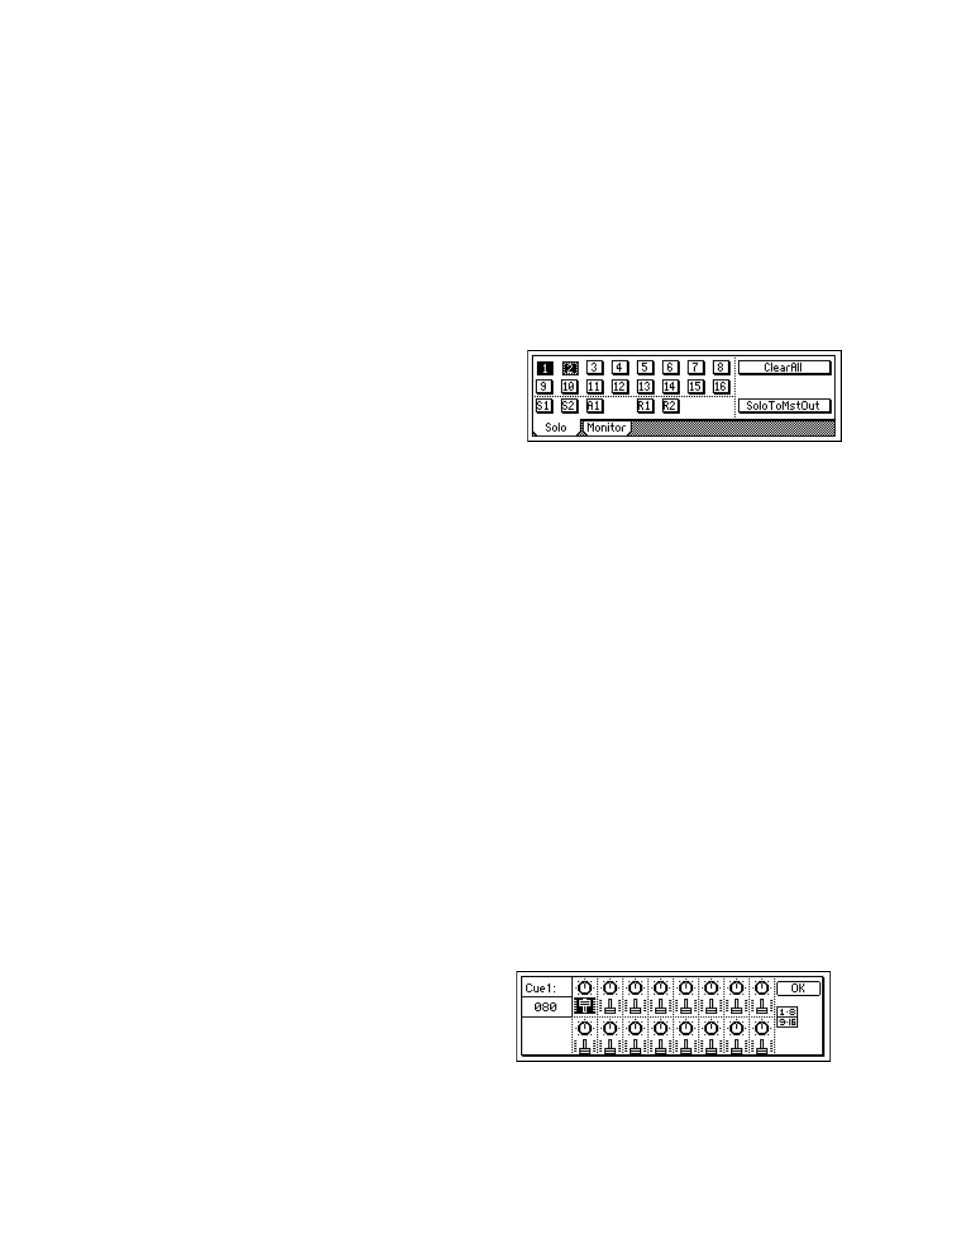
SOLO / MONITOR key, then press the “Solo” tab in the display:
4. As the song plays, press the track button “4”, to solo the bass track.
5. Try pressing additional track buttons to create solo "groups", or press highlighted track buttons to turn
solo off for the desired tracks.
Note: Refer to the Track Layout on page 5.
Important!
Make sure that the D1600 is connected via the MONITOR L/R OUTPUTS.
6. When you're finished trying the Solo function, press the “Clear All” button in the upper-right of the
display, then press the STOP key.
Work with the Monitor Cue function:
1. Reset the song to the beginning (make sure you’ve cleared the solo function in previous step) and press
the PLAY key to begin playback again.
2. Press
the
SOLO/MONITOR key, then press the “Monitor” tab in the display.
3. Press to turn off the “MasterLR” button in the display.
4. Press
the
“Cue” button, then press the “Level” button. Press to highlight (or use the CURSOR keys)
additional track “faders” and “pan” icons, then use the DIAL to set the desired cue mix.
5. When you’ve finished working with the Cue function, press the “OK” button in the display, then press the
“Cue” button to turn it off, and press the “MasterLR” button to turn it on. The mix will be re-routed to the
master bus.
6. Press
the
STOP key to stop playback.