Work with the counter, Work with the lead guitar track (track 3) – KORG D1600 User Manual
Page 19
KORG D1600 Guided Tour
19
Work with the Counter:
1. Press
the
STOP key to stop playback, and press the IN/LOC1 key to reset the song to the beginning.
2. Press to highlight “000:00: 000 on the “Counter”, then rotate the DIAL until the “Counter” reads
“001:50:000”.
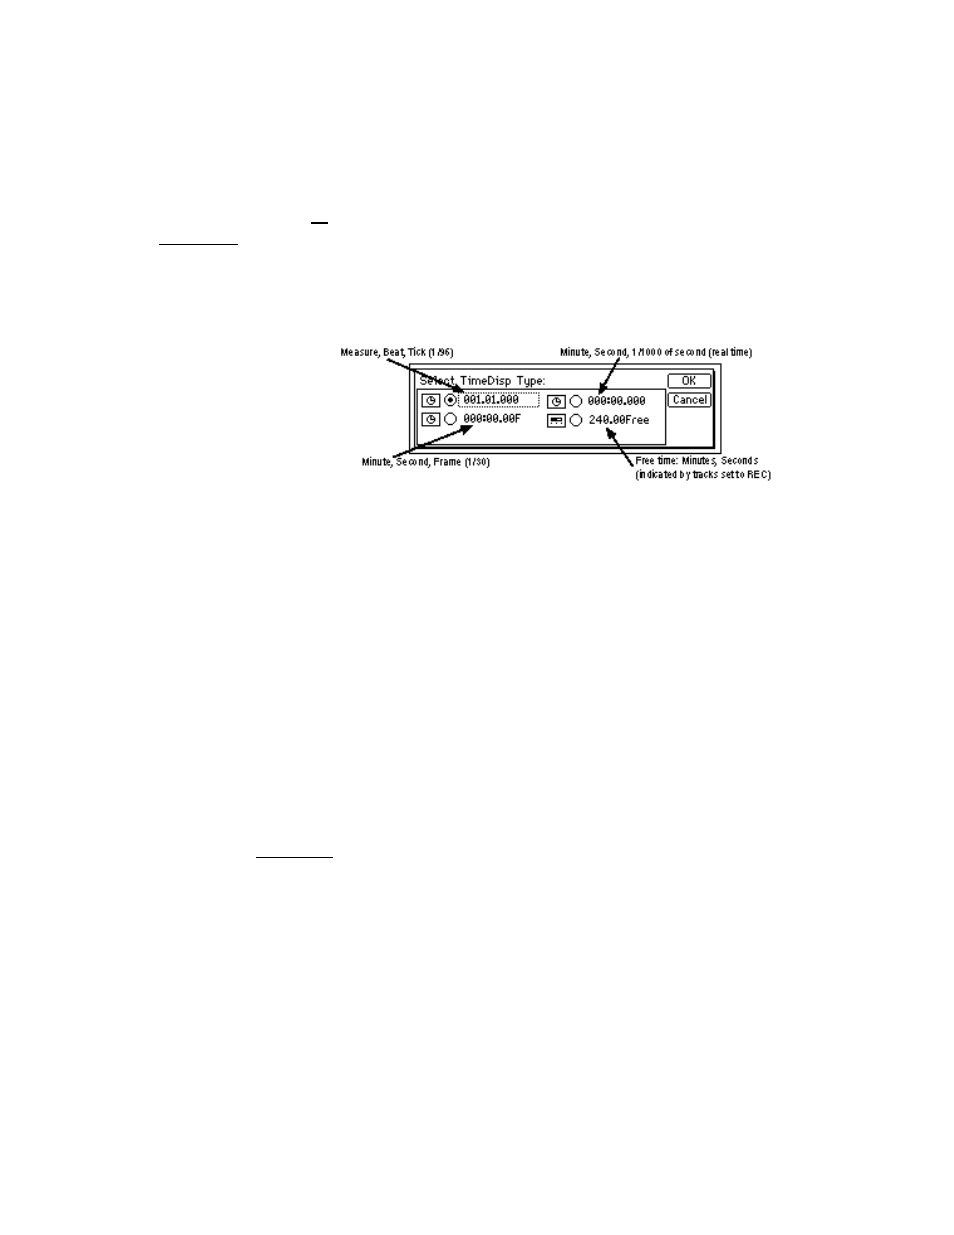
The Counter display type can be set to read in four formats, by pressing the “Clock” icon to the left of
the “Counter”, and selecting a display type from the menu:
Note: In addition to the Counter display, the display can be set to read in Tempo, Mark, or Scene formats,
by selecting from the popup menu below the song name field.
Work with the lead guitar track (Track 3):
3. Press
the
Channel 3 (lead guitar track) TRACK STATUS key so that it lights green (un-muted). Tracks
1, 4, 7, 8, 9 and 10 should also be un-muted (TRACK STATUS keys lit green).
Scrub the audio to find and set a precise locate point:
4. Press
the
SCRUB key, then press the “>” popup button in the upper-left of the display. Press the “Track
3” radio button.
5. Rotate
the
DIAL to the right, until you see (and hear) just the lead guitar track’s waveform (beginning at
approximately “001:51:367”). You can press the “ZOOM” buttons to the left of the waveform display, to
resize the waveform view, and you can rotate the DIAL to the right or left to scrub the audio.
6. Rotate
the
DIAL until the “crosshair” is at the beginning of the waveform (approximately “001:51:367”).
7. Press
the
STORE key, then press the TO/LOC3. You can use this new locate point whenever you like, to
reset to the stored locate point for this track.
8. Press
the
SCRUB key once again, to return to the SCRUB page, then try the following functions
available in SCRUB mode: