SWR Sound Professional Bass Preamplifier Marcus Miller User Manual
Page 8
8
M. BOOST LEVEL / COMP BLEND— This dual knob control
is active only when the the Boost + Compress circuit {N}
is engaged. The inner knob sets the volume boost level
and the outer knob sets the compression level. When the
outer Comp Blend knob is in the center detent position,
compression will be active at the level set by the 4 com-
pressor knobs—even if the Compressor {F} is OFF before
entering Boost + Compress mode. In addition, you can set
Comp Blend anywhere from "off" (fully counter-clockwise)
to "max" to increase the compression level actually set
by the 4 compressor knobs. This allows you to have an
independent compression level just for Boost + Compress
mode!
N. BOOST + COMPRESS MODE— Press in to engage the
Boost + Compress mode, useful for solos. This mode can
also be engaged from the Footswitch {II}.
O. PAD— Press in to reduce input sensitivity by –10dB, useful
for cleaner response from high-output instruments.
P. PREAMP CLIP LED— Illuminates when clipping
(overdriving) occurs anywhere in the preamp signal path
before the Effects Loop. For the cleanest sound, set
Gain {Q} and other front panel controls so that the Preamp
Clip LED barely flickers at your instrument’s peak output
levels. Note that preamp clipping is not harmful to your
amplifier (unlike power amp clipping), therefore reduce
Gain only if you hear unwanted preamp distortion.
Q. GAIN— Adjusts the signal level of the preamplifier. Your
equalization, tone and effect levels all contribute to the
preamp signal level and should be adjusted before Gain.
NOTE: Gain is the primary control for setting the output
level of Effects Send {FF}.
R. AURAL ENHANCER™— A trademark SWR® feature for 20
years, the Aural Enhancer brings out the fundamental
low notes of the bass, brightens high-end transients and
reduces certain frequencies that “mask” the fundamen-
tals. The ultimate effect is a more transparent sound that
opens up the sibilant characteristics of all instruments
without being harsh.
How the Aural Enhancer works: Think of it as a variable
tone control that changes frequency range AND level
according to where you set the Aural Enhancer control:
As you rotate the control clockwise from the “MIN” posi-
tion, you are elevating low, mid, and high frequency levels
in ranges that are different, yet complementary to the
Bass and Treble tone controls. The “2 o’clock” position—a
favorite for many players—brings out both low end fun-
damentals and crisp highs while at the same time, adds
a little lower midrange helping you to cut through the
band. Then, as you rotate further clockwise, selected mids
will drop off—specifically, a group of frequencies cen-
tered around 600Hz. While apparent, the Aural Enhancer
is gentle compared to the extreme effects you can create
with the basic tone controls.
Note to experienced SWR users: The Aural Enhancer feature
for this product was customized by Marcus Miller and will
not behave in exactly the same manner to which you are
accustomed. Although the circuit still performs the same
basic function, the entire frequency range affected by the
Aural Enhancer has been shifted. The center frequency is
now 600Hz instead of 200Hz. Additionally, a pull “Defeat”
control has been added which enables true flat EQ.
S. BYPASS— Press to remove the EQ circuit from the signal
path, as indicated by the LED. EQ Bypass enables a true-
flat EQ when used with the Aural Enhancer Defeat con-
trol.
T. BASS— Adjusts low-frequency signal response ±15dB cen-
tered around 70Hz.
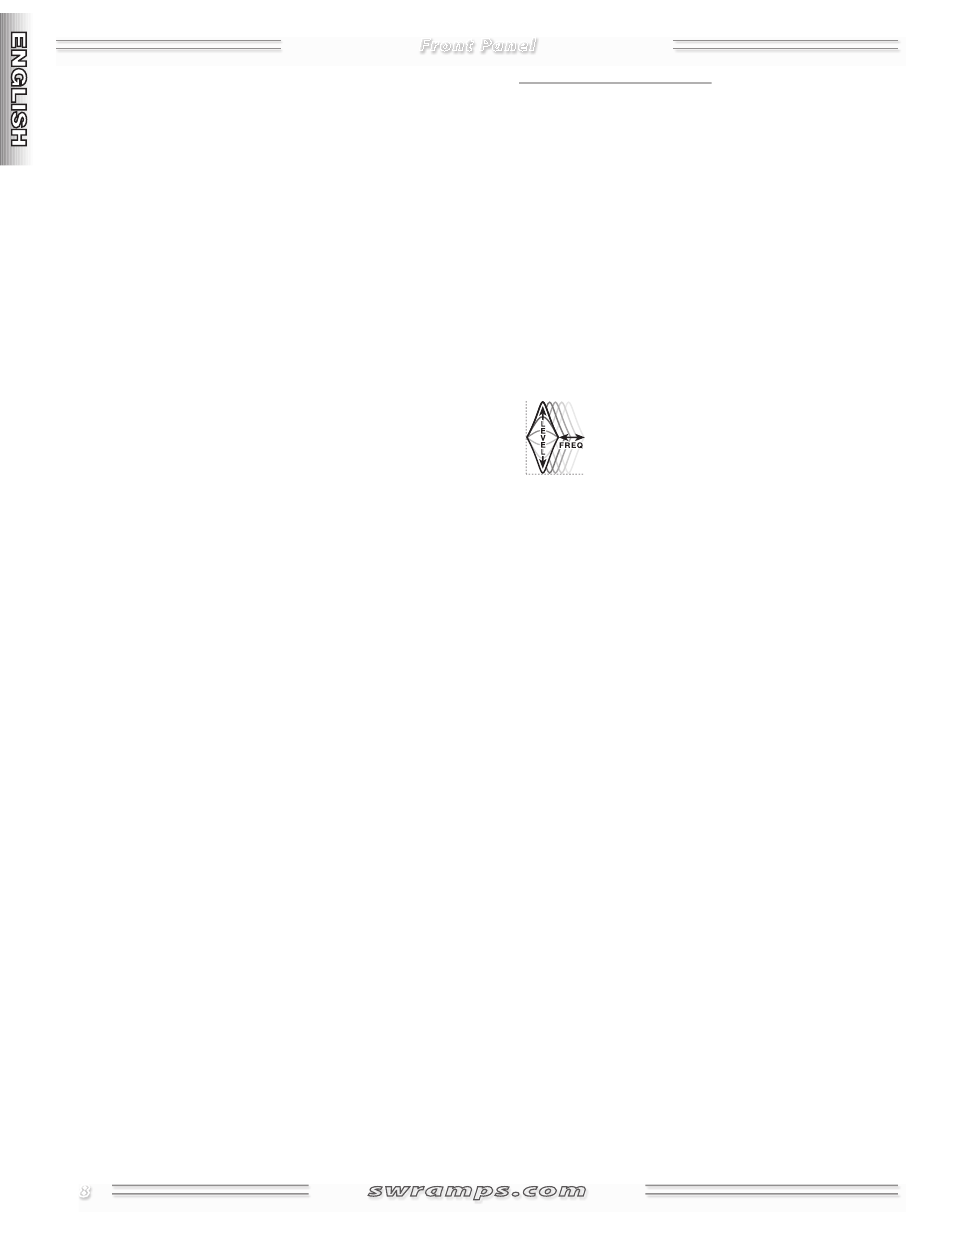
U. SEMI-PARAMETRIC EQUALIZER— Each of the 3 Mid-EQ
controls has an inner Level knob that adjusts
signal response (±15dB) in the range set by
the outer Frequency knob. NOTE: Any Mid-EQ
control with Level set to “0” has no effect on
your signal, regardless of Frequency setting.
Mid-range tone control is critical for creating a distinctive
edge in your sound. The best settings will depend on the
situation—what sounds harsh when playing alone may
sound just right in a crowded room or on a recording!
TIP: If you need to “cut through” the band, try boost-
ing response in the 200–400Hz range. If you like a more
transparent or “scooped” sound, try cutting in the 800Hz
range.
V. TREBLE— Adjusts high-frequency signal response ±15dB
centered around 3kHz.
W. EFFECTS BLEND— Controls your effects level by adjust-
ing the amount of direct (dry) signal mixed in with the
effects loop (wet) signal. Set to "DRY" when not using any
Effects Return jacks {FF}.
X. MASTER VOLUME— Adjusts the output level of the
Marcus Miller preamp at the Preamp Out jack {AA} on the
rear panel.
Y. POWER SWITCH— Switches the unit ON-OFF, as indicated
by the LED.
Front Panel