Navigation function, Features for recording (cont.) – JVC GR-PD1 User Manual
Page 50
50
EN
Master Page: Left
The Navigation Function helps you check tape
contents by making thumbnail images on a memory
card.
To make thumbnail images during video
recording automatically
1
Load a cassette. (
੬ pg. 16)
2
Load a memory card. (
੬ pg. 17)
3
Set the Power Switch to “A” or “M” while
pressing down the Lock Button located on the
switch.
4
Set “NAVIGATION” to the desired navigation
storing time. (
੬ pg. 33, 34)
● If the “
” indicator appears blinking on the
screen, wait until it stops blinking. If it does not
stop blinking after a while, check if a memory
card is loaded.
5
Press the Recording Start/Stop Button to start
recording.
● When the recording time
is over the navigation
time set in step 5, “
”
appears briefly, then the
image of the point where
recording is started is
captured and stored in
the memory card as a
thumbnail image.
● If the Recording Start/
Stop button is pressed
before “
” stops
blinking, the image of the point where the
loaded memory card is recognised is captured.
6
Press the Recording Start/Stop Button to stop
recording.
To make thumbnail images after video recording
manually...
1) Perform steps 1 to 3 above.
2) Set “NAVIGATION” to “MANUAL”.
(
੬ pg. 33, 34)
3) After the recording, press NAVI STORE.
•The “
” indicator appears briefly and the
captured image is stored in the memory card as
a thumbnail image.
NOTES:
● The remaining number of storable thumbnail
images also appears on the screen when it reaches
10 or less. If “REC SELECT” is set to “
/
”
in DSC Menu, the number shows how many
640 x 480 pixel images can be stored.
● If “5S” is set to “5S” or “Anim.” in MANUAL
Menu, the NAVIGATION function will not work
properly.
To find scenes on tape using thumbnail images
(NAVIGATION Search)
1
Load a cassette. (
੬ pg. 16)
2
Load a memory card. (
੬ pg. 17)
3
Set the Playback Mode switch to “VIDEO”.
4
Set the Power Switch to “P” while pressing
down the Lock Button located on the switch.
5
Press NAVI during video playback or stop mode.
● The loaded cassette’s
NAVIGATION thumbnail
image screen appears.
● Press 3 to display the
previous page. Press 5
to display the next page.
6
Rotate the MENU Wheel to select the desired
image, and press it.
● The “NAVIGATION SEARCH” indication
appears blinking and the camcorder starts
searching the tape for the relevant point of the
selected thumbnail image.
To cancel NAVIGATION search midway...
Press 8 or 4·9.
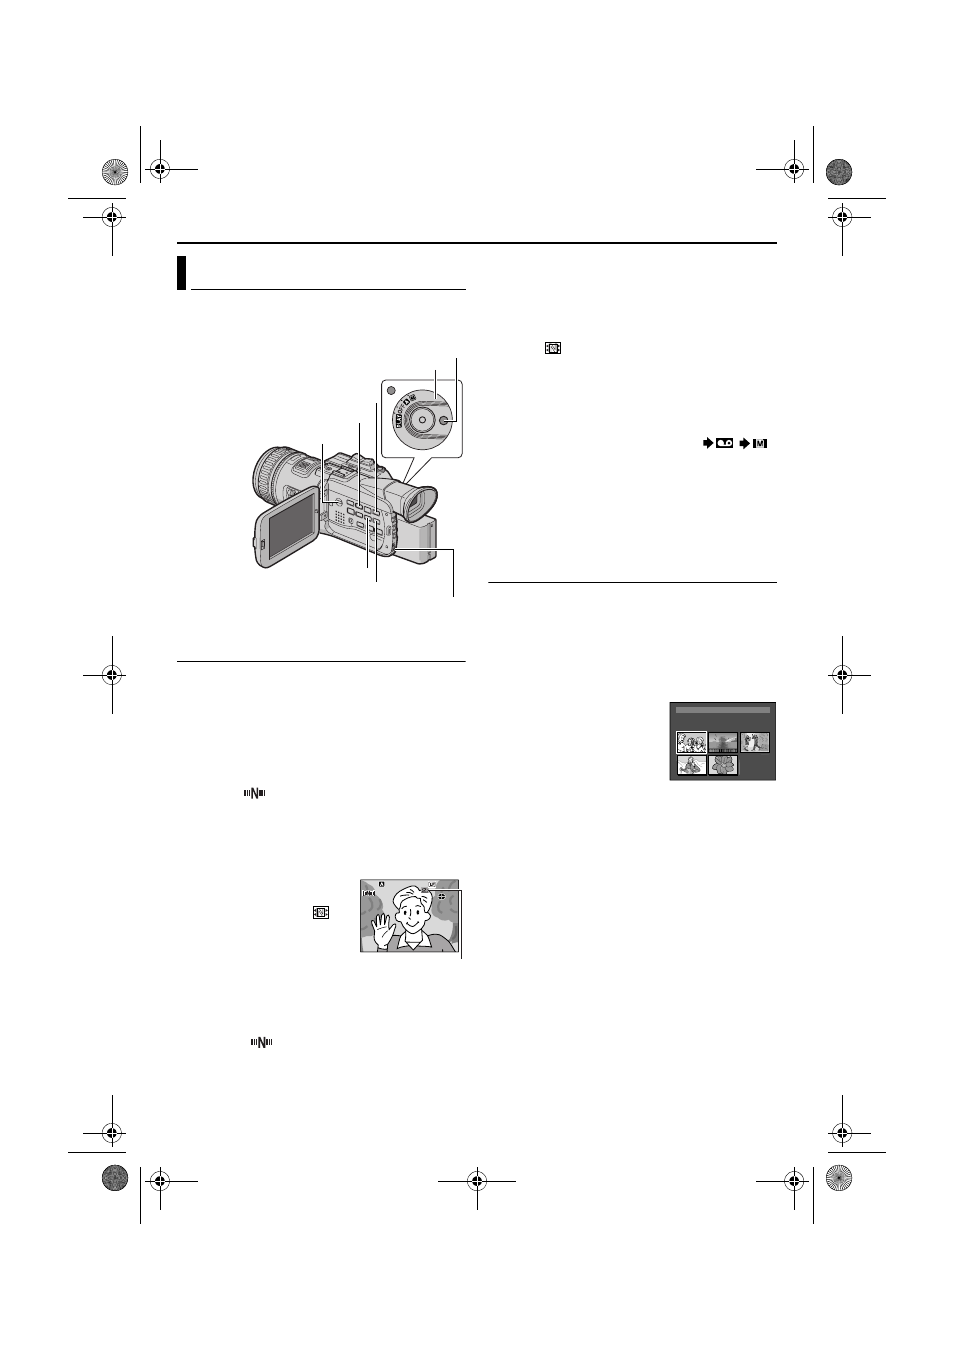
NAVIGATION Function
Power Switch
Lock Button
Fast-Forward Button (5)
Rewind Button (3)
Playback Mode Switch
MENU Wheel
NAVI Button
NAVI STORE Button
PAUSE
PAUSE
PAUSE
1h
m
1h
m
1
0
0
Displayed while the
captured image is
being stored in the
memory card.
TC
: 1 3 : 2 3 : 1 5
3
5
2
.
4
DATE : 2
:
’
3
0
:
3
2 9
ON
I
T
NAV I GA
1
2
3
4
5
0 06
FEATURES FOR RECORDING (cont.)
GR-PD1PAL.book Page 50 Tuesday, June 17, 2003 7:31 PM