Auto focus, Features for recording (cont.) – JVC GR-PD1 User Manual
Page 44
44
EN
Master Page: Left
Changing the shutter speed manually allows a fast-
moving subject to be shot as if it is stationary, or to
be intentionally blurred for vivid playback.
1
Set the Power Switch to “M” while pressing down
the Lock Button located on the Switch.
2
Open the LCD monitor fully, or pull out the
viewfinder fully.
3
Press S/A.
● The shutter speed level indicator appears.
4
For the fast shutter speed, rotate the MENU
Wheel toward R (fastest 1/1000 sec.).
For the slow shutter speed, rotate the MENU
Wheel toward T (slowest 1/12 sec.).
To return to automatic shutter speed adjustment...
Press S/A twice. Or, set the Power Switch to “A”.
Adjusting the iris manually provides an image
special effect by changing the range of focusing.
1
Set the Power Switch to “M” while pressing down
the Lock Button located on the Switch.
2
Open the LCD monitor fully, or pull out the
viewfinder fully.
3
Press S/A twice.
● The iris level indicator appears.
4
To close the iris, rotate the MENU Wheel toward
R (maximum F 22.0). To open the iris, rotate the
MENU Wheel towards T (minimum F 1.8).
● Closing the iris (increasing the value) enables
focusing on both a subject and background.
● Opening the iris (decreasing the value) allows
appropriate brightness in poor lighting
conditions, while the range of focusing will
decrease.
To return to automatic iris adjustment...
Press S/A. Or, set the Power Switch to “A”.
The camcorder’s Full Range AF system offers
continuous shooting ability from close-up (as close
as approx. 5 cm to the subject) to infinity.
However, correct focus may not be obtainable in the
situations listed below (in these cases perform
“Manual Focus”):
● When two subjects overlap in the same scene.
● When illumination is low.*
● When the subject has no contrast (difference in
brightness and darkness), such as a flat, one-
colour wall, or a clear, blue sky.*
● When a dark object is barely visible in the LCD
monitor or the viewfinder.*
● When the scene contains minute patterns or
identical patterns that are regularly repeated.
● When the scene is affected by sunbeams or light
reflecting off the surface of a body of water.
● When shooting a scene with a high-contrast
background.
* The following low-contrast warnings appear
blinking: , ,
and
NOTES:
● If the lens is smeared or blurred, accurate focusing
is not possible. Keep the lens clean. (
੬ pg. 79)
When condensation occurs, wipe with a soft cloth
or wait for it to dry naturally.
● When shooting a subject close to the lens, zoom
out first. (
੬ pg. 20) If zoomed-in in the auto focus
mode, the camcorder may automatically zoom
out depending on the distance between the
camcorder and the subject. This will not occur
when “TELE MACRO” is set to “ON”. (
੬ pg. 35)
Manual Shutter Speed Adjustment
Manual Iris Adjustment
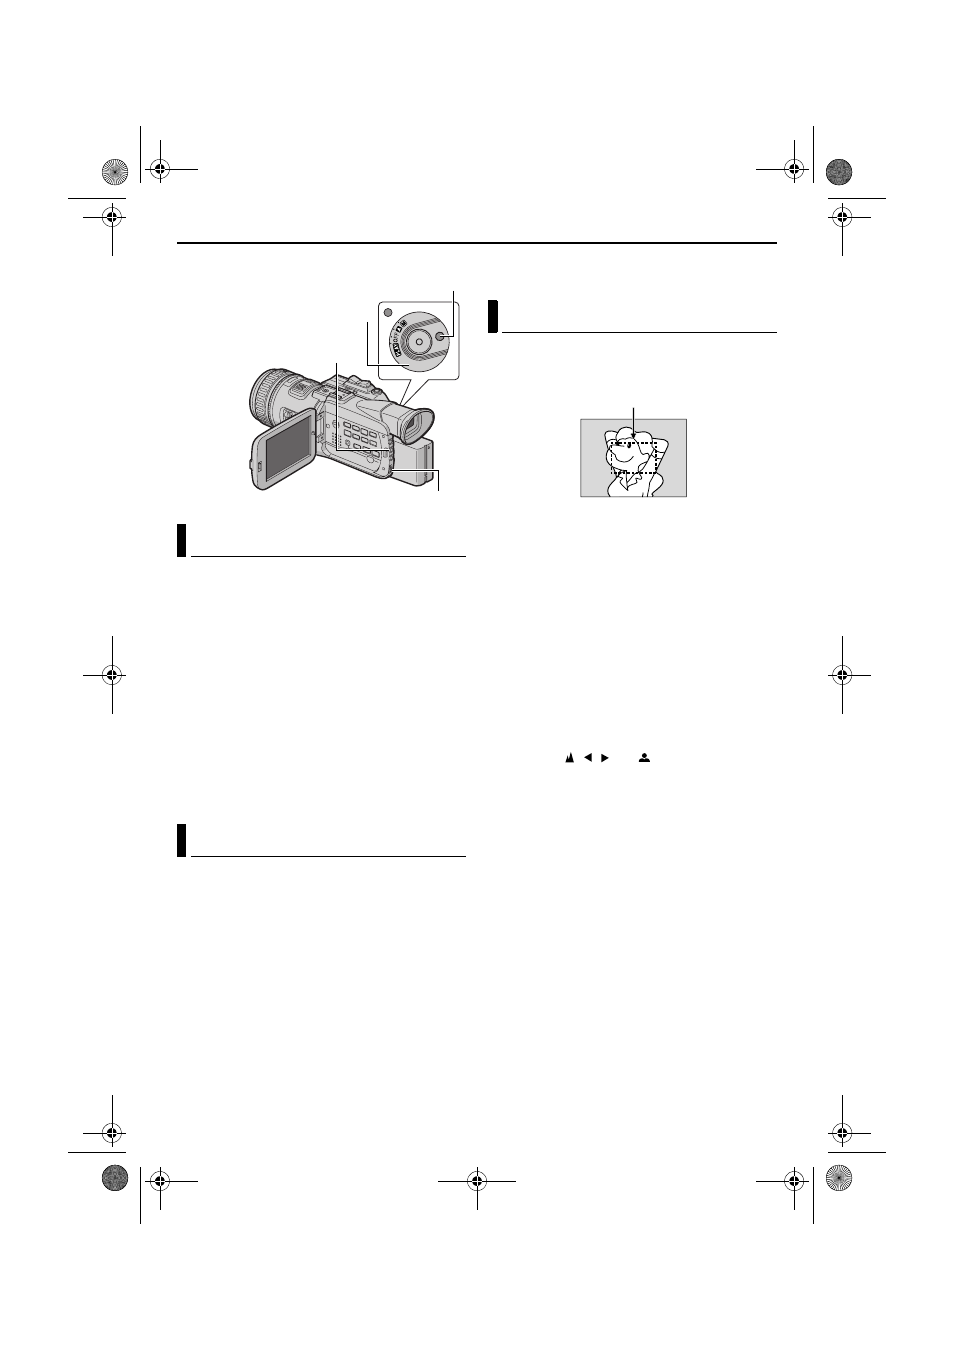
Lock Button
Power Switch
S/A Button
MENU Wheel
Auto Focus
Focus detection zone
FEATURES FOR RECORDING (cont.)
GR-PD1PAL_07Advanced.fm Page 44 Thursday, June 19, 2003 2:02 PM