Siemens sony User Manual
Page 29

Creating the application
29
To create the image animation:
1.
Open the file you saved in the previous section (see
for the main screen” on page 24
).
2.
In the Timeline, select the keyframe on Frame 10 on the layer
named Images.
3.
Open the Library panel, and drag the symbol named Specials Images
movie clip to the Stage.
The rest of this tutorial refers to this movie clip simply as the images
movie clip.
4.
With the new movie clip instance selected, set the movie clip’s x and y
coordinates both to
0 in the Property inspector.
This aligns the top-left corner of the images movie clip with the top-
left corner of the Stage.
5.
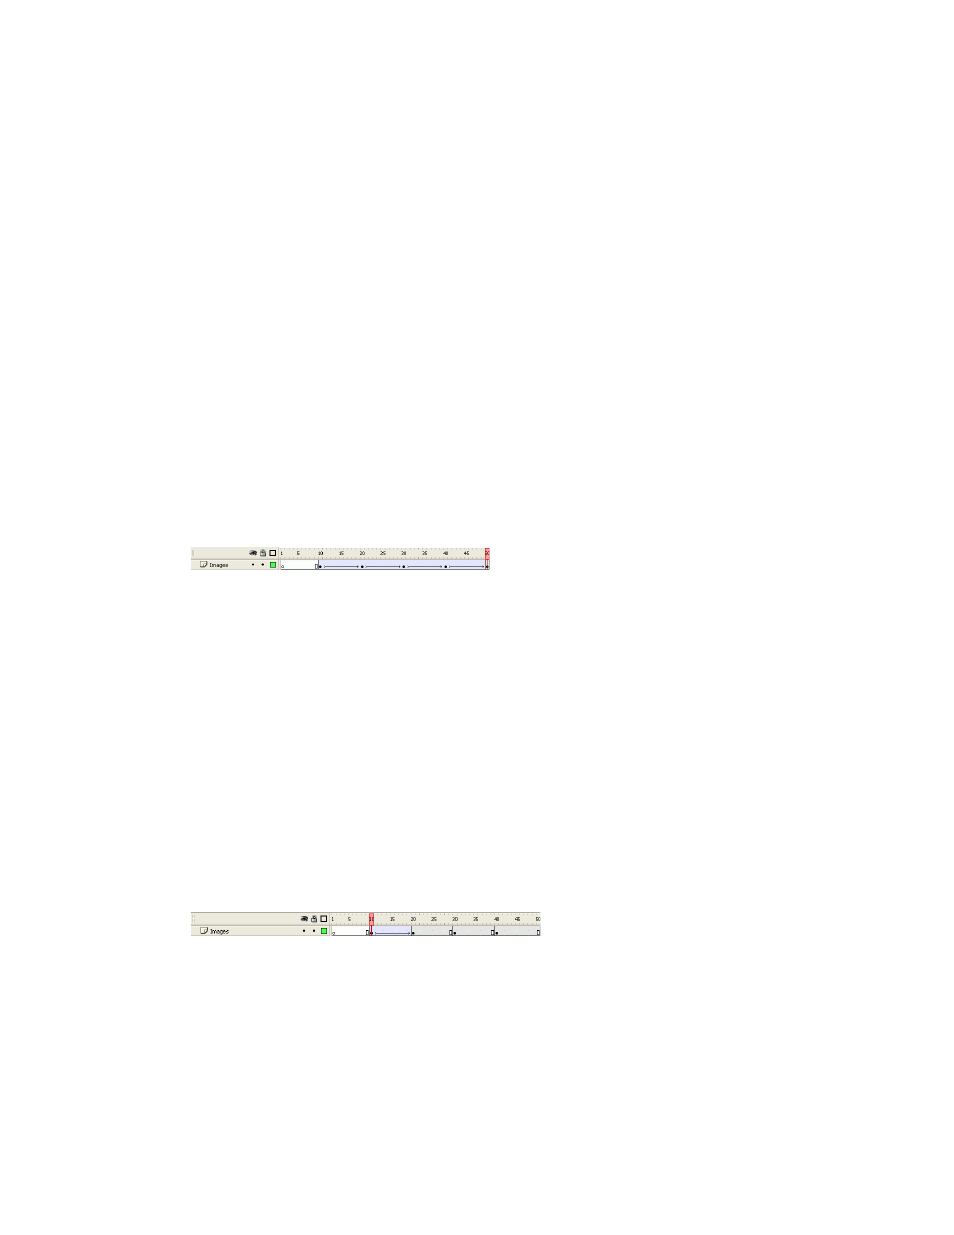
On the Images layer, insert keyframes on Frames 20, 30, 40, and 50, as
the following image shows:
6.
In the Timeline, select the keyframe on Frame 20.
7.
On the Stage, select the images movie clip, and set its y coordinate to
-100 in the Property inspector.
This moves the movie clip upward on the Stage 100 pixels.
8.
Select the keyframe on Frame 30 in the Timeline, select the images
movie clip, and set its y coordinate to
-200 in the Property inspector.
9.
Select the keyframe on Frame 40, select the images movie clip, and set
its y coordinate to
-300 in the Property inspector.
10.
Select the keyframe on Frame 50, select the images movie clip, and set
its y coordinate to
-400 in the Property inspector.
11.
Select the keyframe on Frame 10, and select Motion from the Tween
pop-up menu in the Property inspector.
This tweens the images movie clip’s position between the keyframes on
Frames 10 and 20.
12.
To create transitions between the other images, repeat step 11 for the
keyframes located on Frames 20, 30, and 40.
