Swann DVR4-NET User Manual
Page 14
13
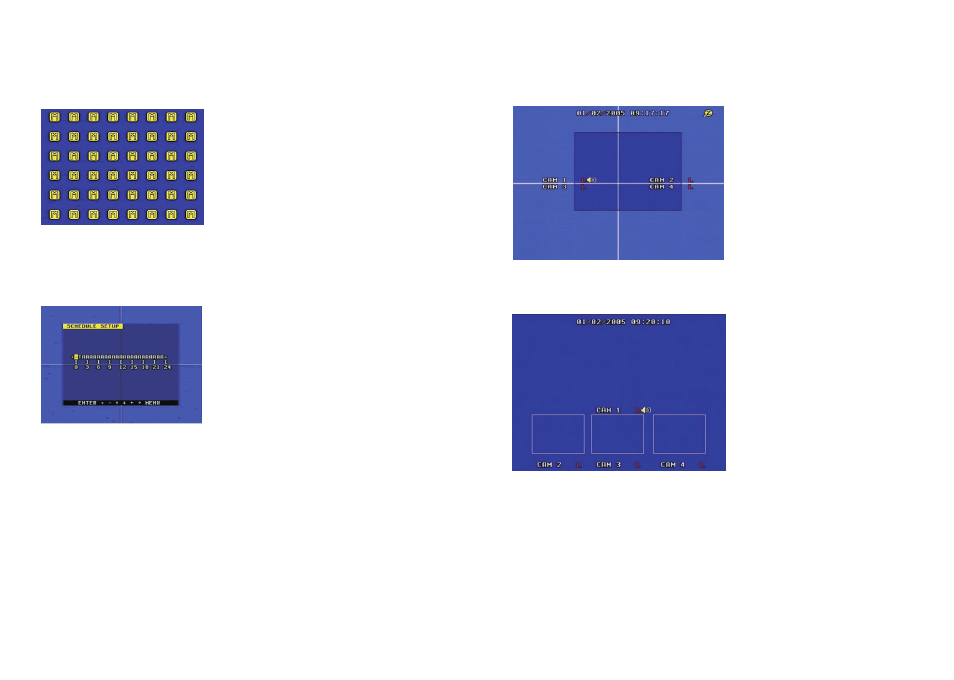
16. Area Set
Move the cursor to Alarm Set, then push the ENTER button and the alarm setup window will
appear, as illustrated as below. Push the UP, DOWN, LEFT and RIGHT button to move the
cursor and push the ENTER button to change from detection ON to OFF. Push and hold
ENTER to change all values to the same as the area you have selected.
If the area marker icon is set to yellow this area is monitored for motion detection, and if the
icon is grey motion sensing is disabled for that area.
17. Schedule Set
When the cursor moves to Schedule Set, please push enter button, the schedule set window
will appear, which is illustrated as below.
You change the recording schedule during a day (24-hour period) using this option.
0-24 stands for 24 hours of a day, each hour can be set to one of three states: T (time),
A (alarm), - (disable).
(T) This period is time scheduled, when the DVR4Net is in scheduled state (push the
Schedule button), this period will record automatically.
(A) This period is alarm scheduled, when the DVR4Net is in scheduled state (push the
Schedule button), this period will record automatically when there is an alarm input (including
both motion and sensor alarms).
(-) This period will not record unless you push the record button.
Push the LEFT button or RIGHT button to move the cursor, then push “+” or “-” button to
change the value. Push the ENTER button to set all the values the same as selected one.
Note: Manual record mode and schedule record mode (including motion detection
record mode, sensor record mode and time schedule record mode) cannot be used at
the same time. Once the user selects Schedule record mode, manual record mode will
be disabled. If the user selects manual record mode, schedule record mode will be
disabled.
26
11. Zoom Operation
Push zoom button, the DVR will be in zoom mode, which is illustrated as below. Push
upward, downward, leftward or rightward to move the zoom area, then push enter button to
zoom, push zoom button again to cancel zoom operation.
12.PIP Operation
Push PIP button, the DVR will be in PIP mode, which is illustrated as below.
You can push the PIP button again to change PIP mode Press and hold the PIP button to set
each PIP picture. Press and hold the PIP button, until one channel name is highlighted yellow,
then push the LEFT and RIGHT button to change selected channel, push the + and - button
to change this channel's picture, then push ENTER.