Assembly and adjustments – Skil 3385-01 User Manual
Page 13
13.
Assembly and adjustments
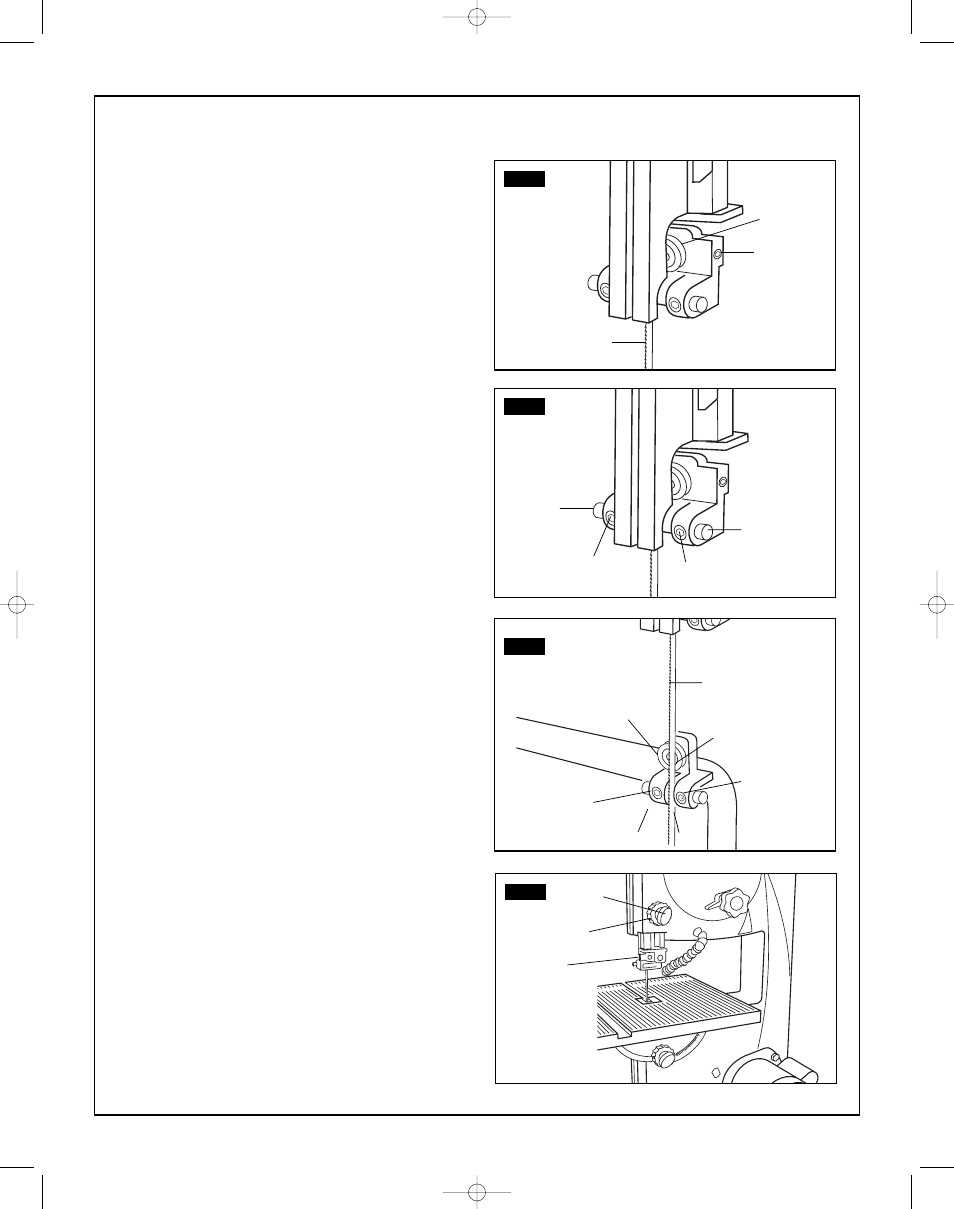
Adjust the lower blade guides (Fig. 17)
1. Remove the table (see page 12).
2. Loosen the lower support bearing screw
(1). Move
the support bearing
(2) forward or backward until the
bearing is 1/32" (0.8 mm) behind the blade
(3).
3. Loosen the lower blade guide screws
(4) and move
the left and right blade guides
(5) as close to the
blades as possible without pinching it. Using a feeler
gauge (not provided), make sure the space between
each guide and the blade measures 0.02" (0.5 mm).
Tighten both screws
(4).
4. Install the table, taking care not to bump the table
against the blade.
Set blade guide assembly height (Fig. 18)
The blade guide assembly should be set approximately
1/8" (3.2 mm) above the workpiece.
1. Loosen the blade guide lock knob
(1).
2. Rotate the blade guide adjustment knob
(2) to lower
the blade guide assembly
(3).
3. Tighten the blade guide lock knob
(1).
FIG. 15
5
2
4
FIG. 16
6
6
7
7
FIG. 17
5
6
2
3
FIG. 18
1
1
6
5
2
3
SM 2610957105 05-08 6/5/08 7:39 AM Page 13