Mo vie c lip – JVC SA-DV6000 User Manual
Page 30
44
VIDEO
LINE
IN
OUT
MONIT
O
R
OUT
DC12V
DV
IN/OUT
IN
OUT
OFF
A
UDIO
REMO
TE2
IN
B-Y
R-Y
SYNC IN
TIME CODE
IN
OUT
Y
COMPONENT
OUT
CH 1/3
CH 2/4
IN
OUT
MONIT
O
R
OUT
REMO
TE1
TIMER
REC
PLA
Y
SERIAL
REMO
TE
SIGNAL
GND
Y/C
LAN
Mo
vie c
lip
Pla
ying bac
k CF memory car
d c
lips on y
our PC
Clips recorded on a CF memory card can be played back on your PC.
Caution
●
Clips recorded on CF memory cards are stored in
ASF file format.
●
To
play back a clip on your PC, Windows Media Player 7.01 is required. (WM9 is not supported.)
*W
indows Media Player is compatible with Windows XP
or W
indows 2000/98(SE)/Me operating system.
*M
edia Player can be downloaded from the Microsoft W
ebsite.
During this time, download the following codec software as well.
The codec software is automatically downloaded when opening the clip file and running Windows Media Player
.
• V
ideo codec (decorder) ISO MPEG4
•
Audio codec (decorder) G.726
Operation
1.
Load data already recorded on a CF memory card to your PC using a CF card reader
, etc.
2.
Launch Explorer
, etc., and open the recorded clip file in
ASF format.
●
Windows Media Player launches and the clip is played back.
Memo
Vi
deo and audio files (clip files) in CF memory cards can be appended to email as attachment files.
*
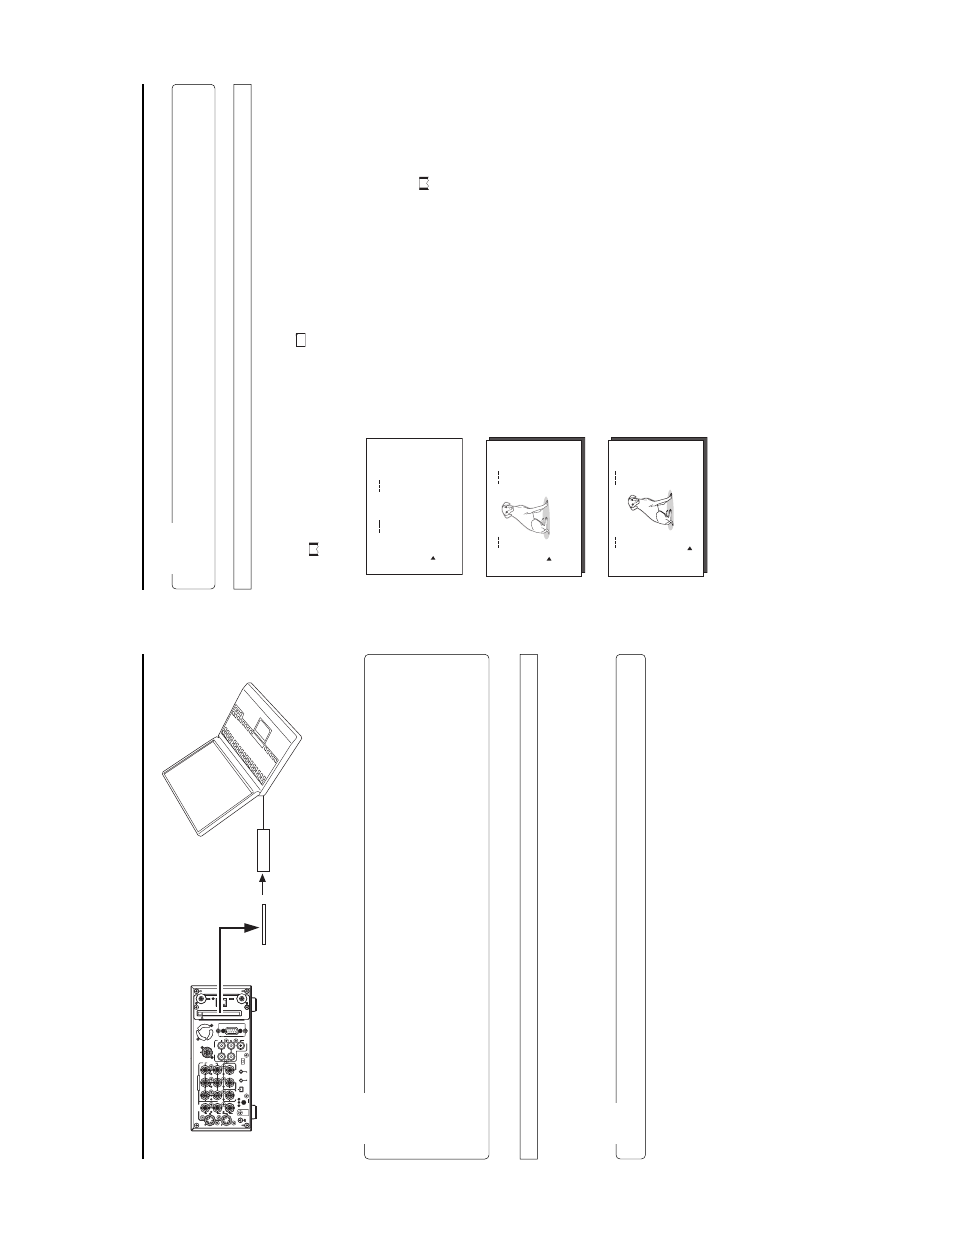
If the PC is equipped with PCMCIA
slot(s), CF card reader is not required.
CF memory
card
CF Card reader
45
A
clip recorded on a CF memory card can be transferred to a server via FTP
.
Caution
●
Before using this function, it is necessary to set the destination, etc. of the clip using the FTP CLIENT SETUP menu on the LCD
screen or W
eb.
Operation
1.
Insert a pre-recorded CF memory card into the network pack.
Then, connect the BR-DV6000 to the network using the LAN
terminal of the network pack.
2.
Tu
rn on the power of BR-DV6000. Check to make sure the
C
F
mark appears on the LCD screen. (When the power is first turned
on,
mark will flash during initialization.)
3.
Make sure the BR-DV6000 is not in operation.
Mo
vie c
lip
T
ransf
erring a c
lip on a CF memor
y to a ser
ver
TO
P
MENU screen
4.
Display the MOVIE CLIP screen.
q
Press the MENU button to display the
T
O
P
MENU screen.
w
Press the DISP
(6
) or BLANK (
7
) button to select MOVIE CLIP
and press the
SET button or SEARCH+ (
t
) button.
●
The MOVIE CLIP
screen appears.
●
During initialization of the network pack (while
mark is flashing), NET
-
WORK P
ACK CONFIG will not appear
.
5.
Select the clip to transfer to a server
q
Press the DISP
(
6
) or BLANK (
7
) button to select the clip to transfer
.
●
Use the [FF] button to move to the next page and the [REW] button to move to
the previous page.
●
Pressing the [FF] button for about 2 seconds will move to the page with the
latest clip.
●
Pressing the [REW] button for about 2 seconds will move to the page with the
oldest clip.
w
Press the SET
button to display the CLIP
FUNCTION screen of the selected
clip.
●
A still-image of the top screen of the selected clip and the FUNCTION LIST
will appear
.
6.
T
ransfer the selected clip to a server
.
q
In the CLIP
FUNCTION screen, set the cursor (
t
) to FTP
SEND.
w
When the SET
button is pressed, “W
AIT
A
MINUTE PLEASE!” will appear and
transfer will start.
7.
When the transfer is completed, the “W
AIT
A
MINUTE PLEASE!” display will dis-
appear
.
●
If the transfer is unsuccessful, “FTP
SEND ERROR!!” will appear
. In this case,
check the settings of the FTP
CLIENT
SETUP
screen or the used network
environment.
SY
S
T
E
M
.
.
ME
N
U
REM
O
T
E
.
.
AU
D
IO
.
.
VI
D
E
O
.
.
TC
/
U
B
/
C
L
O
C
K
.
.
DI
S
P
L
A
Y
S
E
T
.
.
.
.
E
MO
V
I
C
L
I
P
.
.
N
E
TW
O
R
KP
A
C
K
C
O
N
F
IG
E
X
I
T
mc
mc
mc
mc
00
1
.
0a
s
f
W
R/
IE
OV
MC
I
P
L
10
25
/0
2
/
09
0
0
:0
0
:
00
2
.
0a
s
f
W
R/
10
25
/0
2
/
10
0
0
:0
0
:
00
3
.
0a
s
f
W
R/
10
25
/0
2
/
11
0
0
:0
0
:
00
4
.
0a
s
f
W
R/
10
25
/0
2
/
12
0
0
:0
0
:
PA
GE
B
A
C
K
IE
OV
MC
I
P
L
mc
0
0
4
.
0a
s
f
W
R/
REV
IE
W
DE
L
E
T
E
PR
O
T
E
C
T
PA
GE
B
A
C
K
SE
L
E
C
T
OF
F
FT
P
S
E
N
D
FT
P
S
E
N
D
MOVIE CLIP screen
MOVIE CLIP screen