Setting user’s bit without opening the menu, Recording time code in continuation of, The recorded time code on sdhc card – JVC GY-HM700U User Manual
Page 53: Required settings before preset ( a page 47), Setting user’s bit
49
2
Set the time code (hour, minute, second, frame).
Use the cross-shaped button (
H
,
I
) to place the cursor at the
item to set, then the cross-shaped button (
J
,
K
) to change
the values.
Memo :
● Press the [USER2] button to reset each digit to A0B. The
cursor moves to the time digit (left).
3
Check the values and press the cross-shaped button
(
R
).
● The time code is set and the screen returns to the normal
screen.
● To cancel the setting, press the [CANCEL] button.
Note :
● Editing will be canceled and the screen will close under the
following situations.
● The [TC DISPLAY] switch is selected during editing.
● The camera recorder is switched to the Media mode.
● When editing time code, operations of the [USER1],
[USER2], [USER3] buttons that are set in the [Main
Menu]
B[Camera Function]B[Switch Set...] menu are
disabled. [USER2] functions as the number reset button.
Setting User’s Bit Without Opening the Menu
Memo :
● Settings cannot be made in the following cases.
● [TC GENE.] switch is set to AREGENB.
● Menu screen is displayed.
● The camera recorder is not in Camera mode.
ⅥRequired Settings Before Preset
(
● Set the [TC DISPLAY] switch to AUBB.
● Set the [TC GENE.] switch to settings other than
AREGENB.
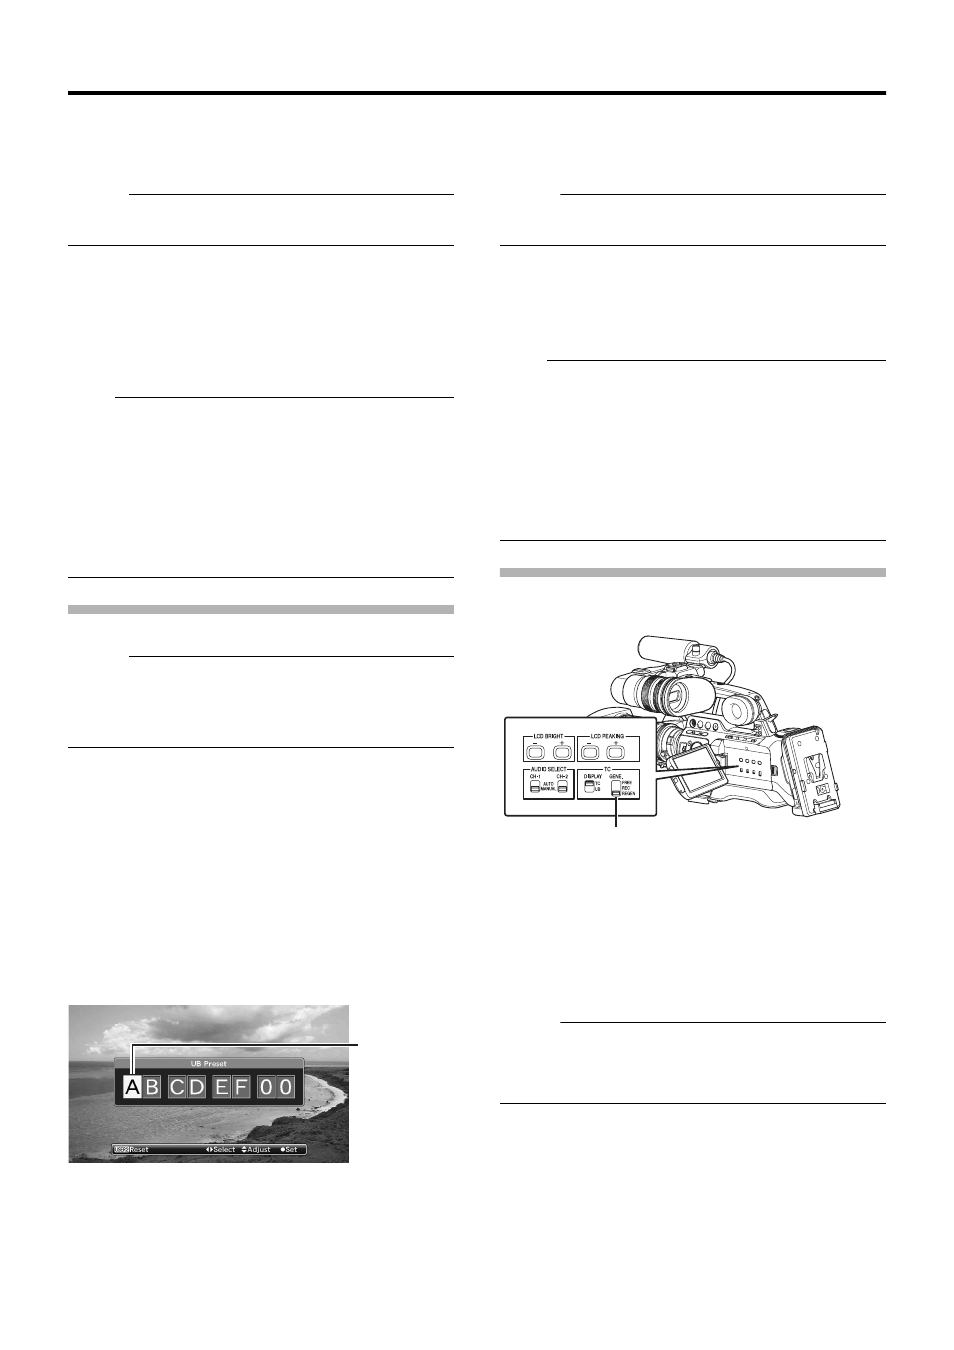
ⅥSetting User’s Bit
1
Hold down the [MENU] button and press the [USER1]
button.
The [UB Preset] setting screen appears.
2
Set the user’s bit.
Use the cross-shaped button (
H
,
I
) to place the cursor at the
item to set, then the cross-shaped button (
J
,
K
) to change
the values.
Memo :
● Press the [USER2] button to reset each digit to A0B. The
cursor moves to the left.
3
Check the values and press the cross-shaped button (
R
).
● The user’s bit is set and the screen returns to the normal
screen.
● To cancel the setting, press the [CANCEL] button.
Note :
● Editing will be canceled and the screen will close under the
following situations.
● The [TC DISPLAY] switch is selected during editing.
● The camera recorder is switched to the Media mode.
● When editing time code, operations of the [USER1],
[USER2], [USER3] buttons that are set in the [Main
Menu]
B[Camera Function]B[Switch Set...] menu are
disabled. [USER2] functions as the number reset button.
Recording Time Code in Continuation of
the Recorded Time Code on SDHC card
This camera recorder is equipped with the time code reader.
Set the [TC GENE.] switch on the inner panel of the LCD to
AREGENB.
When the camera recorder enters from recording standby
mode to recording mode, it reads the time code already
recorded on the SDHC card and records the new time code
in continuation of that value.
The same data as the user’s bit already recorded on the
SDHC card is recorded.
Memo :
● When the [TC GENE.] switch is set to AREGENB, the
framing mode of the time code follows the settings in
[Drop] of the [TC/UB] menu instead of the clip settings.
Cursor
[UB Preset] Screen
[TC GENE.] Setting Switch