Presetting the user’s bit, Setting time code without opening the menu, Tton – JVC GY-HM700U User Manual
Page 52: Setting time code and user’s bit (continued), Shooting presetting the user’s bit, Required settings before preset ( a page 47), Setting time code
48
Presetting the User’s Bit
You can add an 8-digit hexadecimal number as the user’s bit
to the recorded image.
1
Select [Main Menu]
B[TC/UB]B[UB Preset] and press
the Set button (
R
). (
The [UB Preset] setting screen appears.
Memo :
● When the [TC GENE.] switch is set to AREGENB, the parameter
is displayed as
ARegenerationB and cannot be selected.
2
Use the cross-shaped button (
H
,
I
) to place the
cursor at the item to set, then the cross-shaped button
(
J
,
K
) to change the values.
Numbers between 0 and 9 or alphabets between A and F
can be specified for the user’s bit.
Memo :
● Press the [USER2] button to reset each digit to A0B. The
cursor moves to the left.
3
Check the values and press the cross-shaped button (
R
).
● The time code is set and the screen returns to [TC/UB].
● To cancel the setting, press the [CANCEL] button.
4
Press the [MENU] button.
Returns to the normal screen.
Setting Time Code Without Opening the
Menu
Memo :
● Settings cannot be made in the following cases.
● [TC GENE.] switch is set to AREGENB.
● Menu screen is displayed.
● The camera recorder is not in Camera mode.
ⅥRequired Settings Before Preset
(
● Set the [TC DISPLAY] switch to ATCB.
● Set the [TC GENE.] switch to settings other than
AREGENB.
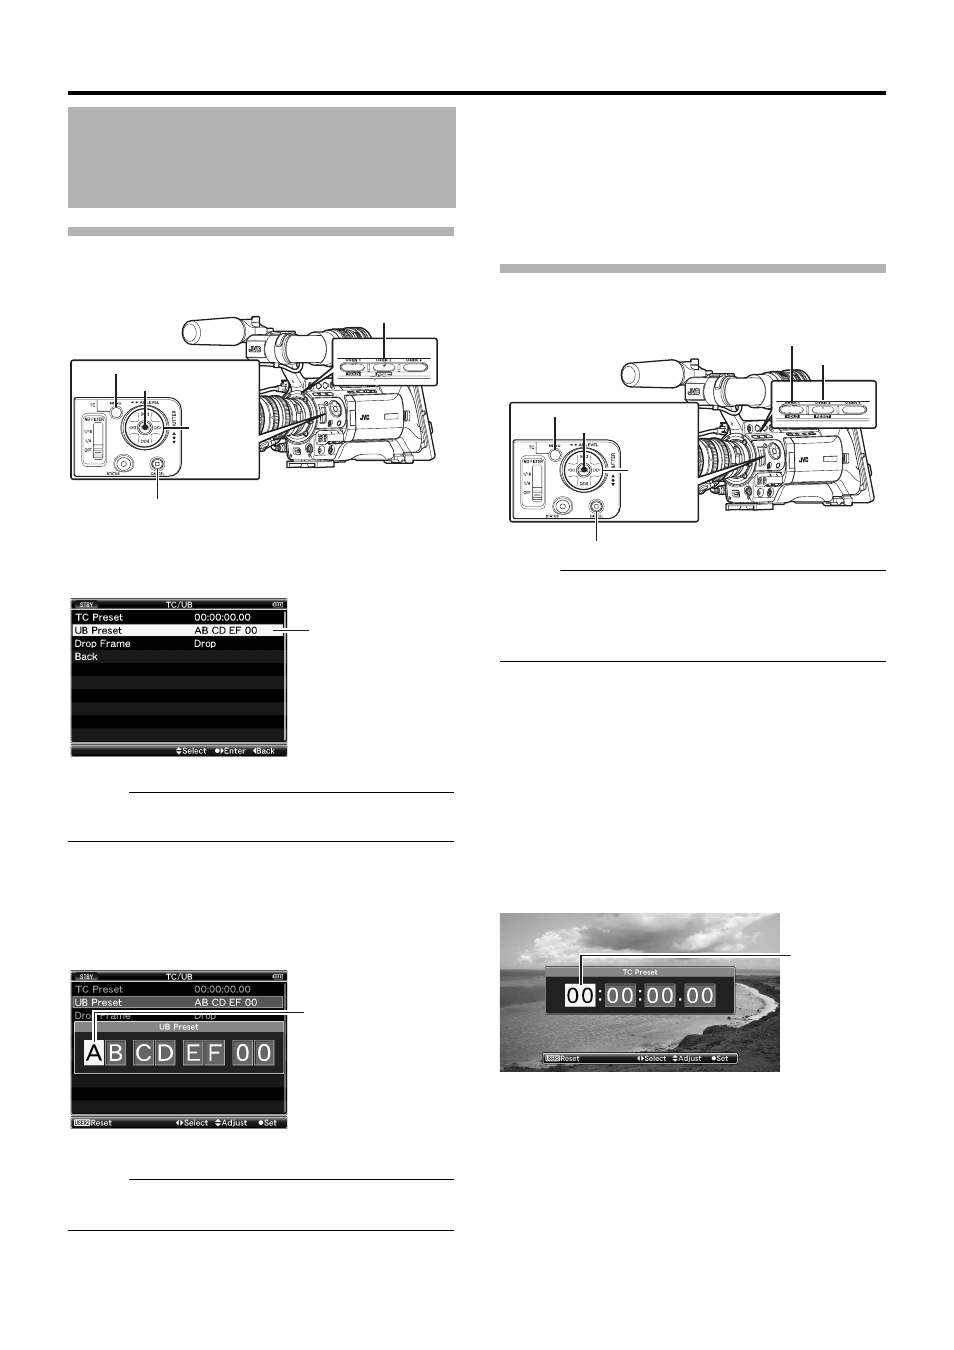
ⅥSetting Time Code
1
Hold down the [MENU] button and press the [USER1]
button.
The [TC Preset] setting screen appears.
Setting Time Code and
User’s Bit (continued)
[CANCEL] Button
[USER2] Button
[MENU] Button
Set Button (
R
)
Cross-
Shaped
Button
(
JKHI
)
1
[TC/UB] Menu Screen
Cursor
[UB Preset] Screen
[USER1] Button
[CANCEL] Button
[USER2] Button
[MENU] Button
Set Button (
R
)
Cross-
Shaped
Button
(
JKHI
)
Cursor
[TC Preset] Screen
(During drop frame)