Color bar output – JVC GY-HM700U User Manual
Page 107
103
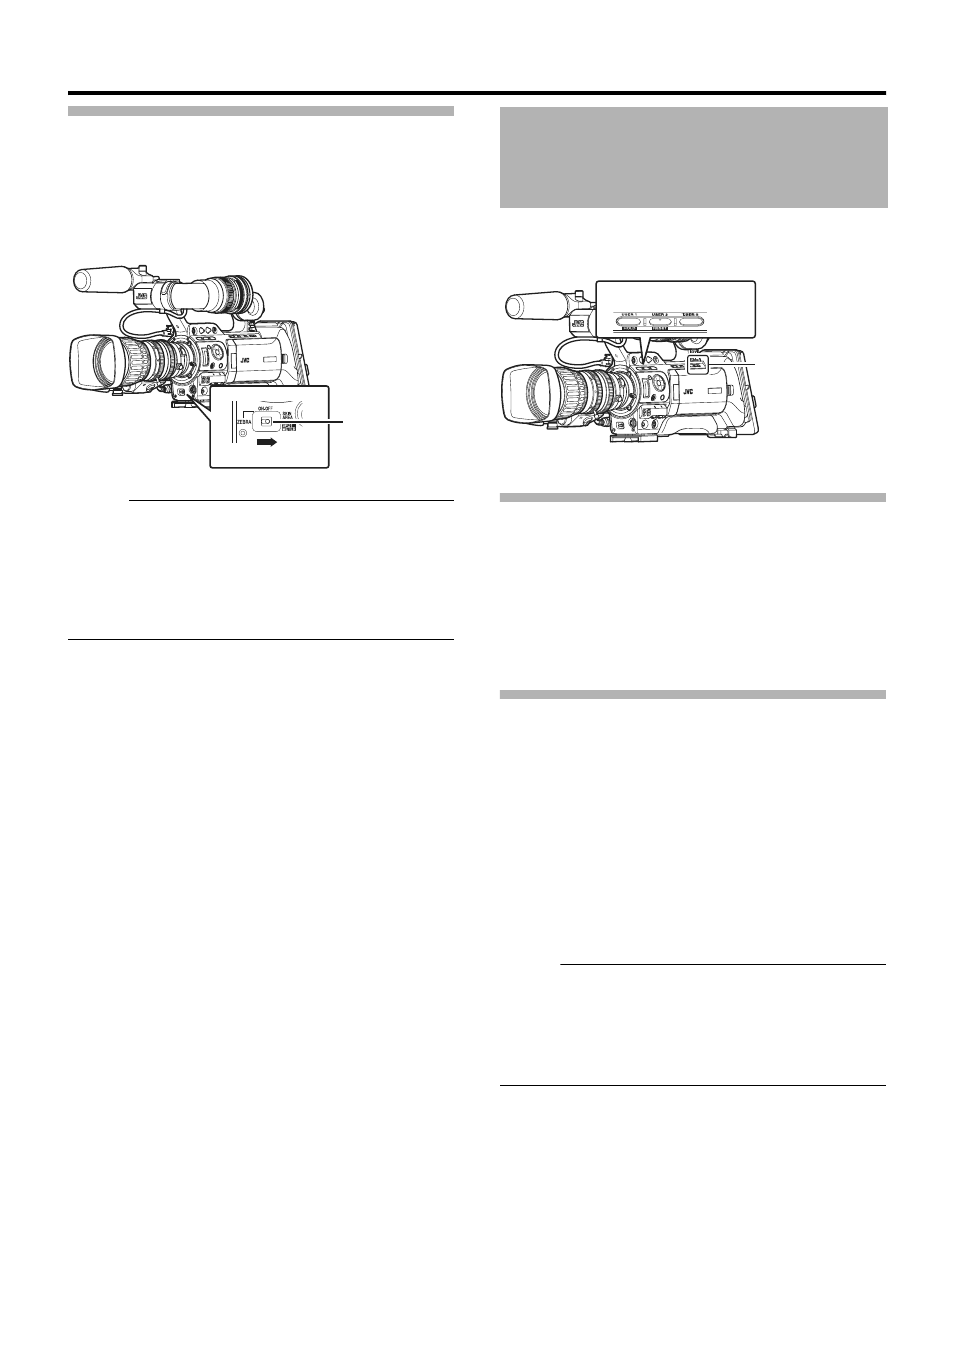
Checking the Preset Hue Area
1
Set the [ZEBRA ON/OFF] switch at the front of the
camera recorder to the [SKIN AREA/SPOT METER] end.
Doing so forcibly turns ON the Skin Adjust function
temporarily, and the preset hue area is displayed in color on
the LCD monitor and viewfinder.
Memo :
● When [Color Gain] in the [Camera Process] menu is set to
AOffB, only the area where Skin Detail is functioning is
displayed in skin tone. (
● When [SKIN A./SPOT M.] of [Switch Set...] in the [Camera
Function] menu screen is set to
ASpot MeterB, the hue area
cannot be checked using the [SKIN AREA/SPOT METER]
switch. (
Multi-format color bars can be output on this camera
recorder.
Setting
To output color bars, follow the setting procedure below.
1
Set the [FULL AUTO] switch to
AOFFB.
2
Set [Bars] in the [Camera Function] menu to
AOnB.
Color bars are output.
Color Bar Output Using the USER Buttons
1
Set the [FULL AUTO] switch to
AOFFB.
2
Assign
ABarsB to any one of the [USER1]/[USER2]/
[USER3] buttons.
Set using [USER1]/[USER2]/[USER3] of [Switch Set...] in the
[Camera Function] menu.
(
3
Press the corresponding [USER1]/[USER2]/[USER3]
button that is assigned with
ABarsB.
Color bars are output.
Memo :
● During color bar output, you can select whether to output the
reference audio signals using [Test Tone] in the [Audio Set]
menu. (
● Color bars are not output when the [FULL AUTO] switch is
set to
AONB but [Bars] in the [FULL AUTO...] menu is set to
AOffB. They are also not output in Media mode.
[ZEBRA ON/OFF]
Switch
Color Bar Output
[FULL AUTO] Switch
[USER1,USER2,USER3]
Buttons