Installing matrox meteor-ii for compactpci – Matrox Electronic Systems II User Manual
Page 27
Installing Matrox Meteor-II 27
Installing Matrox Meteor-II for CompactPCI
Use the following steps to install your Matrox Meteor-II board
for CompactPCI (3U). Note that a 6U replacement bracket is
available.
1. Remove a plate on the subrack, exposing an empty slot.
2. Connect the Matrox Meteor-II MJPEG module to the board
if required. See the section, Installing the Matrox Meteor-II
MJPEG module.
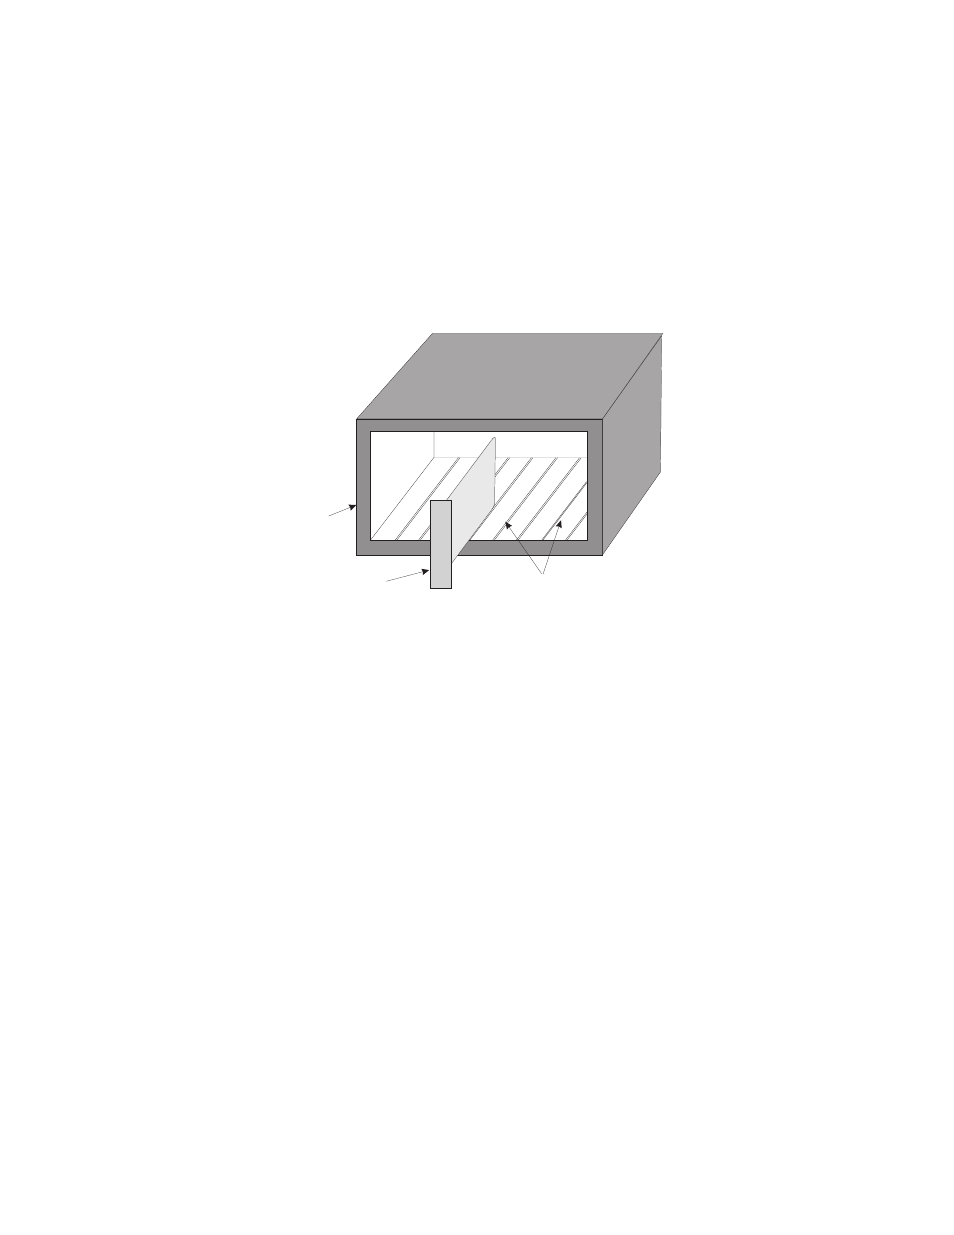
3. Carefully position Matrox Meteor-II along one of the guide
rails and slide the board towards the connector at the back.
Subrack
CompactPCI
Board
Guide slots