Setup menu, continued, Inputs menu – MITSUBISHI ELECTRIC WD-65735 User Manual
Page 24
46
5. TV Menus
5. TV Menus
47
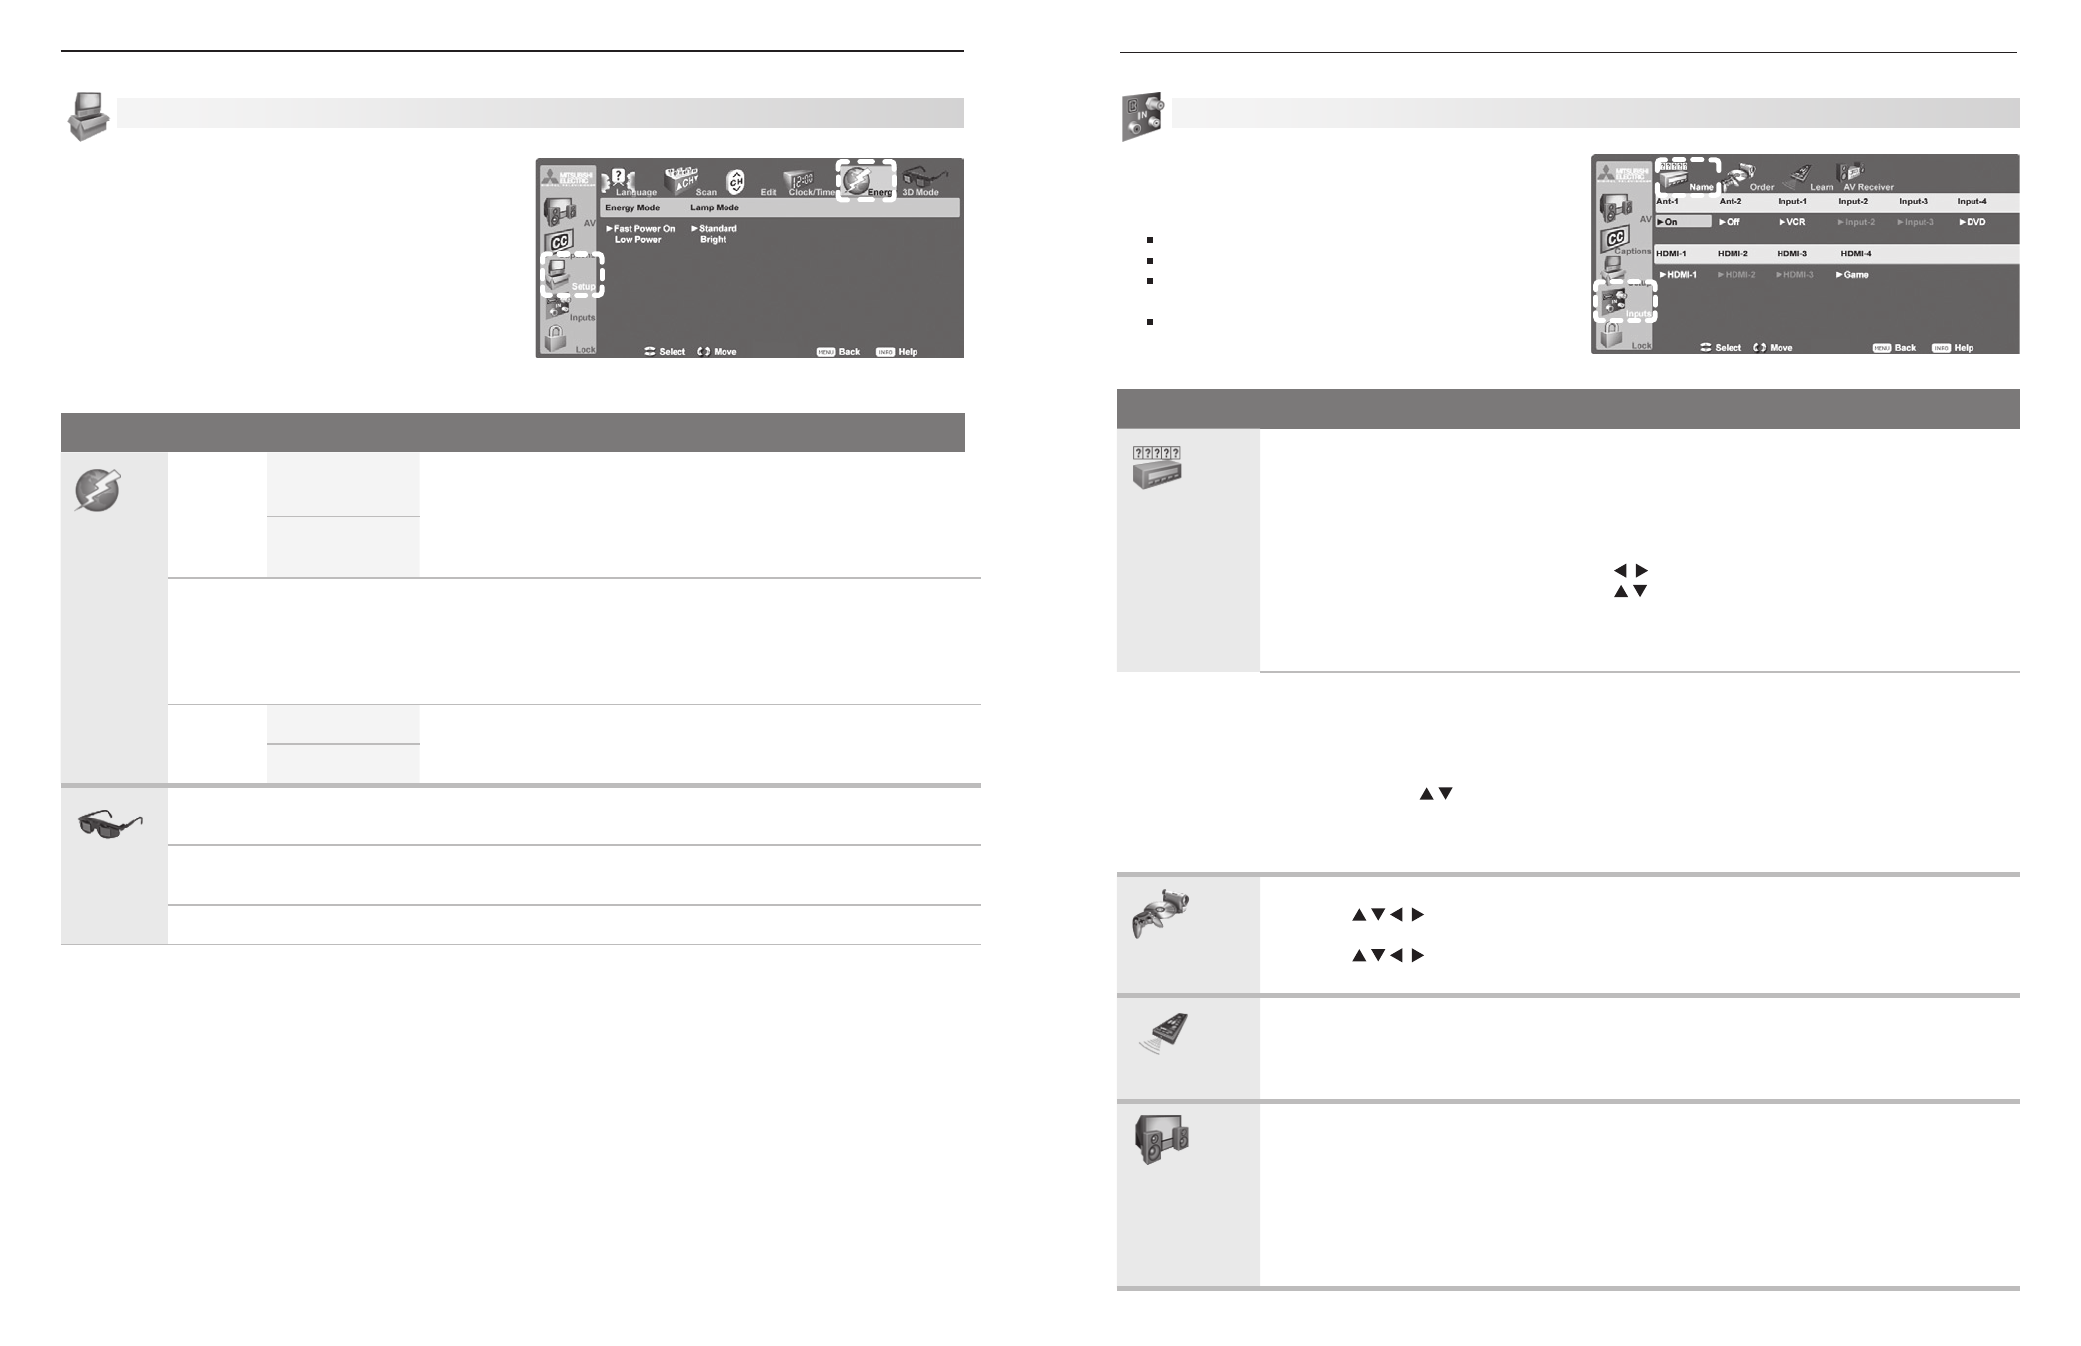
Setup menu, Energy options
Setup Menu Options
Energy
Energy
Mode
Fast Power On
Use the Energy Mode option to select the level of power consumption
while the TV is turned off.
The default setting is
Fast Power On.
Low Power uses less energy, but TV power-on takes longer and
some TV features may be unavailable.
Low Power
Keep Energy Mode set to
Fast Power On if you need to:
Have faster power on.
•
Receive updates to ChannelView channel listings.
•
Keep the TV Clock accurate for the TV Timer. With the
•
Low Power setting, you must reset the TV
Clock if the TV is left turned off for over 48 hours.
Lamp
Mode
Standard
Standard is for most viewing conditions and may extend lamp life by
using lower wattage. Use
Bright in brightly lit rooms.
Bright
3D Mode
3D
Mode
On, Off
Use the
On setting for video games and movies that require 3-D glasses.
Glasses
L-R
Standard,
Reverse
Synchronizes the 3D glasses with the image on screen to provide the best
3D effect.
Standard is the default; try Reverse if this seems incorrect.
Note: 3D options are available only for 1080p 60 Hz video sources connected to an HDMI input.
Setup Menu, continued
Inputs Menu Options
Name
Cable Box, Camcorder, CD/
Audio, DVD (DVD, DVD2, Blu-Ray,
HD DVD), DVR, Game (Game,
PS, Xbox, Wii), MP3 Player, PC,
Satellite, VCR, AVR
On/Off (ANT 1 and ANT 2 only)
Off (HDMI only)
Control Enable, Control Disable
(CEC-enabled devices only)
Lets you assign or change names of inputs appearing in
•
the
Input Selection menu.
Lets you turn
•
Ant-1 and Ant-2 On/Off (to display/hide in Input
Selection menu).
Lets you turn unused HDMI inputs
•
Off (to remove from Input
Selection menu).
Press
•
to move between inputs.
Press
•
to select a name.
If you change the name of an input after performing
•
NetCommand “learning,” the IR codes you “learned” are
erased.
Notes for HDMI devices
D
•
isconnecting an HDMI device: When you disconnect an HDMI device, the icon remains in the Input Selection menu
until you remove it. To remove an unwanted HDMI icon, select
Off for the HDMI input.
•
Disabling TV’s use of CEC: CEC-enabled devices appear in the Inputs > Name menu with an option to turn off the
TV’s CEC signals to the device. You may want to disable the TV’s CEC signals if control conflicts occur. The default
setting is
Control Enable. Press to highlight Control Disable to turn off TV CEC for the device. To enable
or disable the device’s response to CEC signals, see the device’s owner’s manual.
•
Names of CEC-enabled devices: CEC-enabled devices send their own predefined name to the TV. You cannot
change the name of CEC-enabled devices.
Order
Lets you put frequently used icons at the start of the
Input Selection menu.
Press
1.
to highlight the icon to move.
Press
2.
ENTER to confirm the selection.
Press
3.
to drag the icon to the desired position.
Press
4.
ENTER to set the new position.
Learn
736 and 835 series models
Select
•
Learn to perform initial set-up of NetCommand control of the current viewing device.
Lets you add or remove individual keys from NetCommand control of a device.
•
See detailed instructions in chapter 6, “NetCommand IR Control.”
AV Receiver
736 and 835 series models
Sets up NetCommand control of an A/V receiver. This set-up allows you to:
Operate the A/V receiver’s power and volume functions with the TV’s remote control.
•
Automatically switch an A/V receiver to the correct audio input when a device is selected in
•
the Input Selection menu.
Automatically switch an A/V receiver with an HDMI output to the correct audio and video inputs
•
when a device is selected in the Input Selection menu.
See detailed instructions in chapter 6, “NetCommand IR Control,” starting on page 57.
Inputs Menu
Change input names using the Inputs > Name menu.
Note:
When you change an input name in the
Name menu
and then exit the
Name menu:
The name is changed
The icon in the
Input Selection menu is changed
Audio and video settings are changed to the
defaults for the new device type.
All previous NetCommand “learning” for the
input is erased.