Tv menus, 3d video, Remote control keys for the tv menu system – MITSUBISHI ELECTRIC WD-65735 User Manual
Page 18: Main menu
34
4. TV Operation and Features
35
This section provides Instructions for viewing 3D video
using the TV’s
3D feature. The 3D options are found in
the
Setup > 3D menu described on page 46 .
Initial Set-Up
Check if your HDMI 3D video source device outputs
1.
a 1080p 60 Hz signal. This information will be
needed when you assign an input name in the
Auto
Input Sensing screen.
If your 3D glasses came with an emitter box,
2.
connect the emitter box to the
3D GLASSES
EMITTER jack on the back of the TV. See page 9
for the location of the jack.
Power on the TV and the source device.
3.
Connect the source device to the TV’s HDMI input.
4.
When the
5.
Auto Input Sensing screen displays,
name the input according to the table below.
The signal type and choice of name are important
because the TV will process the video signal
differently depending on the name you assign. If
your source device is a high-definition disc system,
such as Blu-Ray or HD DVD, or is a game console,
the signal must be 1080p at 60 Hz.
Press
6.
EXIT to close the Auto Input Sensing screen.
Source of 3D Video
Type of 3D Video Signal
Name to Assign to
Video Input
Computer
Recommended: 1080p 60 Hz (1920 X 1080). The image will fill
the TV screen.
Other 60-Hz computer video signals compatible with the TV will
display with black bars. See “Computer Display Formats” on
page 17.
PC
Any other 3D video
source
To see 3D video, signal must be 1080p 60 Hz
Any name other than
PC
To Watch 3D Video
Press
1.
INPUT to display the Input Selection menu.
Highlight the icon for the 3D video input and press
2.
ENTER.
Press
3.
MENU and select the Setup > 3D Mode menu.
Set
4.
3D Mode to On. The On setting will be memo-
rized for the current input when you exit this menu.
Press
5.
EXIT to close the menu.
To Watch Regular (non-3D) Video
The
3D Mode setting is memorized for each input.
When you want to watch non-3D video on the input
selected above:
Select the input in the
1.
Input Selection menu.
Open the
2.
Setup > 3D menu and set 3D Mode to
Off.
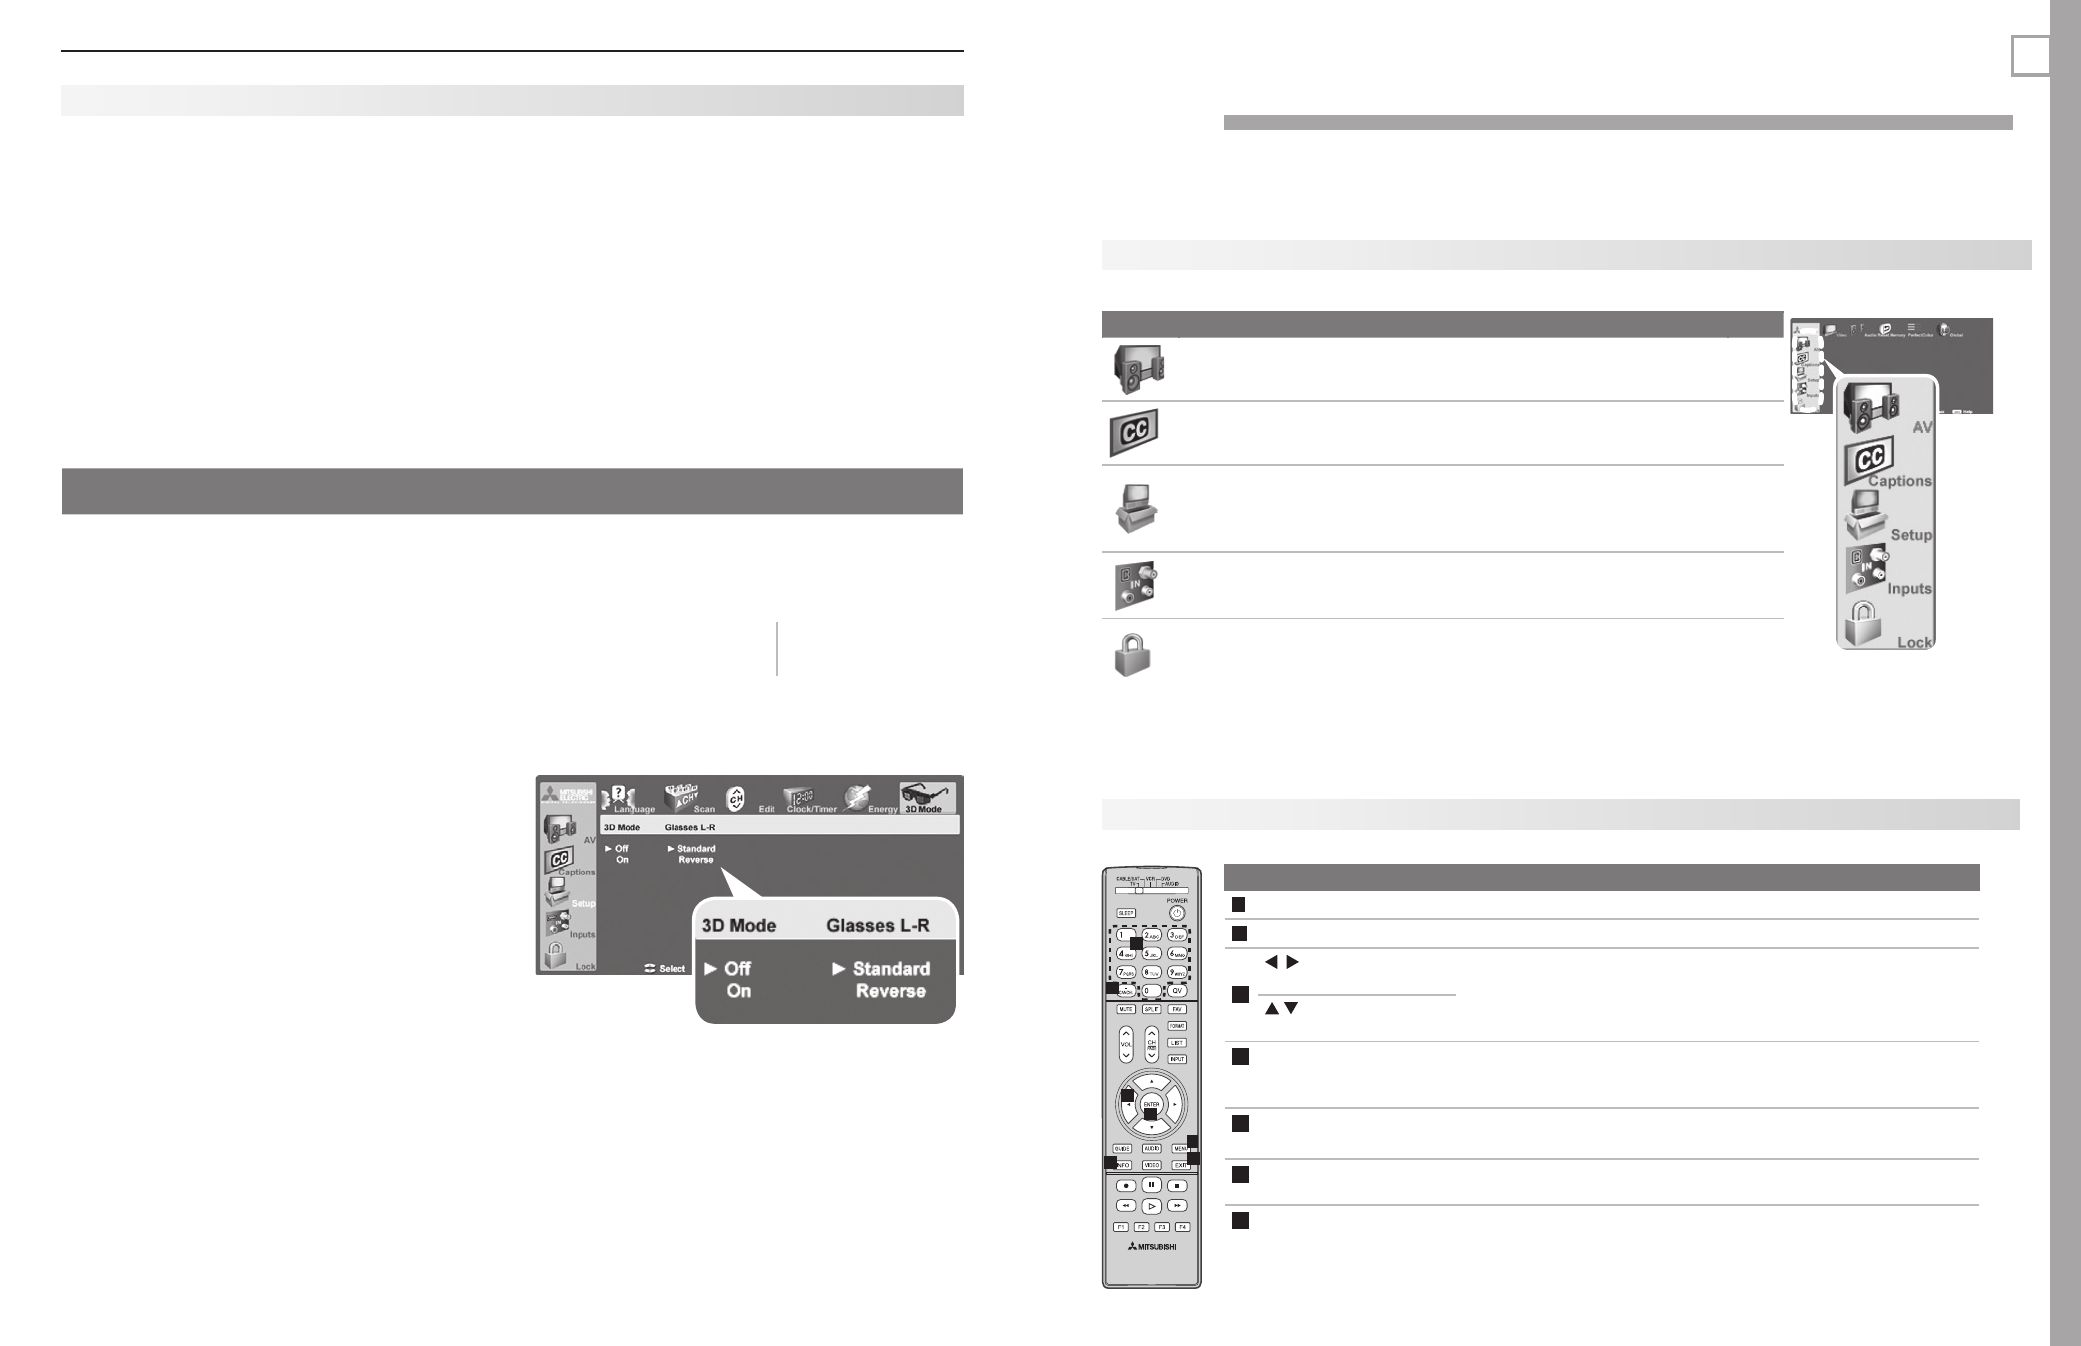
3D Video
Use the Setup >
3D Mode menu to
enable 3D video
viewing.
5
TV Menus
Remote Control Keys for the TV Menu System
1
2
4
5
6
7
3
Key
Function
1
MENU
Display or close the
Main menu or move back one menu level.
2
EXIT
Close all menus and return to TV viewing.
3
(Adjust Left/Right Keys)
Move through screens to select menu options.
•
Change settings.
•
Scroll through lists.
•
(Adjust Up/Down Keys)
4
ENTER
Start an automatic function or check/uncheck a check box. When
setting time, move from hour digits to minutes digits and from
month to day to year digits.
5
Numbers
Letters
Enter channel numbers.
Enter custom names in some text boxes.
6
CANCEL
Clear a setting or stop an automatic function.
•
Add a separator in a digital channel number.
•
7
INFO
Get context-sensitive help.
Main Menu
Press
MENU on the remote control to open the Main menu.
Icon
Menu Name and Description
Page
Main menu
AV Menu
Customize picture and sound settings.
36
Captions Menu
Turn closed captions on and off; customize
caption displays.
41
Setup Menu
Perform basic TV setup. Set language, scan
(memorize) channels, set the TV clock, edit
channel options, lock TV use by channel, set
Energy Mode, Lamp Mode, auto-on TV Timer.
42
Inputs Menu
Assign names to TV inputs, change icon order
in the
Input Selection menu, perform NetCom-
mand IR “learning.”
47
Lock Menu
Restrict TV use by program ratings and by time
of day. Disable the control-panel buttons. Set
a pass code.
48