Servicing instructions, Replacing parts, Piezo – Stovax E-Studio PR0776 User Manual
Page 29: Gas valve, Ignition lead
29
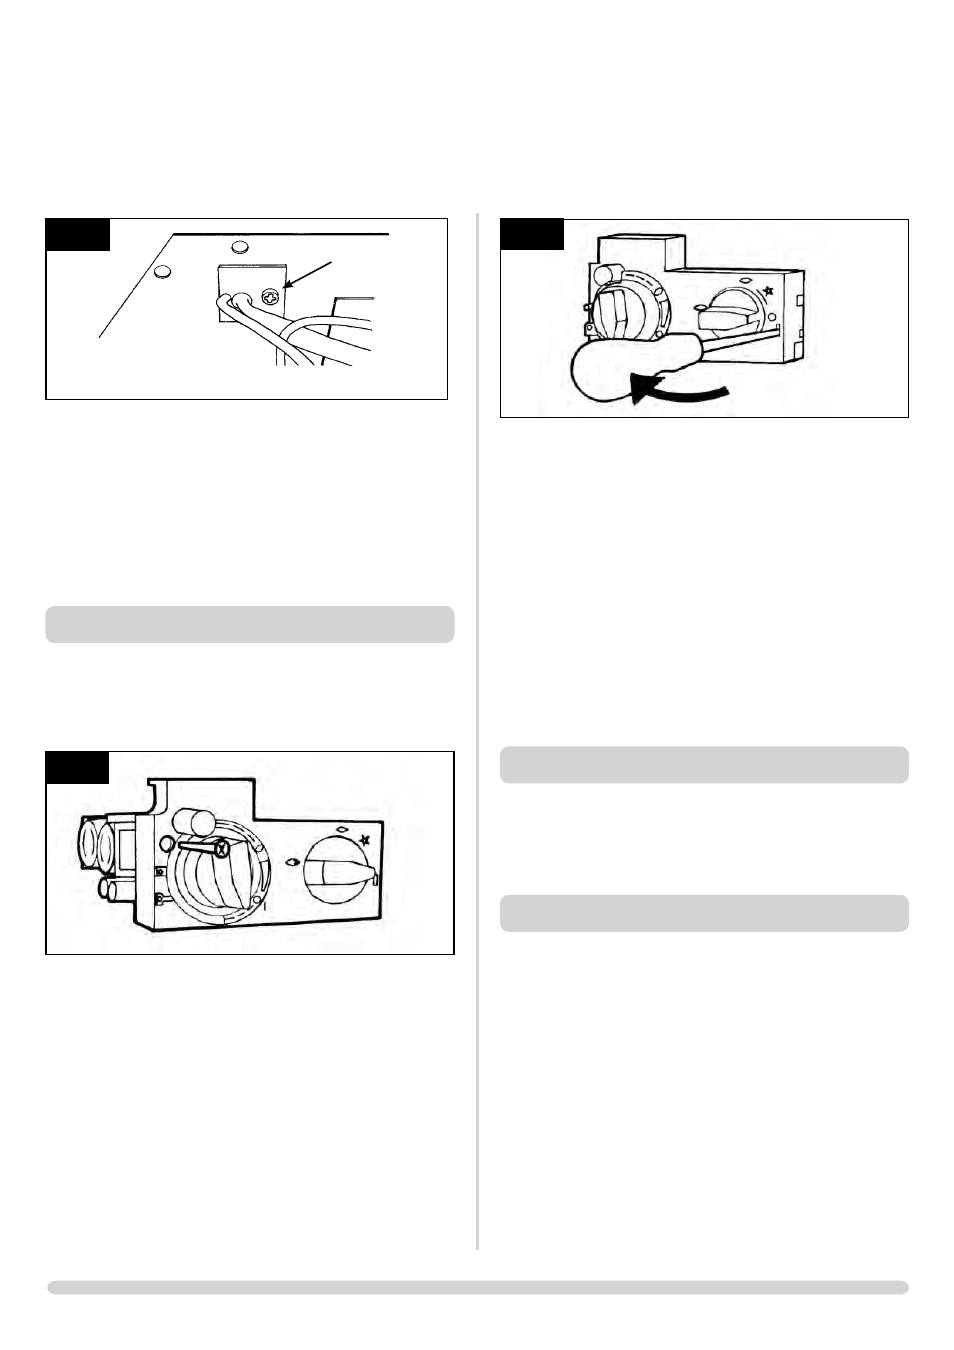
16
AR0916
• Disconnect the ignition lead from the valve and
electrode.
(For E-Studio, the sealing plate needs also to be removed,
Diagram 14)
• Replace with a new ignition lead following the same
route as the old one.
(For E-Studio, replace the sealing plate and re-seal with
relevant sealant).
•Replace the valve cover check the operation of the new
ignition lead.
7.3 • Refit the burner unit
7.4 • Replace the fire frame
8. PIEZO
8.1 The piezo assembly used on this appliance is not
serviceable and is unlikely to fail. If a new piezo is required
it will be necessary to change the gas valve, refer to section
9.
9. GAS vAlvE
9.1 • Remove the thermocouple from the valve, Diagram 17,
Arrow A.
• Undo the pilot pipe from the gas valve, Diagram 17,
Arrow B.
• Undo the inlet pipe from the valve, Diagram 17,
Arrow C.
• Undo the feed pipe from the valve, Diagram 17, Arrow
D.
• Disconnect the ignition lead from the pilot unit. (For
E-Studio, the sealing plate needs to be removed, Diagram
14)
5
AR2003
14
whEN REPlACING wITh A NEw ThERMOCOUPlE
TAKE CARE TO BEND ThE NEw COMPONENT TO ThE
EXACT ShAPE OF ThE ORIGINAl ONE
6.3 When replacing the thermocouple into the pilot unit ensure
the component is pushed fully into the hole. There is a stop
on the thermocouple to set the height.
• Lock the retaining nut just enough to grip the
thermocouple
7. IGNITION lEAD
7.1 • Remove the burner unit. Refer to section 2
• Undo the single screw that secures the left hand side of
the control cover, Diagram 15.
15
AR0915
7.2 To release the right hand side of the control cover:
• Insert the narrow blade screwdriver into the slot shown
in Diagram 16
• Lever it gently and pull from the right hand side at the
same time. The cover will now come off, there is a small
cylindrical metal spacer inside the cover. This must be kept
and replaced on the fixing screw during re-assembly.
SERvICING INSTRUCTIONS
REPlACING PARTS