Grizzly G0651 User Manual
Page 54
-52-
model g0651/g0652 (mfg. since 1/10)
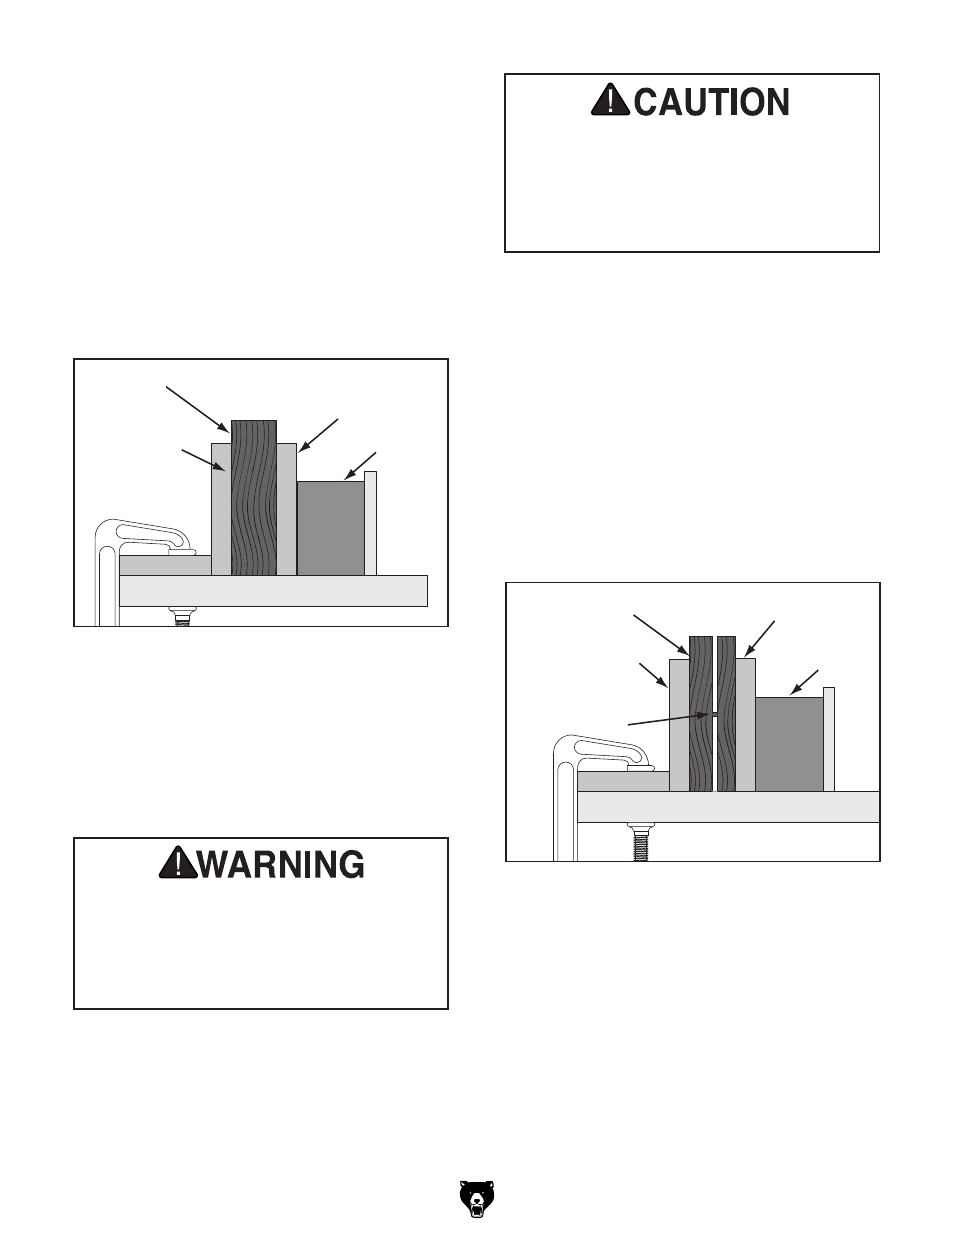
10. repeat Steps 7–9 until the blade is close to
half of the height of the board to be resawn.
the ideal completed resaw cut will leave an
1
⁄
8
" connection when the resawing is com-
plete, as shown in
Figure 75. leaving an
1
⁄
8
"
connection will reduce the risk of kickback.
4. attach the auxiliary fence to the standard
fence and set it to the desired width.
Note: Account for blade kerf, the rough cut
made by the blade, and the inaccuracy of
the fence scale when the auxiliary fence is
installed when figuring out the correct width.
Always use push sticks or push paddles to
increase safety and control during opera-
tions which require that the blade guard
and spreader must be removed from the
saw. ALWAyS replace the blade guard after
resawing is complete.
8. plug in the table saw, turn it ON, and use a
push stick to feed the workpiece through the
blade using a slow, steady feed rate.
9. Flip the workpiece end for end, keeping the
same side against the fence, and run the
workpiece through the blade.
Figure 75. ideal completed resaw cut.
11. turn OFF the table saw, then separate the
parts of the workpiece and hand plane the
remaining ridge to remove it.
12. When finished resawing, remove the resaw
barrier and auxiliary fence, then re-install the
blade guard/spreader or riving knife and stan-
dard table insert.
6jm^a^Vgn
;ZcXZ
;ZcXZ
GZhVl
7Vgg^Zg
&
$
-
8dccZXi^dc
Ldg`e^ZXZ
5. place the workpiece against the auxiliary
fence and slide the resaw barrier against
the workpiece, as shown in
Figure 74. now
clamp the resaw barrier to the top of the table
saw at both ends.
The danger of kickback increases relative to
the depth of a cut. Reduce the risk of kick-
back by making multiple passes to achieve
the desired depth of cut. Failure to follow
these warnings could result in serious per-
sonal injury.
6. slide the workpiece over the blade to make
sure it moves smoothly, then remove the
workpiece.
7. raise the blade approximately an inch, or
close to half the height of the workpiece
(
Figure 75), whichever is less.
Figure 74. ideal resaw workpiece setup.
6jm^a^Vgn
;ZcXZ
;ZcXZ
GZhVl
7Vgg^Zg
Ldg`e^ZXZ
(Front View)