Disabling & locking switch, Notice, Operation overview – Grizzly G0651 User Manual
Page 36
-34-
model g0651/g0652 (mfg. since 1/10)
Disabling & Locking
Switch
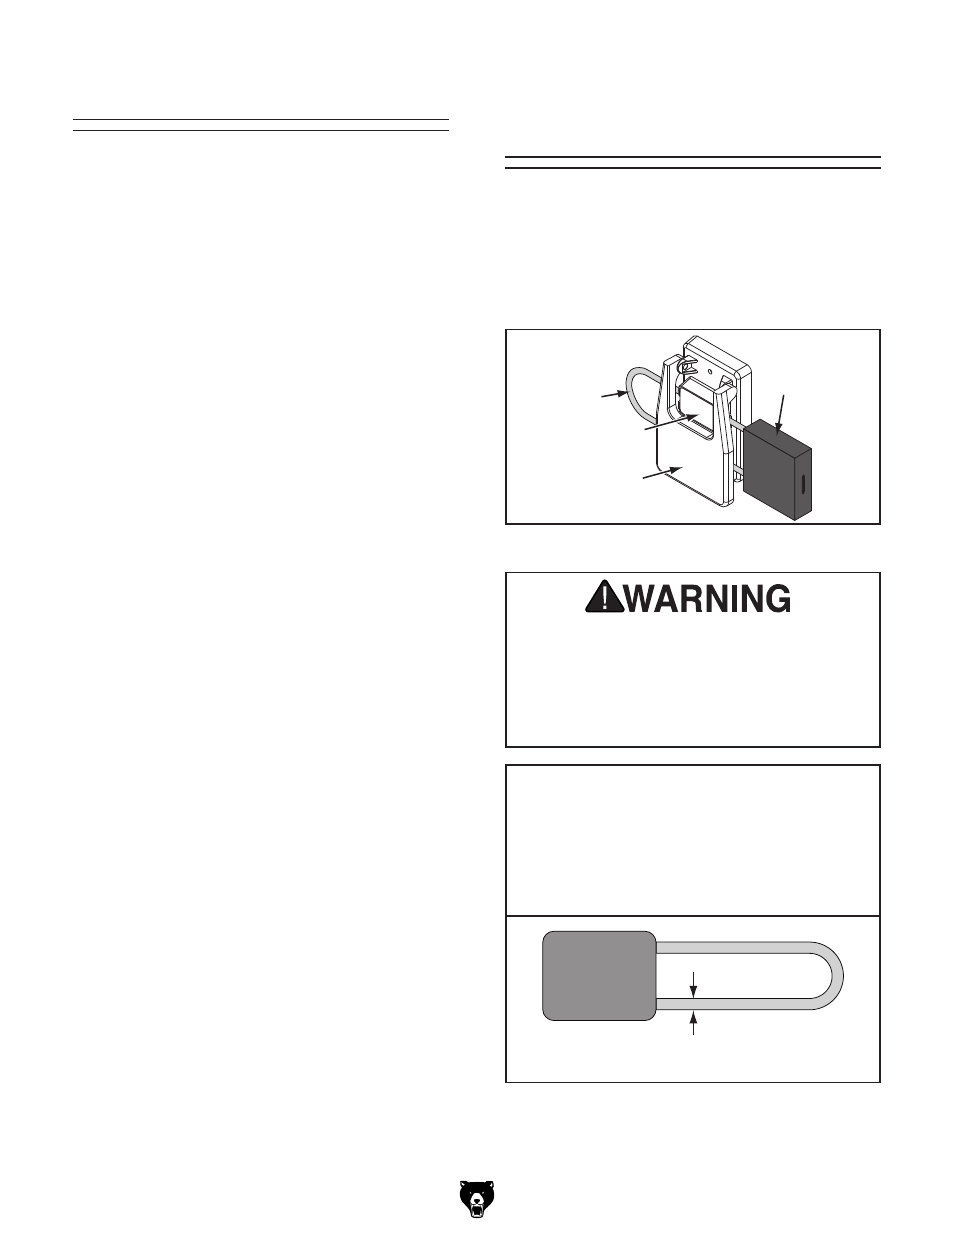
Figure 38. switch disabled by a padlock.
I]ZDC$D;;hl^iX]XVcWZY^hVWaZYVcYadX`ZY
l^i] V eVYadX`# L]^aZ i]Z eVYadX` ^h ^chZgiZY
i]gdj\] i]Z DC Wjiidc! Vh h]dlc ^c i]Z
Figure
WZadl!i]ZbdidgXVccdiWZhiVgiZY!l]^X]gZYjX"
Zh i]Z g^h` d[ VXX^YZciVa hiVgije Wn X]^aYgZc dg
jcVji]dg^oZYjhZgh#
H]V[i
EVYadX`
DC
$
HI6GI
7jiidc
D;;
$
HIDE
EVYYaZ
Figure 39. minimum lock shaft requirements.
Children or untrained people can be killed
or seriously injured by this machine. If
machine is accessible to children or other
people, always disable and lock the switch
before leaving machine unattended! Place
key in a well-hidden or secure location.
B^c^bjbH]V[i9^VbZiZg2%#&.'¶%#'
)#-¶*bb
NOTICE
The switch can only be disabled if the
installed padlock shaft meets the minimum
diameter shown below; otherwise the shaft
may be too small to properly disable the
switch.
Operation Overview
the purpose of this overview is to provide the
novice machine operator with a basic understand-
ing of how the machine is used during a typical
operation, so the controls/components discussed
later in this manual are easier to understand.
due to the generic nature of this overview, it is
not intended to be an instructional guide. to learn
more about specific operations, read this entire
manual, read "how to" books, and seek additional
training from experienced machine operators.
To complete a typical operation, the operator
does the following:
1. examines the workpiece to make sure it is
suitable for cutting.
2. adjusts the blade tilt, if necessary, to the cor-
rect angle of the desired cut.
3. adjusts the blade height no more than
1
⁄
4
"
higher than the thickness of the workpiece.
4. adjusts the fence to the desired width of cut
then locks it in place.
5. Checks the outfeed side of the machine
for proper support and to make sure the
workpiece can safely pass all the way through
the blade without interference.
6. puts on safety glasses and a respirator.
locates push sticks/blocks if needed.
7. starts the saw.
8. Feeds the workpiece all the way through the
blade while maintaining firm pressure on the
workpiece against the table and fence, and
keeping hands and fingers out of the blade
path and away from the blade.
9. stops the machine immediately after the cut
is complete.