4 hard disk upgrade procedure, Installation and upgrade – FIC A360 User Manual
Page 55
Installation and Upgrade
30 degrees
Figure 2-8
Insert Memory Module
5. To remove a SODIMM, press the locking tabs away from the sides of the module until
the module pops up. Then, remove the SODIMM.
6. Reassemble the notebook components as follows.
− Put the DIMM door back.
− Replace the screw and turn the system over.
2.3.4 Hard Disk Upgrade Procedure
The notebook provides a built-in hard disk for the primary IDE controller. The HDD is an
industry standard 2.5” IDE disk drive and can be upgraded with another standard 2.5” HDD.
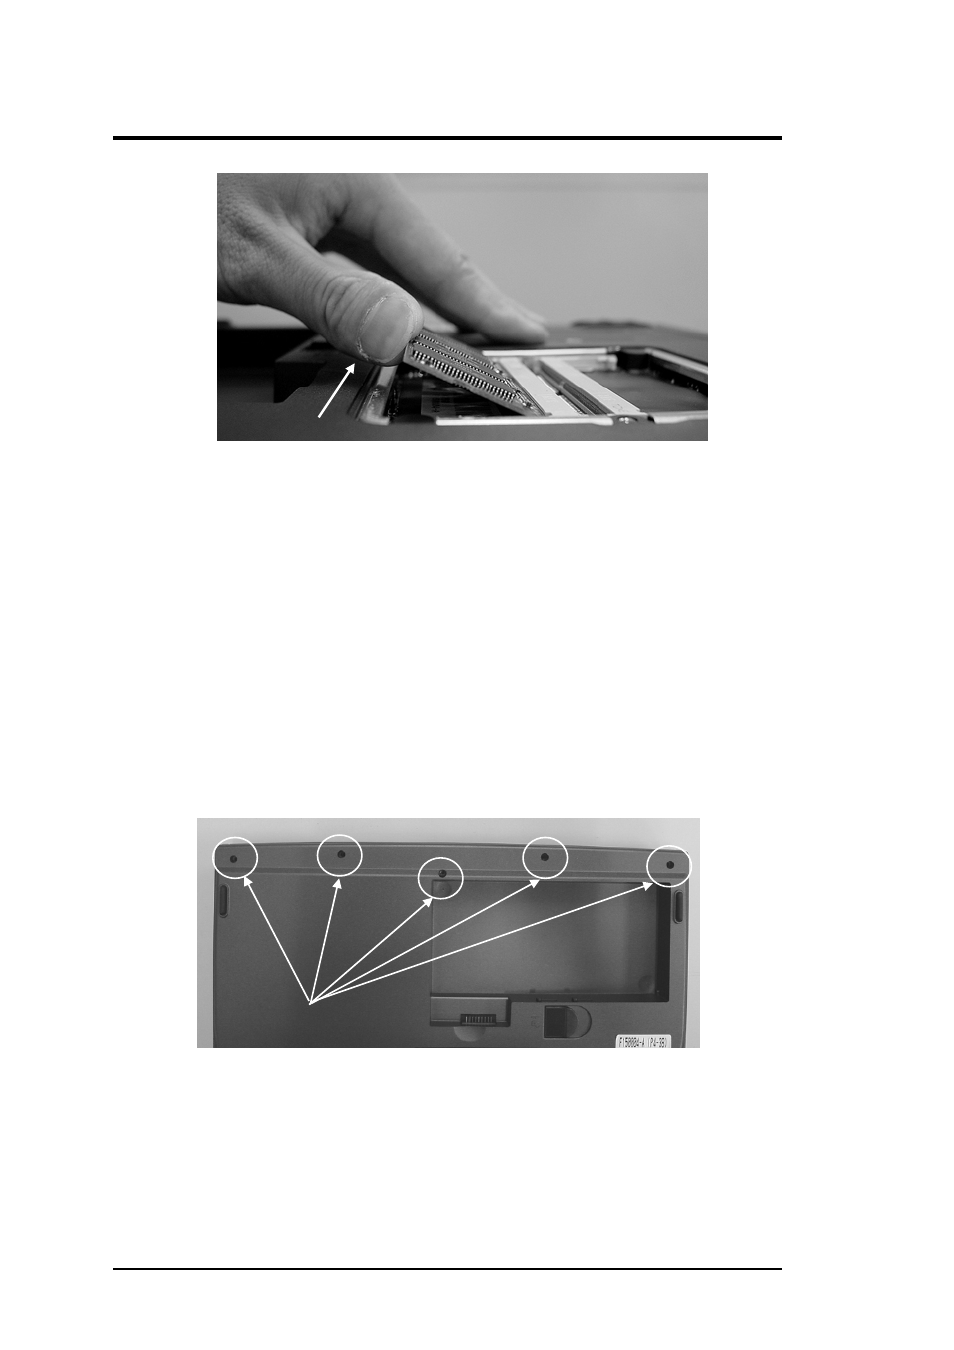
1. Make sure the system is powered off and that no peripheral devices are attached.
2. Remove the five screws securing the palm-rest cover underneath the system base unit.
screws
Figure 2-9
Remove Palm Reset
3. Remove the palm-rest cover by slowly unsnapping each section of the palm-rest cover
from the base unit.
4. When you have remove the entire palm-rest cover, simply flip over the touchpad panel to
the keyboard. You will find the built-in hard disk secured with one screw at the upper
2-16
FIC A360 Service Manual