Remote control thermostat installation – Friedrich 920-087-09 (12/10) User Manual
Page 25
25
Remote Control Thermostat
Installation
Install Thermostat
1. Approximately.5.ft..from.the.floor.
2. Close.to.or.in.a.frequently.used.room,.preferably.on.an.inside.wall.
3. On.a.section.of.wall.without.pipes.or.ductwork.
The Thermostat should NOT be mounted:
1. Close.to.a.window,.on.an.outside.wall,.or.next.to.a.door.leading.
outside.
2. Where.it.can.be.exposed.to.direct.sunlight.or.heat,.such.as.the.sun,.
a.lamp,.fireplace,.or.any.ther.temperatureradiating.object.which.
may.cause.a.false.reading.
3. Close.to.or.in.the.direct.airflow.of.supply.registers.and/or.return.
air.grilles.
4. Any.areas.with.poor.air.circulation,.such.as.a.corner,.behind.a.
door,.or.an.alcove.
Remote Thermostat and Low
Voltage Control Connections
Remote Thermostat
All.Friedrich.PD.model.PTAC.units.are.factory.configured.to.be.controlled.
by.either.the.chassis.mounted.Smart.Center.or.a.24V.remote.wall.mounted.
thermostat..The.thermostat.may.be.auto.or.manual.changeover.as.long.as.
the.control.configuration.matches.that.of.the.PTAC.unit.
NOTE:.
All.PDE.models.require.a.single.stage.cool,.single.stage.heat.
thermostat...All.PDH.models.require.a.single.stage.cool,.dual.
stage.heat.thermostat.with.an.O.reversing.valve.control...The.
Friedrich.RT6.thermostat.can.be.configured.for.either.model.
FRP029
FRP029
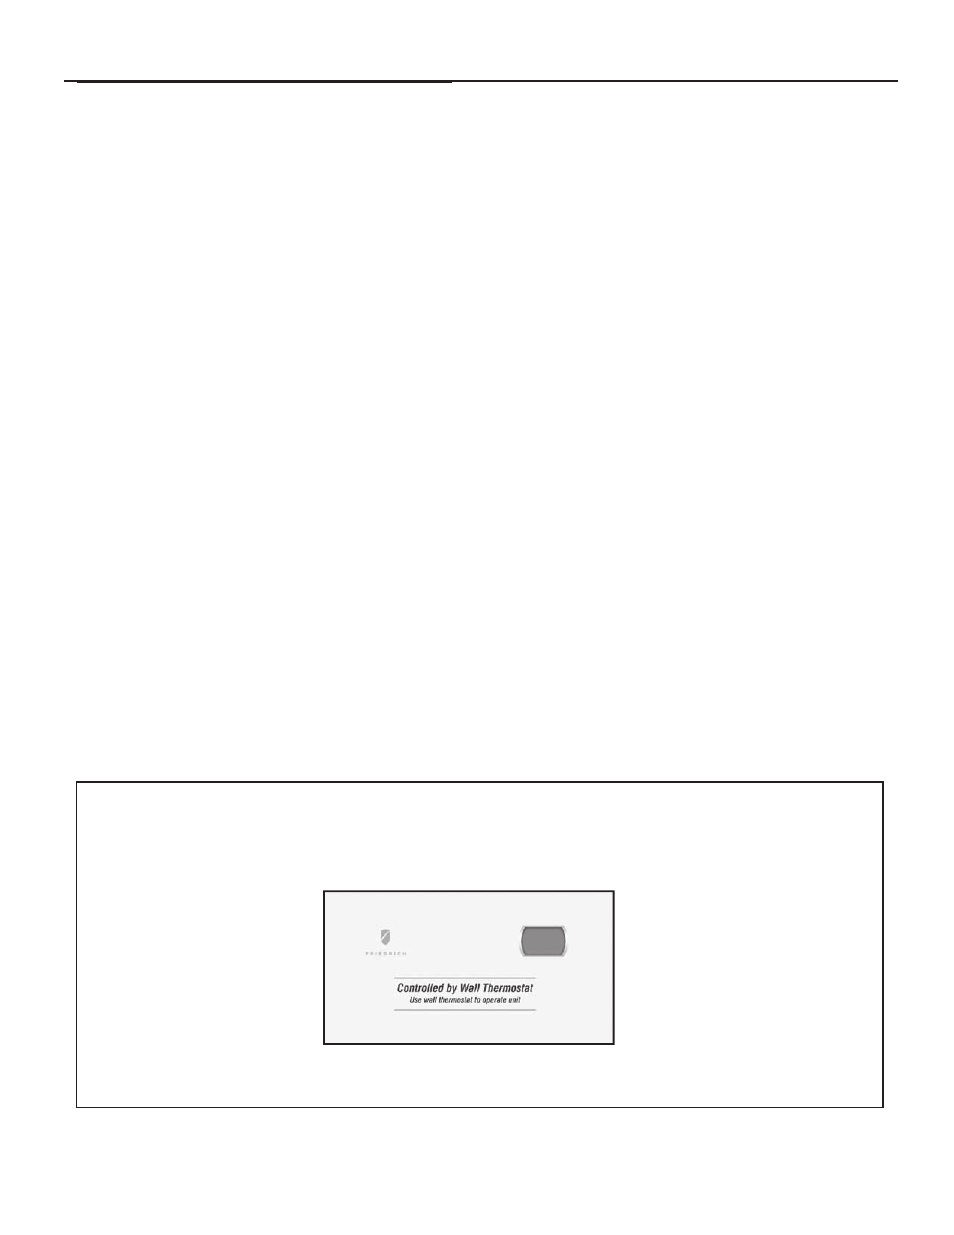
Figure 33
Control board with optional PDXRT escutcheon kit installed
To control the unit with a wall mounted thermostat
follow the steps below:
1. Unplug.the.unit.before.doing.any.work.
2. With.the.front.cover.removed.locate.the.dip.switches.located.below.
the.Smart.Center.control.panel..See.page.23...Switch.Dip.switch.
2.to.the.up.on.'ON'.position.
3. Remove.the.low.voltage.terminal.block.from.the.unit.
4. Connect.the.corresponding.terminals.from.the.wall.thermostat.to.
the.terminal.block.
5. Replace.the.terminal.block.on.the.unit.
6. Restore.power.to.the.unit.
7. The.unit.is.now.controlled.by.the.wall.thermostat.only..
8. If.the.accessory.escutcheon.kit.(PDXRTA).is.to.be.used,.install.it.
over.the.existing.control.panel.
NOTE:.
The.unit.mounted.controls.no.longer.control.the.unit...To.restore.
the.unit.mounted.controls.move.dip.switch.2.to.the.down.or.
'OFF'.position.
Thermostat Connections
R.. =..24V.Power.from.Unit
Y.. =..Call.for.Cooling
W.. =..Call.for.Heating
O.. =..Reversing.Valve.Energized.in.cooling.mode.(PDH.Models.Only)
GL.=..Call.for.Low.Fan
GH.=.Call.for.High.Fan
C.. =..Common.Ground
*If.only.one.G.terminal.is.present.on.thermostat.connect.to.GL.for.low.
speed.fan.or.to.GH.for.high.speed.fan.operation.
- 7,200 BTU Packaged Terminal Air Conditioner Warranty 7,200 BTU Packaged Terminal Air Conditioner Installation and Operation Manual ZoneAire Series 42 Inch Packaged Terminal Air Conditioner Warranty A-SERIES 24,000 BTU/h 9 HEAT PUMPS 7,200 BTU Packaged Terminal Air Conditioner Product Profile ZoneAire Series 42 Inch Packaged Terminal Air Conditioner Warranty Guide ZoneAire Series 42 Inch Packaged Terminal Air Conditioner Installation Guide ZoneAire Series Electric Heat Packed Terminal Air Conditioner Installation Manual ZoneAire Series 14,500 BTU Smart Packaged Terminal Air Conditioner Installation Guide 12,000 BTU FreshAire® Package Terminal Air Conditioner Installation Manual