Setting the receive channel – Sony VCT-SP2BP Camcorder Shoulder Support User Manual
Page 27
27
Menu tree
• The SCAN TYPE and BAND menus are not available
on the Japan model, Korea model, 90U model, and E
model.
• When SYNC MODE is set to IR, SYNC TX->RX1(2)
is not displayed.
Basic menu operation
1
Press the MENU button and select the menu to set or
change.
Each time you press the button, the display switches
between the meter screen, RX1, RX2, EXT.IN, and
meter screen in that order. To change an item in the
UTILITY menu, display the meter screen.
2
Press the + or – button to display the function to be
set.
3
Press and hold the SET button until the setting starts
flashing.
4
Press the + or – button to change the setting.
5
Press the SET button to enter the setting.
The menu for a tuner with the POWER switch in the OFF
position is not displayed. If no operation is performed for
30 seconds, the display will turn off or will dim. Pressing
any button will turn the display on again.
For details about display settings, see “Changing the
display settings (DISPLAY MODE)” (page 36).
Setting the receive channel
Procedure for portable diversity tuner (URX-P40)
For details about the channel groups and channels that can
be selected, refer to the “Frequency List”.
1
Press the + or – button to display the GP/CH menu.
2
Press and hold the SET button for one second or
longer.
The channel group display starts flashing.
MENU
Meter screen
PHONES
OUTPUT LEVEL
OUTPUT MODE
RUNNING TIME
MONITOR MODE
POWER SOURCE
SYNC MODE
SCAN TYPE
BATTERY TYPE
DISPLAY MODE
BRIGHTNESS
FCT RESET
VERSION
RX1
GP/CH
BAND
CLR CH SCAN
SYNC RX1->TX
SYNC TX->RX1
CH MEMORY
ACT CH SCAN
COMPANDER
OUTPUT ASSIGN
RX2
GP/CH
BAND
CLR CH SCAN
SYNC RX2->TX
SYNC TX->RX2
CH MEMORY
ACT CH SCAN
COMPANDER
OUTPUT ASSIGN
EXT.IN
MIC SELECT
INPUT LEVEL
LCF
PHASE
OUTPUT ASSIGN
To meter screen
Notes
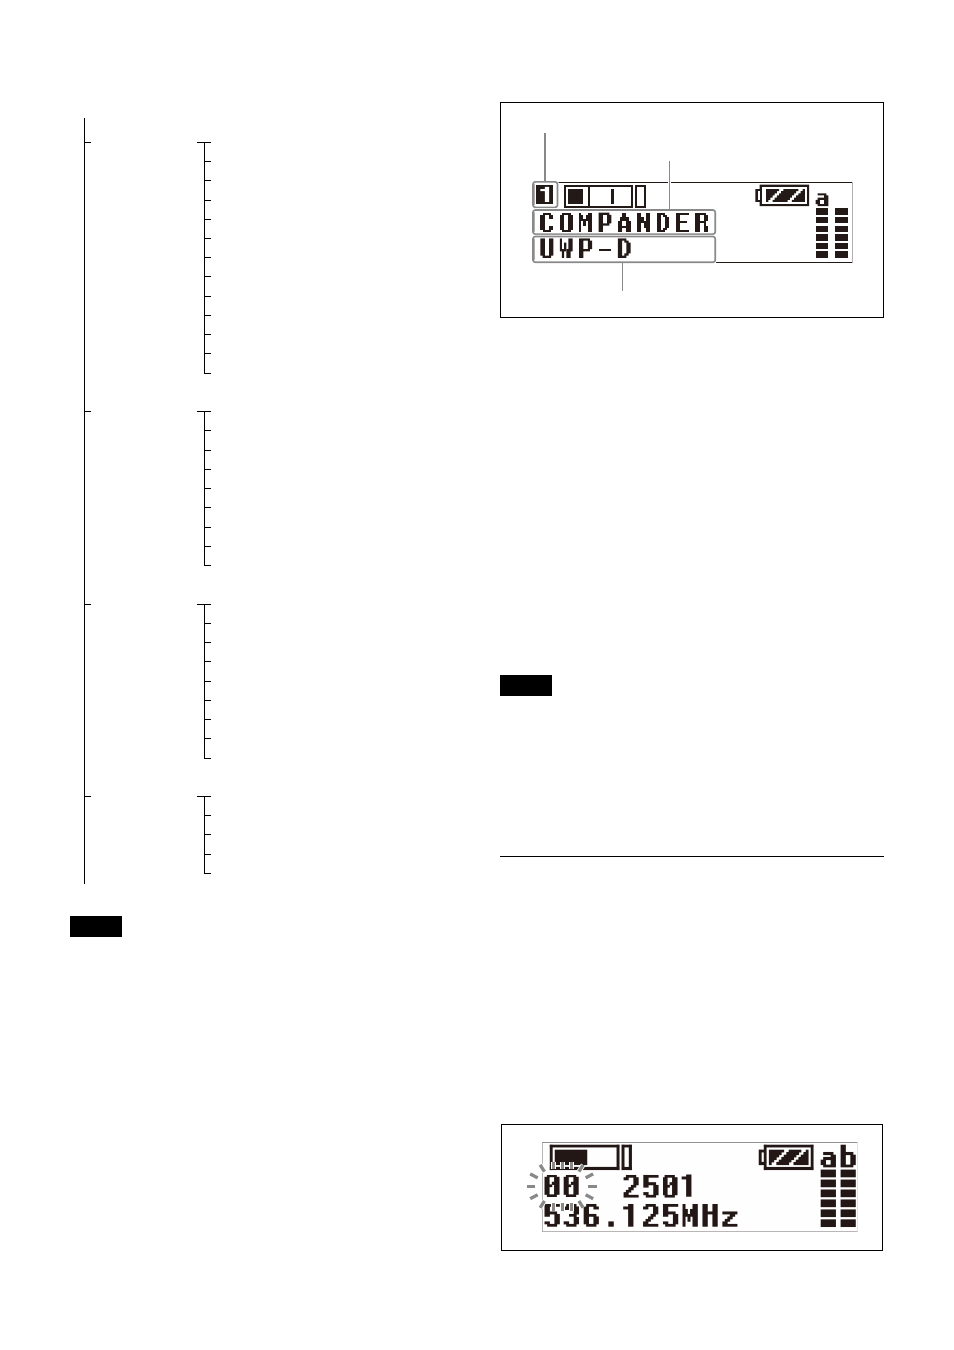
Note
Menu name
Function name
Setting