Sony VCT-SP2BP Camcorder Shoulder Support User Manual
Page 15
15
B
Peak indicator
Lights up when the signal is 3 dB below the level at which
distortion begins as a warning of excessive input level.
C
Transmitter power warning indicator
Displays an icon when the remaining battery capacity of
the transmitter being received is almost discharged.
• The icon is not displayed if the receive signal level is
low.
• This function is enabled only when the transmitter is a
UTX-B40/M40/P40.
D
Transmitter muting status indicator
Displays an icon when the muting function of the
transmitter being received is on.
• The icon is not displayed if the receive signal level is
low.
• This function is enabled only when the transmitter is a
UTX-B40/M40/P40.
E
Battery level indicator
Displays the battery level. “USB” is displayed when
power is supplied from the USB connector. “MI” is
displayed when power is supplied from an SMAD-P5
(option).
For details, see “Battery level indicator” (page 19).
F
RF (radio frequency input) level meter
Displays the RF input level. The number of lights will
change depending on the input level.
6 lights: 60 dBµ or higher
5 lights: 50 dBµ to 60 dBµ
4 lights: 40 dBµ to 50 dBµ
3 lights: 30 dBµ to 40 dBµ
2 lights: 20 dBµ to 30 dBµ
1 light: 10 dBµ to 20 dBµ
No lights: 10 dBµ or lower
G
Menu display section
Displays various functions. Press the + or – button to
switch functions.
For details, see “Configuration menu” (page 31).
i
NFC SYNC (NFC communication) button
Press to start a channel scan and for NFC communication
with the transmitter.
For details, see “Operation” (page 23).
j
SET button
Adjusts displayed function settings and enters the
displayed value.
Holding down the SET button while turning on the power
turns the transmitter on without transmitting a signal
(transmission stopped mode).
k
POWER button
Turns the power on/off.
l
OUTPUT (audio output) connector (3.5-mm
diameter, 3-pole locking mini jack, balanced
output)
Connect one end of the supplied XLR-BMP conversion
output cable for the URX-P40/URX-P41D or the stereo
mini plug-BMP conversion cable for the URX-P40 here
and the other end to the microphone input on a camcorder,
mixer, or amplifier. If the microphone input connector on
the connected device is a stereo mini jack, connect the
straight (BMP) plug to the tuner and the L-shaped (stereo
mini) plug to the microphone input connector on the
device.
• To prevent damaging the tuner, do not apply a voltage
to this connector from a microphone external power
supply (MIC+48V) or other source.
• Connection to a plug-in power microphone input
connector is supported using the stereo mini plug-BMP
conversion cable for the URX-P40.
• When the SMAD-P5 (option) is connected, connecting
the stereo mini plug-BMP conversion cable for the
URX-P40 to a camcorder microphone input may cause
noise to occur. In that case, use the supplied shoe mount
adaptor.
• When the stereo mini plug-BMP conversion cable for
the URX-P40 is connected, the output becomes
unbalanced.
m
Auxiliary connector
Refer to the SMAD-P5 (option) operating instructions for
details about attaching to this unit.
n
USB connector (USB Type-C)
Connect to a commercially available USB portable power
supply.
When the power is turned on, the unit operates with
power supplied by the USB portable power supply.
Notes
Notes
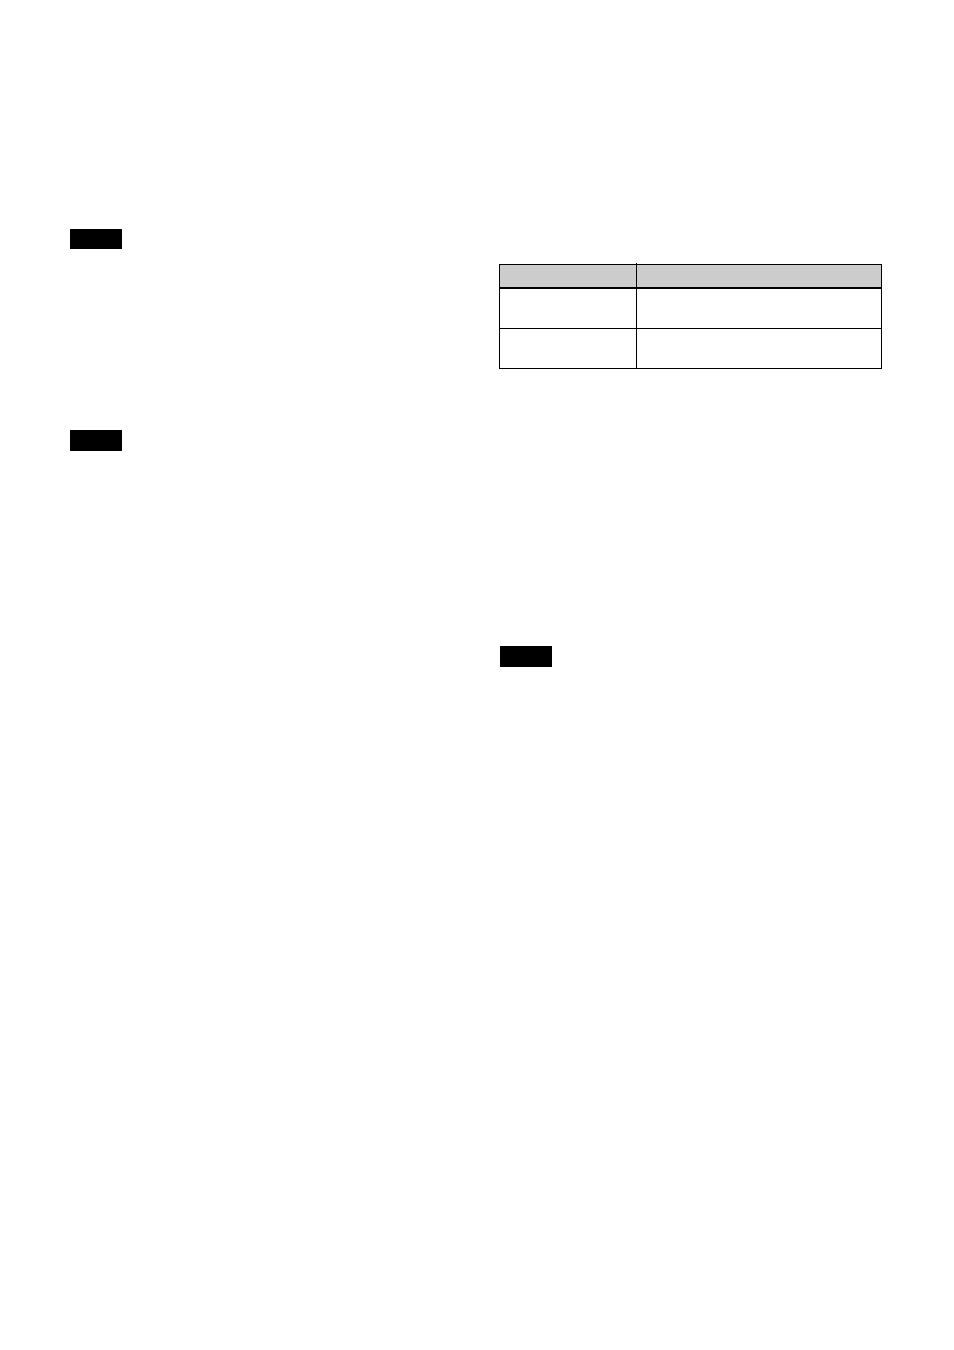
Function
Operation
Supply ON
Press button for one second or
longer
Supply OFF
Press button until the indicator turns
off
Notes