Lightning Audio 7532 User Manual
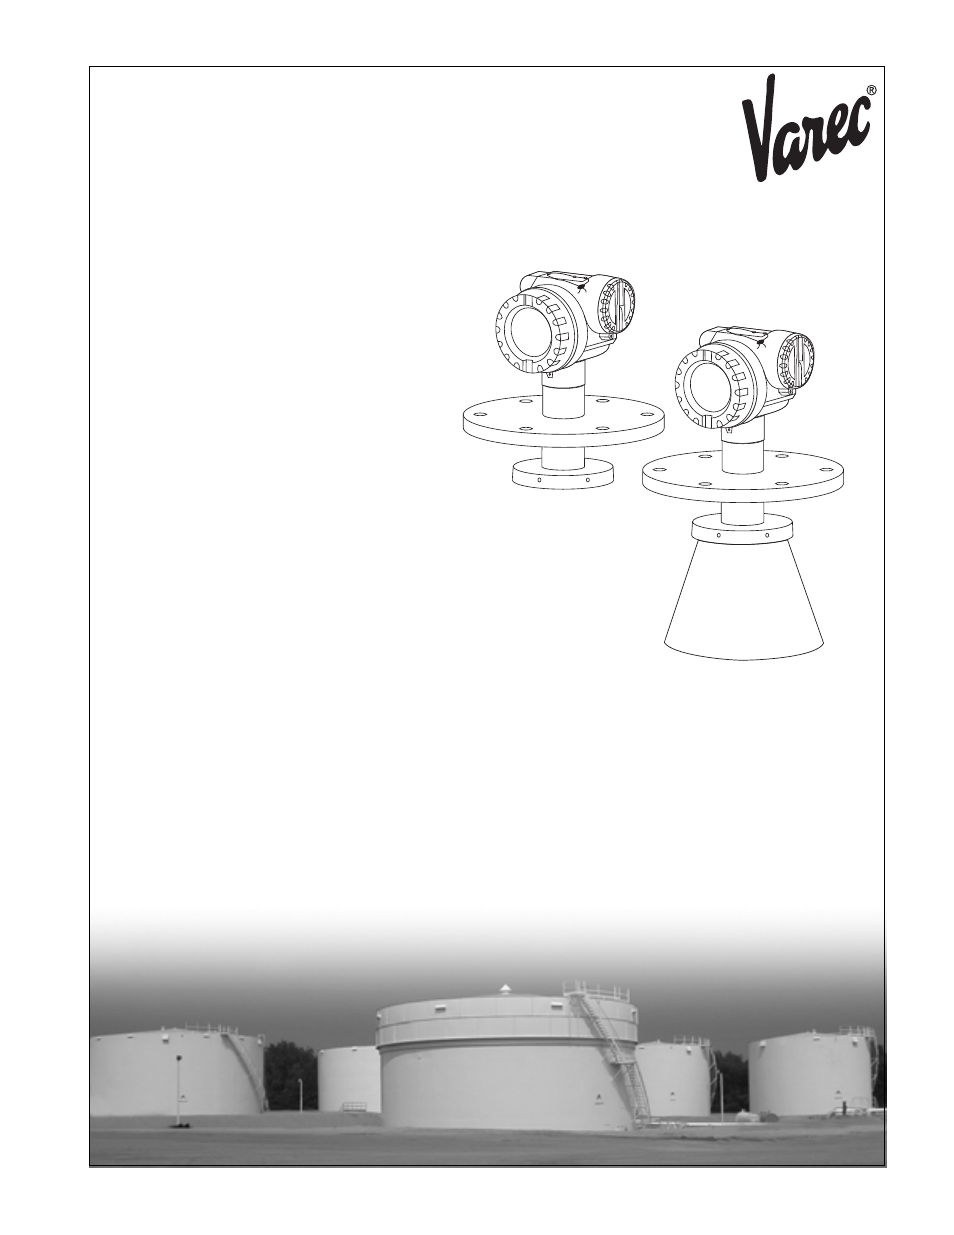
7532 radar tank gauge, Installation and operations manual

Varec, Inc.
5834 Peachtree Corners East, Norcross (Atlanta), GA 30092 USA
Tel: +1 (770) 447-9202 Fax: +1 (770) 662-8939
www.varec.com
IOM027FVAE0804
7532 Radar Tank Gauge
Smart transmitter for continuous and non-contact precision
level measurement. For custody transfer and inventory-control
applications with NMI and PTB approval.
Installation and
Operations Manual
Table of contents
Document Outline
- 1 Safety Instructions
- 2 Identification
- 3 Mounting
- 3.1 Quick installation guide
- 3.2 Incoming acceptance, transport, storage
- 3.3 Installation Conditions
- 3.4 Installation instructions
- 3.4.1 Mounting kit
- 3.4.2 Installation in stilling well
- Optimum mounting position for 7532 RTG
- Standard installation
- Recommendations for the stilling well
- Stilling wells with pipe expansion
- Examples for the construction of stilling wells
- 3.4.3 Turn housing
- 3.4.4 Installation with Varec UNI flange
- Installation tips
- Preparation for the installation of the Varec UNI flange
- 3.4.5 Mounting with Sample hatch on stilling well
- Installation tips
- 3.4.6 Mounting with Pivoting element
- Installation tips
- 3.5 Post-installation check
- 4 Wiring
- 5 Operation
- 6 Commissioning
- 6.1 Function check
- 6.2 Commissioning
- 6.3 Basic Setup
- 6.4 Basic Setup with the VU 331
- Function "measured value" (000)
- 6.4.1 Function group "basic setup" (00)
- Function "tank shape" (002)
- Function "medium property" (003)
- Function "process cond." (004)
- Function "empty calibr." (005)
- Function "full calibr." (006)
- Function "pipe diameter" (007)
- Function "dist./ meas. value (008)"
- Function "check distance" (051)
- distance = ok
- dist. too small
- dist. too big
- dist. unknown
- manual
- Function "range of mapping" (052)
- Function "start mapping" (053)
- Selection:
- Display "dist./meas.value (008)"
- Function "history reset" (009)
- 6.5 Mounting calibration with VU 331
- 6.5.1 Function group "mounting calibr." (03)
- Function "tank gauging" (030)
- Function "auto-correction" (031)
- Function "pipe diam. corr." (032)
- Display "custody mode" (0A9)
- active pos.
- active neg.
- Dip table
- Function "dip table state" (037)
- table on
- table off
- Function "dip table mode" (033)
- manual
- semi-automatic
- table on
- table off
- clear table
- View
- Function "dip table" (034)
- Function "dip table" (035)
- Function "dip table handl." (036)
- General procedure:
- new point
- edit point
- store point
- delete point
- return
- next point
- previous point
- 6.5.2 Envelope curve with VU 331
- Function "plot settings" (09A)
- Function "recording curve" (09B)
- 6.6 Basic Setup with the ToF Tool
- 6.7 Mounting calibration with the ToF Tool
- 7 Maintenance
- 8 Accessories
- 9 Troubleshooting
- 10 Technical data
- 11 Appendix
- 11.1 Operating menu HART (Display modul), ToF Tool
- 11.2 Operating matrix HART / Commuwin II
- 11.3 Description of functions
- 11.4 Function and system design
- 11.4.1 Measuring principle
- Input
- Output
- 11.4.2 Equipment architecture
- Stand-alone
- On-site operation:
- Remote operation:
- System integration via Rackbus
- Integration into the Asset Management System
- 11.4.3 Custody transfer mode
- 11.4.4 Weight and measure approval, Standards Authorities approval, Compulsory reapproval
- 11.4.5 Particularities in "approved" operation
- 11.4.6 Definition of terms
- 11.4.7 Integrated on tank gauging system
