Using self-timer mode – HP PhotoSmart 945 User Manual
Page 34
34
HP Photosmart 945 User’s Manual
Using Self-Timer Mode
1
Secure the camera to a tripod or set it
on a stable surface.
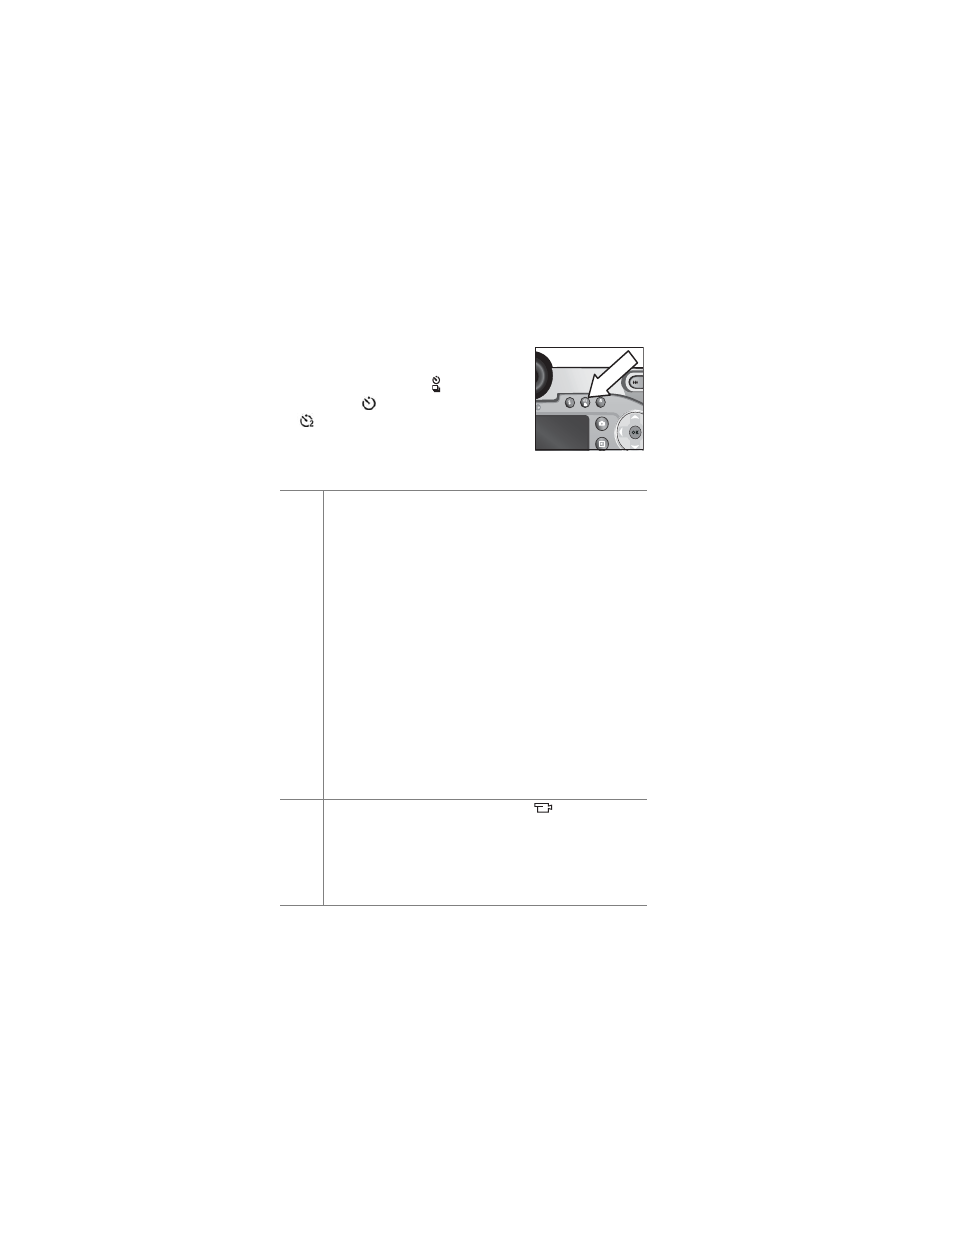
2
Press the
Timer/Burst
(
)
button until
SELF-TIMER
or
SELF-TIMER
—
2 SHOTS
appears in the active display.
3
Frame the subject in the active display.
4
The next steps depend on what you
are capturing:
Still
picture
1
Press the
Shutter
button halfway down for
Focus Lock
(camera measures, then locks the focus and exposure).
The camera will hold these settings until it takes the
picture.
2
Press the
Shutter
button all the way down. A 10-
second countdown appears on the active display and
the Self-Timer light on the front of the camera blinks for
10 seconds before the camera takes the picture. If you
set
SELF-TIMER
—
2 SHOTS
, the Self-Timer light blinks for
a few more seconds until the second picture is taken.
NOTE If you immediately press the
Shutter
button all
the way down without using
Focus Lock
, the camera
will lock focus and exposure just before the end of the
10-second countdown. This is useful when one or
more subjects will be entering the picture during the
10-second countdown period.
You cannot record audio when using the Self-Timer, but
you can add an audio clip later (see page 64).
Video
clip
1
Rotate the
Mode
selector to
Video
mode.
2
To start recording, press the
Shutter
button and then
release it. A 10-second countdown appears in the
active display, and then the video will start recording.
3
To stop recording the video clip, press the
Shutter
button again. or let it time out by itself (see page 29)
MF