Setting the flash – HP R507 User Manual
Page 41
Chapter 2: Taking Pictures and Recording Video Clips
41
2
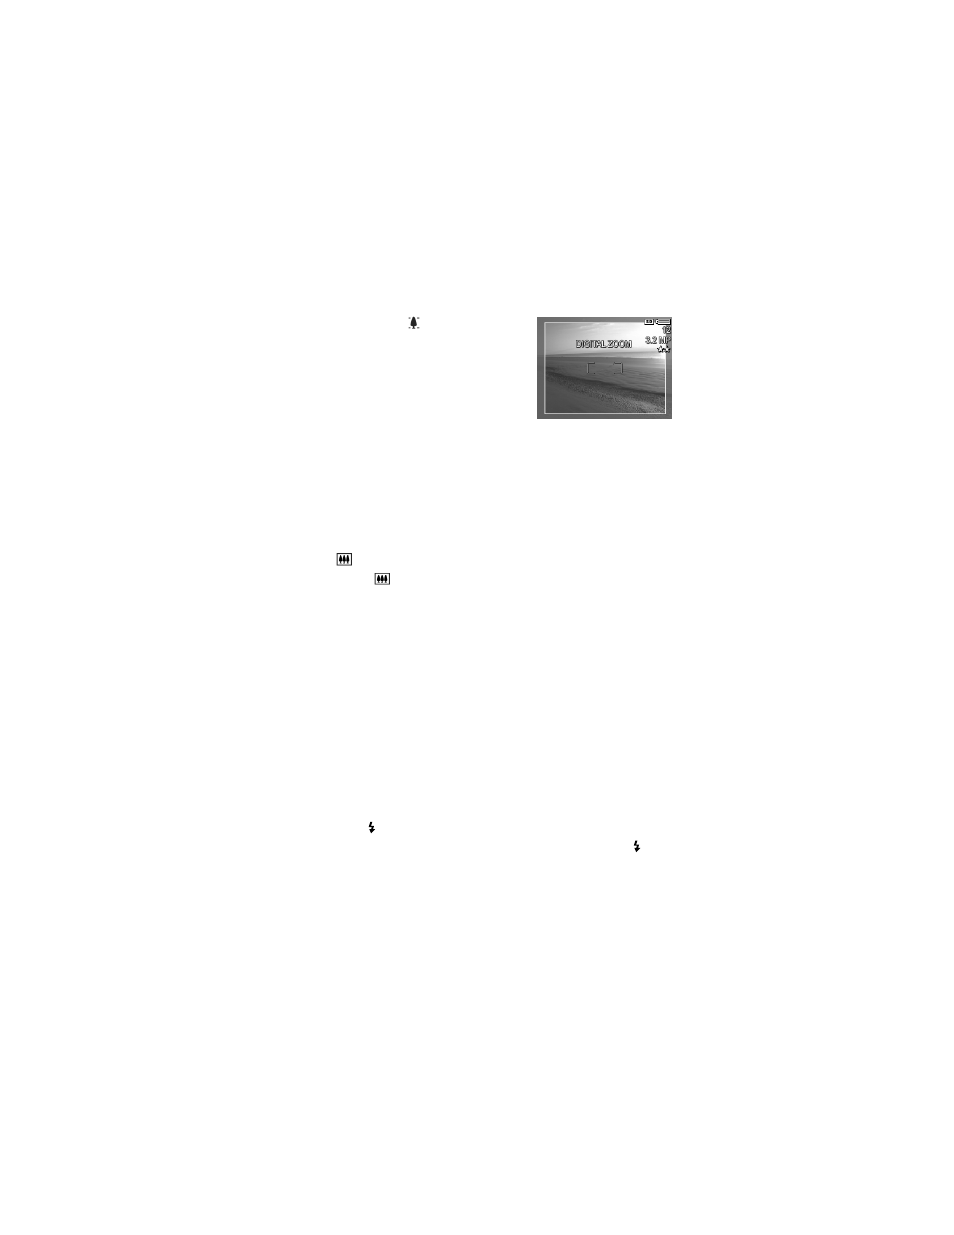
Press
Zoom In
again and hold it
until you reach the desired size in
the Image Display. A yellow frame
surrounds the area of the image
that will be captured. The
resolution
number on the right side
of the screen also becomes smaller
as you digitally zoom. For example,
3.2MP
appears in
place of
4MP
,
indicating that the image is being reduced to
a size of 3.2 Megapixels.
3
When the yellow frame is at the desired size, press the
Shutter
button to take the picture.
To turn digital zoom off and return to optical zoom, press
Zoom
Out
on the
Zoom lever
until digital zooming stops. Release
Zoom Out
, and then press it again.
NOTE
Digital zoom reduces the resolution of an image, so
your picture will tend to be more pixilated than the same
image taken with optical zoom. If you just intend to e-mail
an image or post it to a website, this loss of resolution will
not be noticeable, but in situations where the highest
quality counts (such as printing), limit the use of digital
zoom. It is also recommended to use a tripod when using
digital zoom.
Setting the Flash
NOTE
The flash does not work in
Panorama
mode, with the
Burst
setting, or while recording video clips.
The
Flash
button lets you cycle through the flash settings on
the camera. To change the flash setting, press the
Flash
button until the desired setting appears in the Image Display.
The following table describes each of the flash settings on
the camera.