3 remote out, Emote, Remote – Datavideo PTR-10 MK II Robotic Head & RMC-180 MK II Pan/Tilt Controller Kit User Manual
Page 18: Remote out
18
outlined below should allow you to initially configure the unit before moving it to an existing DHCP /
LAN network.
1.
First using an RJ-45 Ethernet cable, connect the
DVIP port
of your PTR series device to a
Windows computer assigned of an IP address with the same first three octets as the device’s
default IP address.
2.
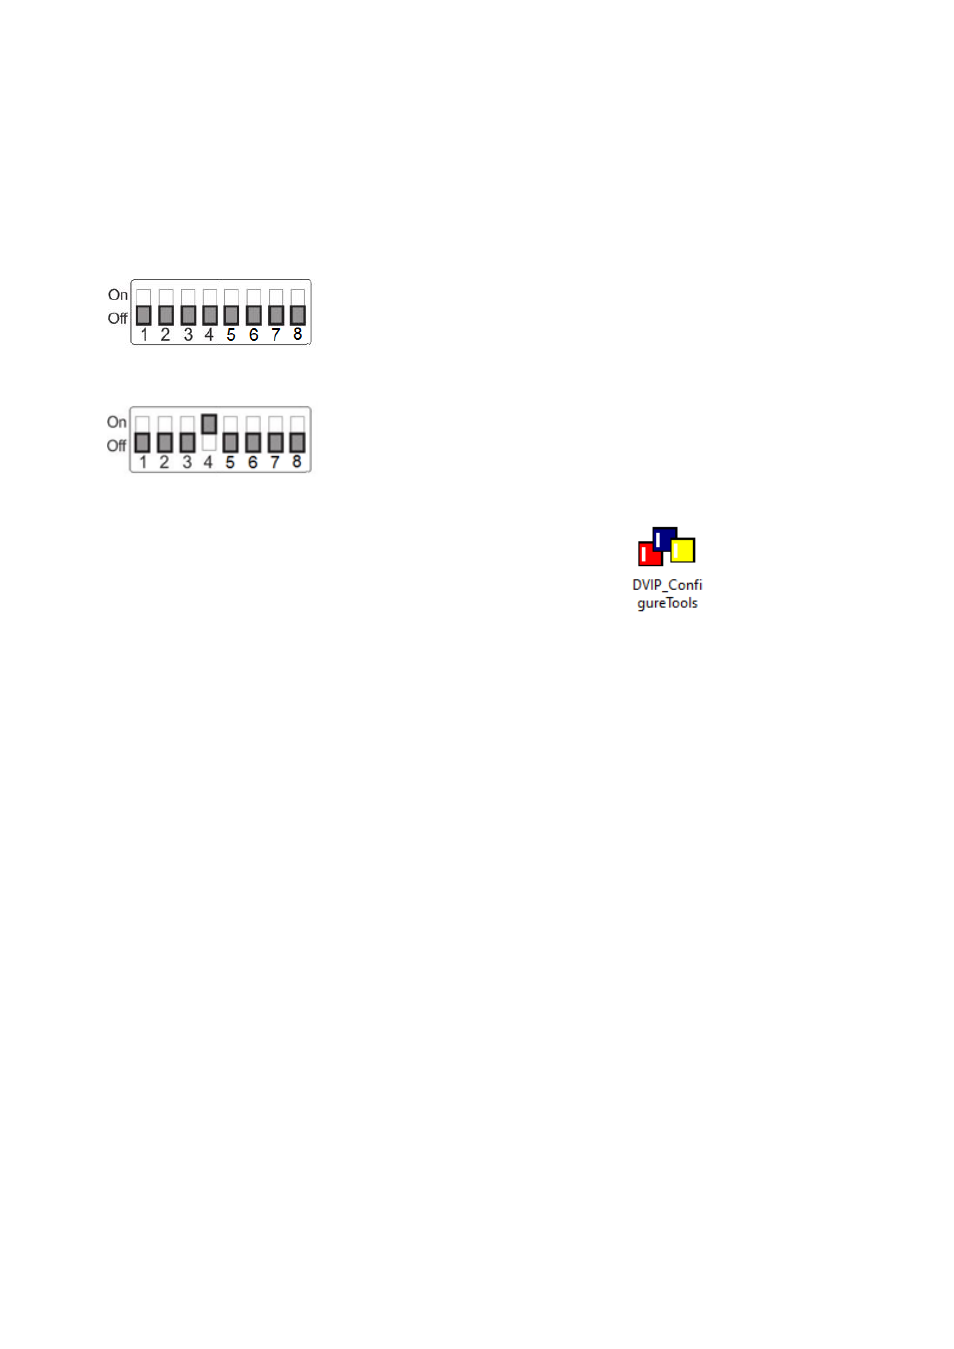
Locate the DIP switch on your PTR series device.
3.
Set DIP Switch position 4 to ON.
4.
Set
DVIP baud rate
to 115200.
5.
Download the DVIP Configuration Tool from the product page.
6.
On the PC, open the DVIP Configuration Tool by double clicking
“
DVIP_ConfigureTools.exe
”.
7.
After the DVIP Configuration Tool is opened, select your network interface card and click the “
OK
”
button.
8.
On the DVIP Device List, you will then be able to see the Device Name, MAC address and IP
address of the connected device.
9.
Set the network to DHCP then click the “
Save
” button to write the new settings into the device.
10.
Right after the “
Save
” button is clicked, you will be able to see a prompt message at the top right
corner to request for a device reboot for the new settings to become effective.
11.
Reboot the device to apply the new settings.
4.3
Remote OUT
In the OSD menu, there are four connection modes available in the
Remote OUT Mode
option for
the user to select in order to connect your PTR-10 MARK II device to the camera mounted. The four
modes of connection are BX Lens, LANC, RS-232C and RS-422.
If BX Lens or LANC is selected, use the Remote Port to connect. If RS-232C or RS-422 is selected, use
the RS-232/422 OUT port to connect.